

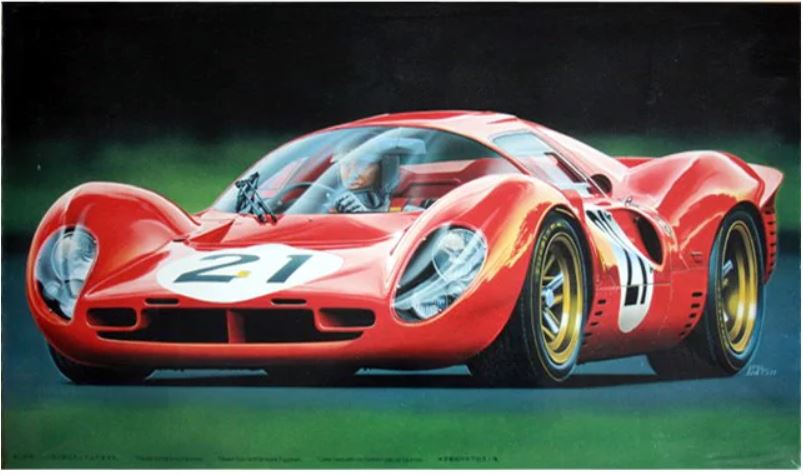
Converting the Fujimi Ferrari 330 P4 into a Spyder
About the conversion kit….
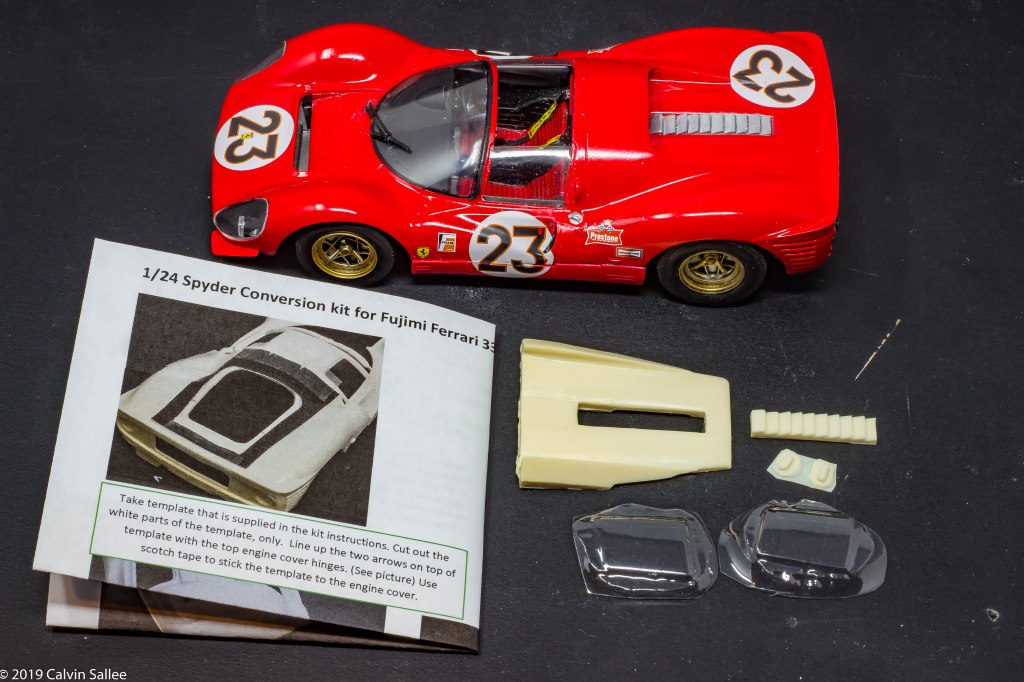
The spyder conversion kit for the 1/24 Fujimi Ferrari 330 P4 can be bought on my website HERE

Comes with Resin parts, Vac-U-Form clear plastic side windows, and instructions.
Prep work, Cleanup, filling and sanding required for this conversion kit.
Decal selection at Indycals
’67 Targa Florio #224 N.Vaccarella / L.Scarfiottil
1967 Sarthe 24hours Race #20 C.Amon / N.Vaccarella
About the project….
I was approached by a friend earlier this year about making an affordable spyder conversion kit for the plastic 1/24 scale Fujimi Ferrari 330 P4 Berlinetta. Below is a list of all the past Fujimi releases and what year and information about the kit.
-
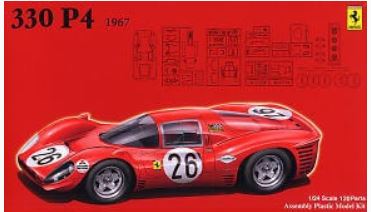
Ferrari 330 P4 Berlinetta
Fujimi – No. 12104 – 1:24
1989 | Initial release – new tool -
Ferrari 330 P4 Berlinetta
1967 Le Mans 24 hour race 3rd winner
Fujimi – No. 12111 – 1:24
1990 | Rebox (Changed decals) -

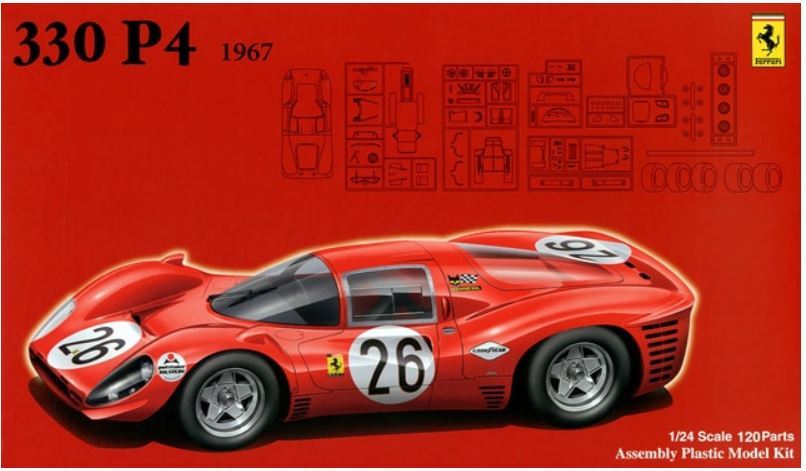
FERRARI 330 P4
1967 Le Mans M. Parkes/L. Scarfiotti.
Fujimi – No. 12206 – 1:24
2004 | Rebox -
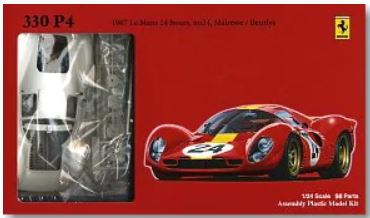
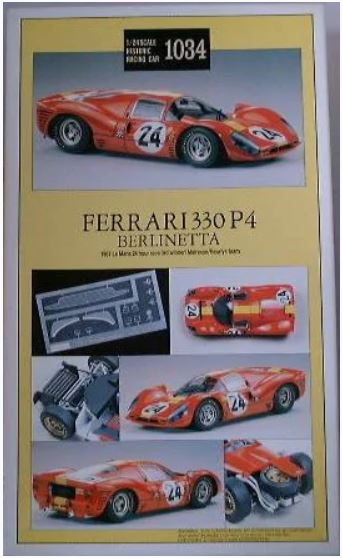
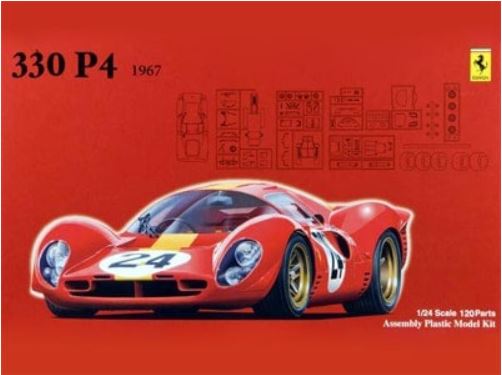
Ferrari 330 P4
1967 Le Mans 24 hours, no24, Mairesse/Beurlys
Fujimi – No. 12276 – 1:24
2006 | Rebox (Updated/New parts) -

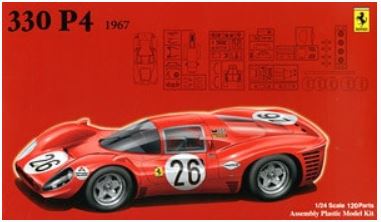
Ferrari 330 P4
1967
Fujimi – No. 12351 – 1:24
2009 | Rebox (Changed box only) -
Ferrari 330 P4
1967
Fujimi – No. 12357 – 1:24
2009 | Rebox (Changed box only) -
330 P4
1967
Fujimi – No. 123707 – 1:24
2009 | Rebox -
330 P4
1967
Fujimi – No. 125756 – 1:24
2013 | Rebox -
Ferrari 330 P4
1967 (includes photo-etch parts)
Fujimi – No. FUJ125756 – 1:24
2014 | Rebox (Updated/New parts)
You can find many 1/24 scale Fujimi Ferrari 330 P4 Berlinetta kits on eBay. I used the 1989 version on this build up example.
The build-up…
Take template that is supplied in the kit instructions. Cut out the white parts of the template, only. Line up the two arrows on top of template with the top engine cover hinges. (See picture) Use scotch tape to stick the template to the engine cover.
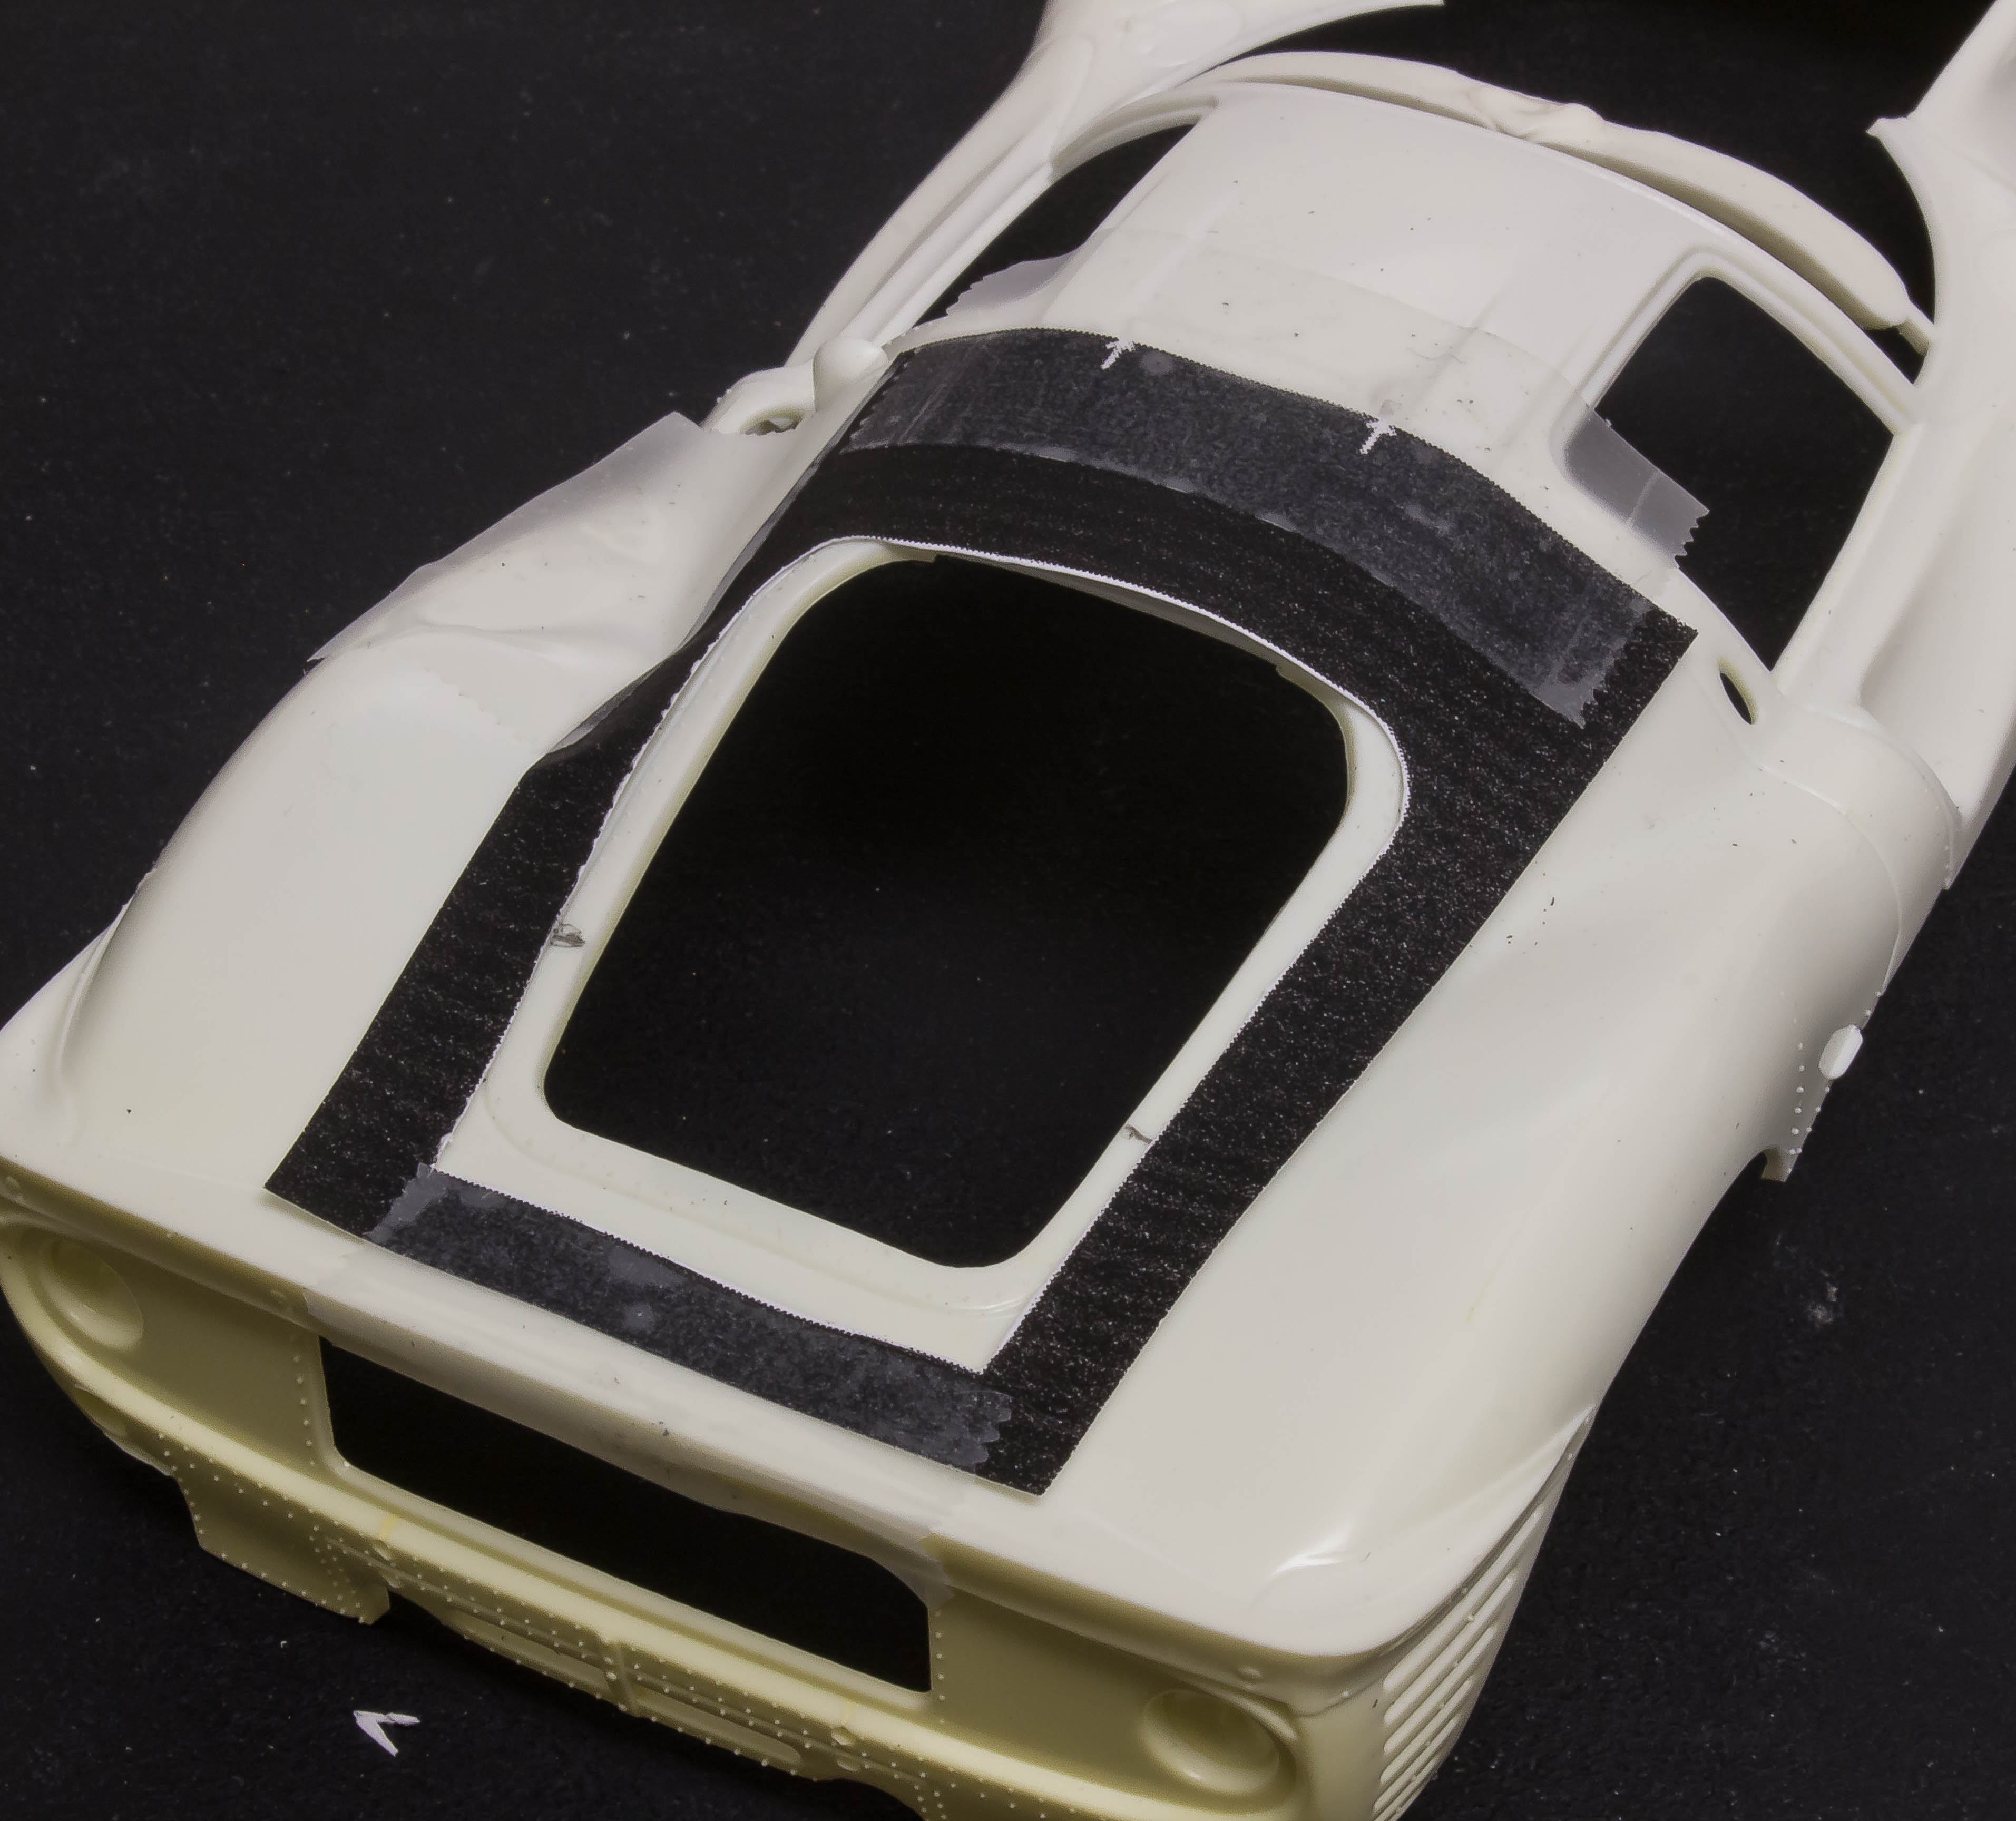
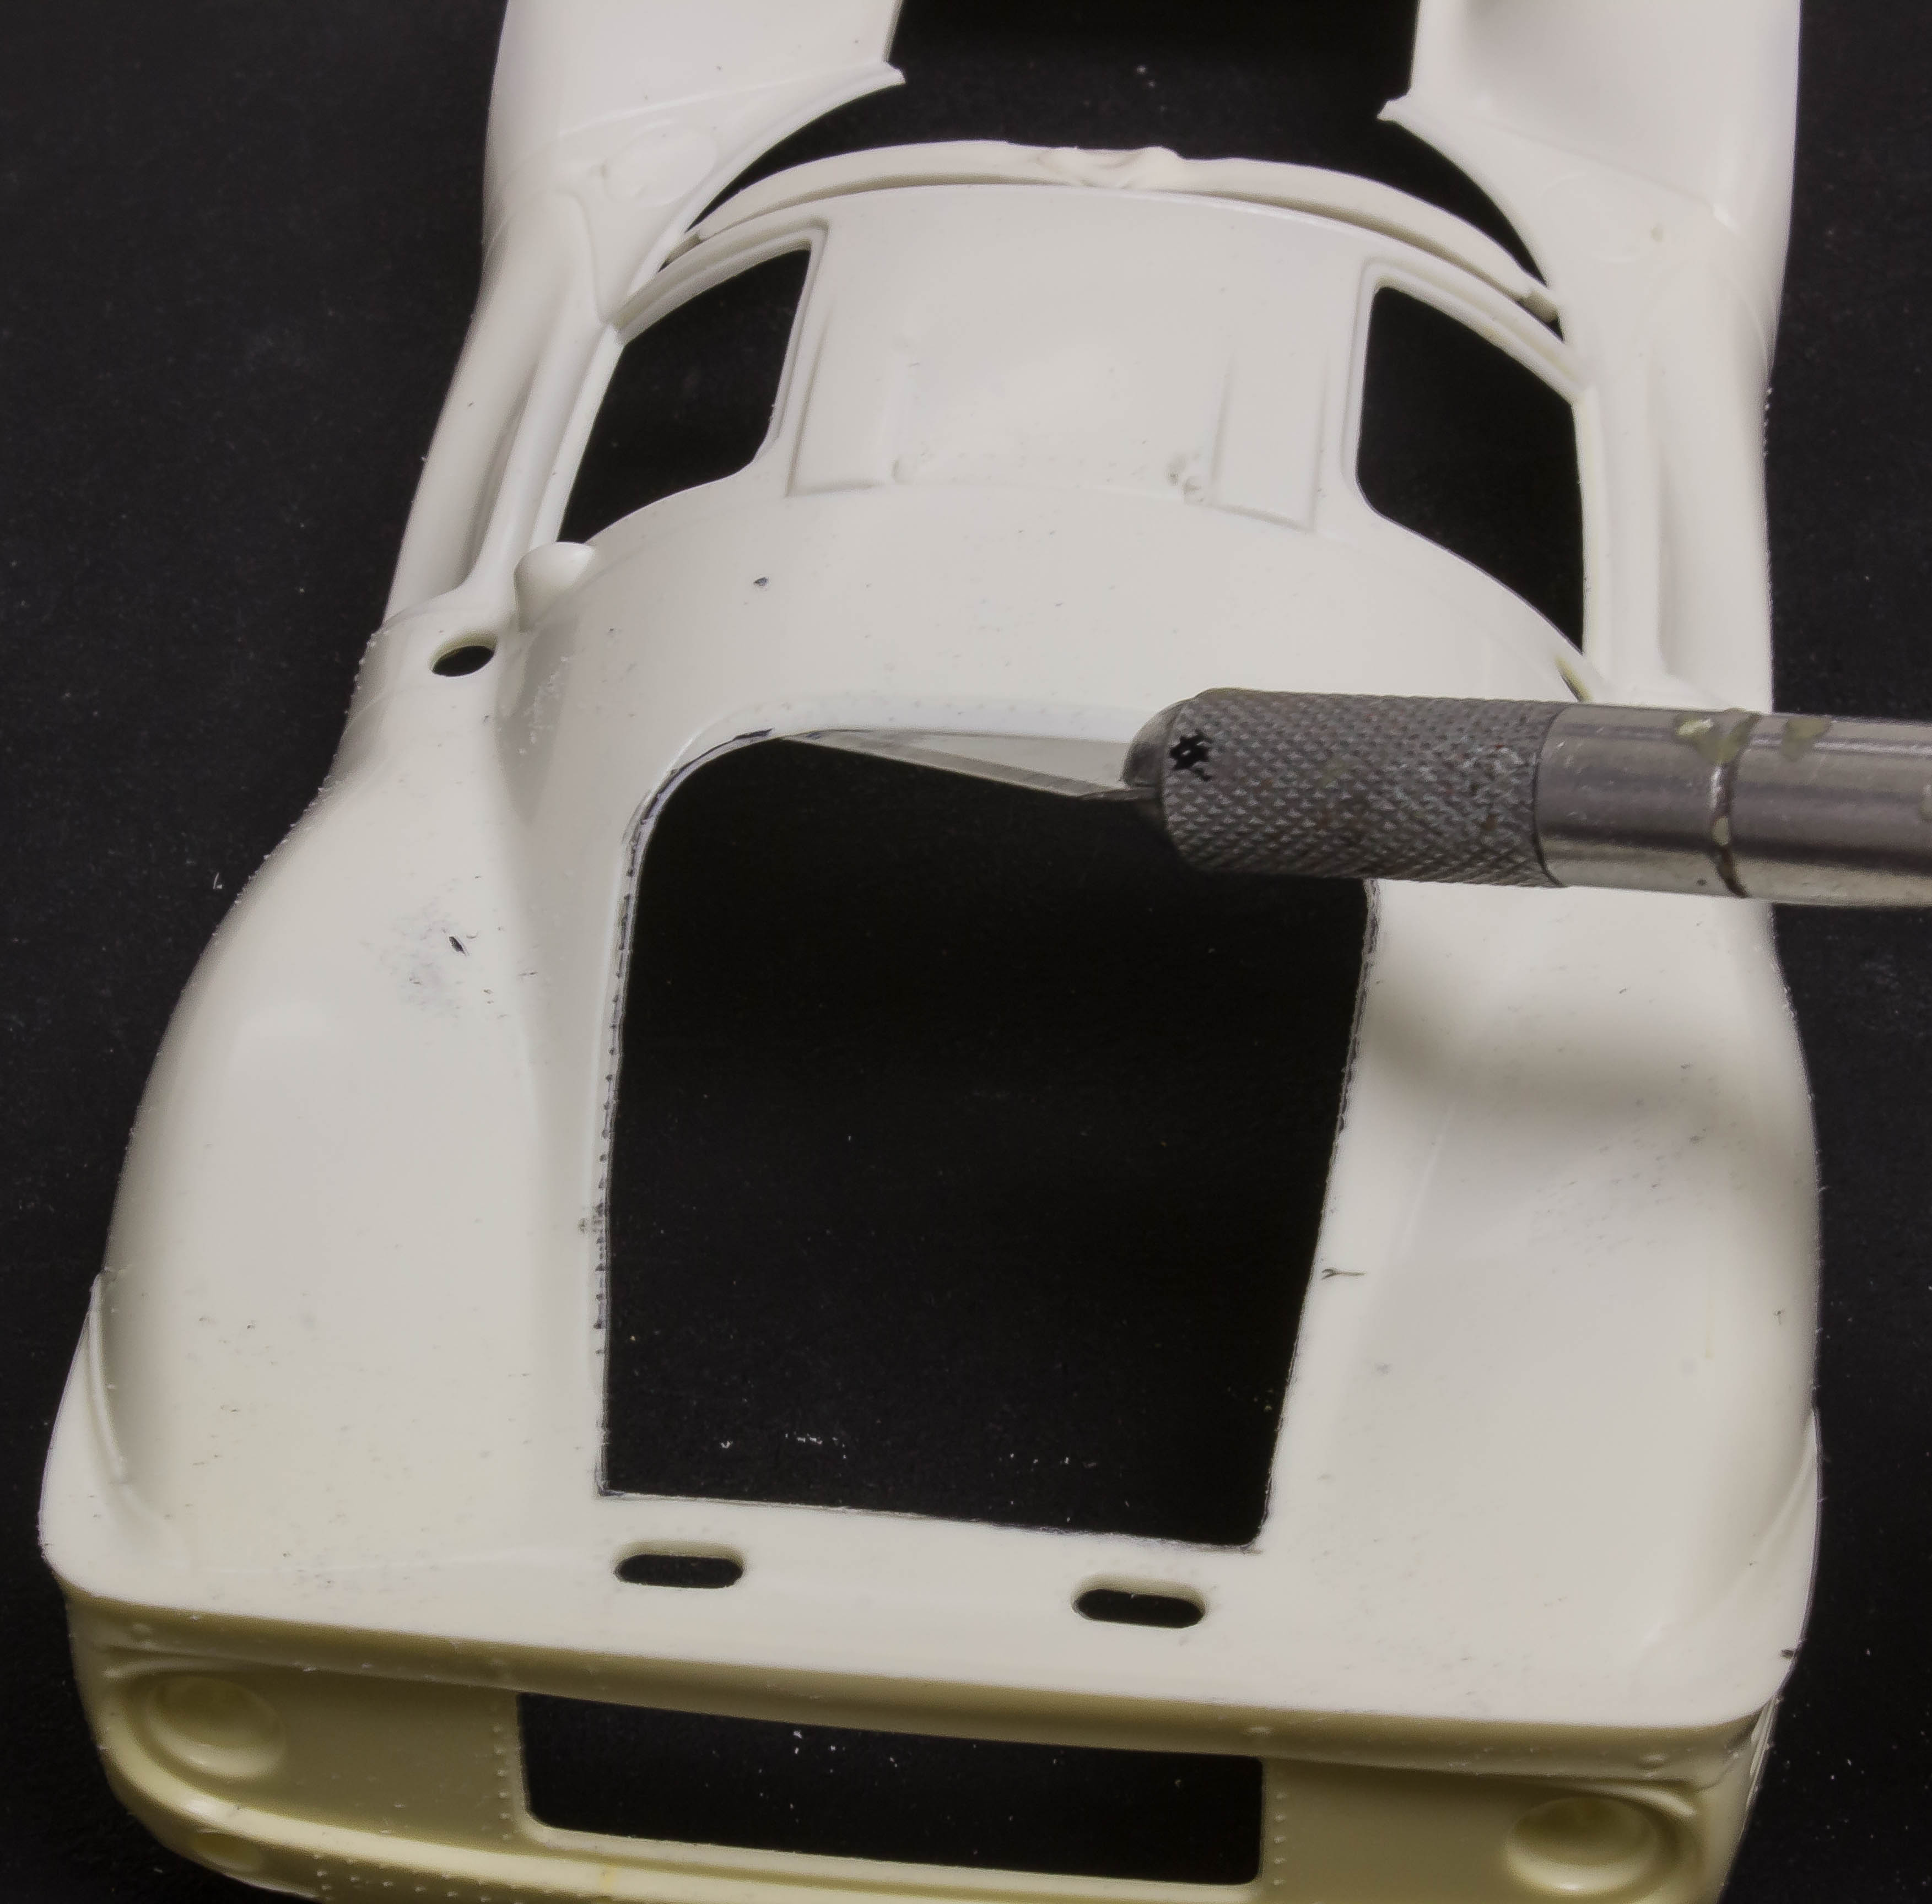
Use an ink marker to highlight the area that needs to be removed in order to fit the new resin part inside. Use a Dremel with an end mill bit to carefully remove the highlighted area of plastic that needs to be removed.

After the plastic has been removed withe the Dremel tool. Use a sharp X-acto knife to straighten and clean up the edges. Use a sanding file to de-bur the edges.
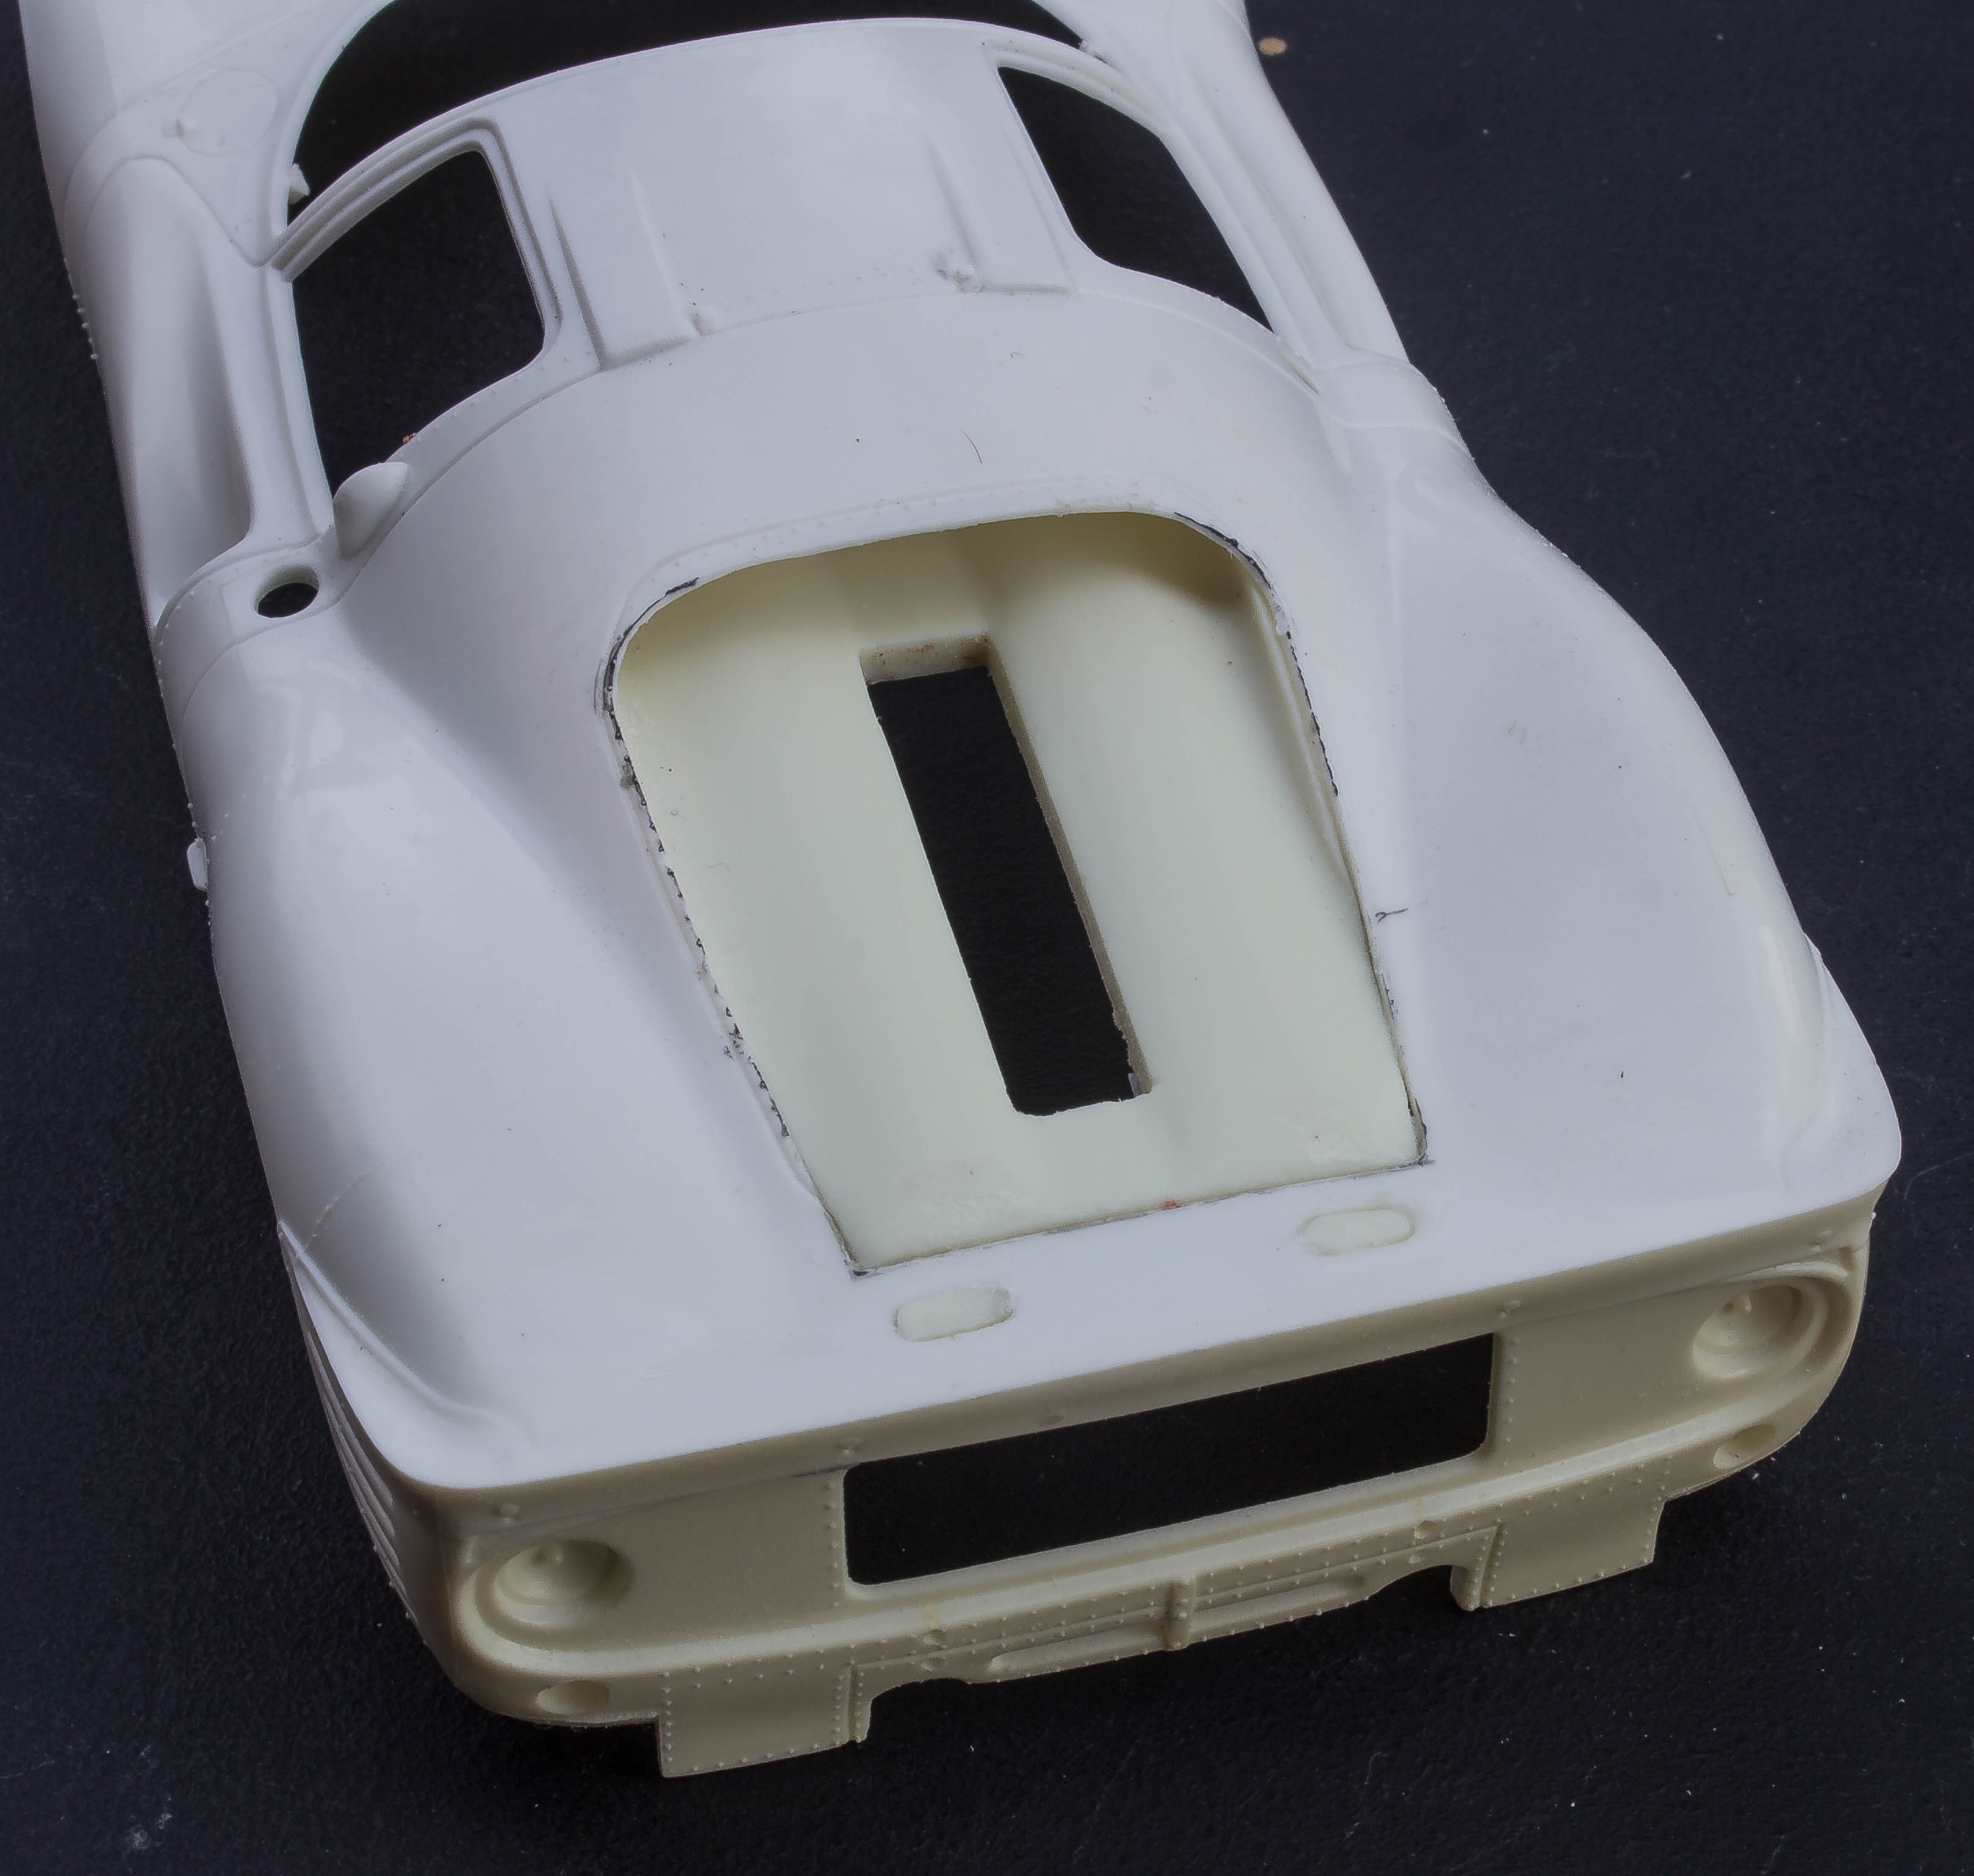
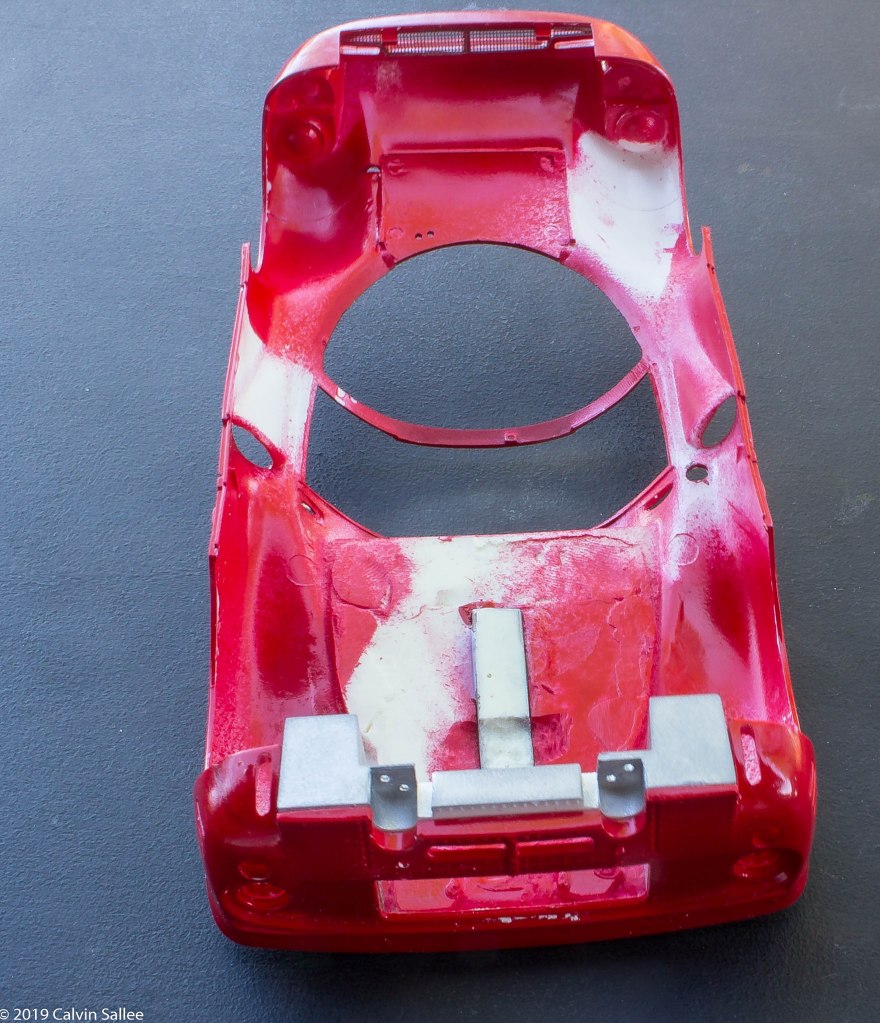
Use Gorilla glue and glue the resin engine cover under the plastic body. Also glue in the two holes in front of the rear spoiler

After the super glue dries. Use Apoxie Sculpt to fill in any gap between the plastic body and the resin part. Its best to smooth out the Apoxie Sculpt with water and a smoothing tool, I use a dull X-acto knife.
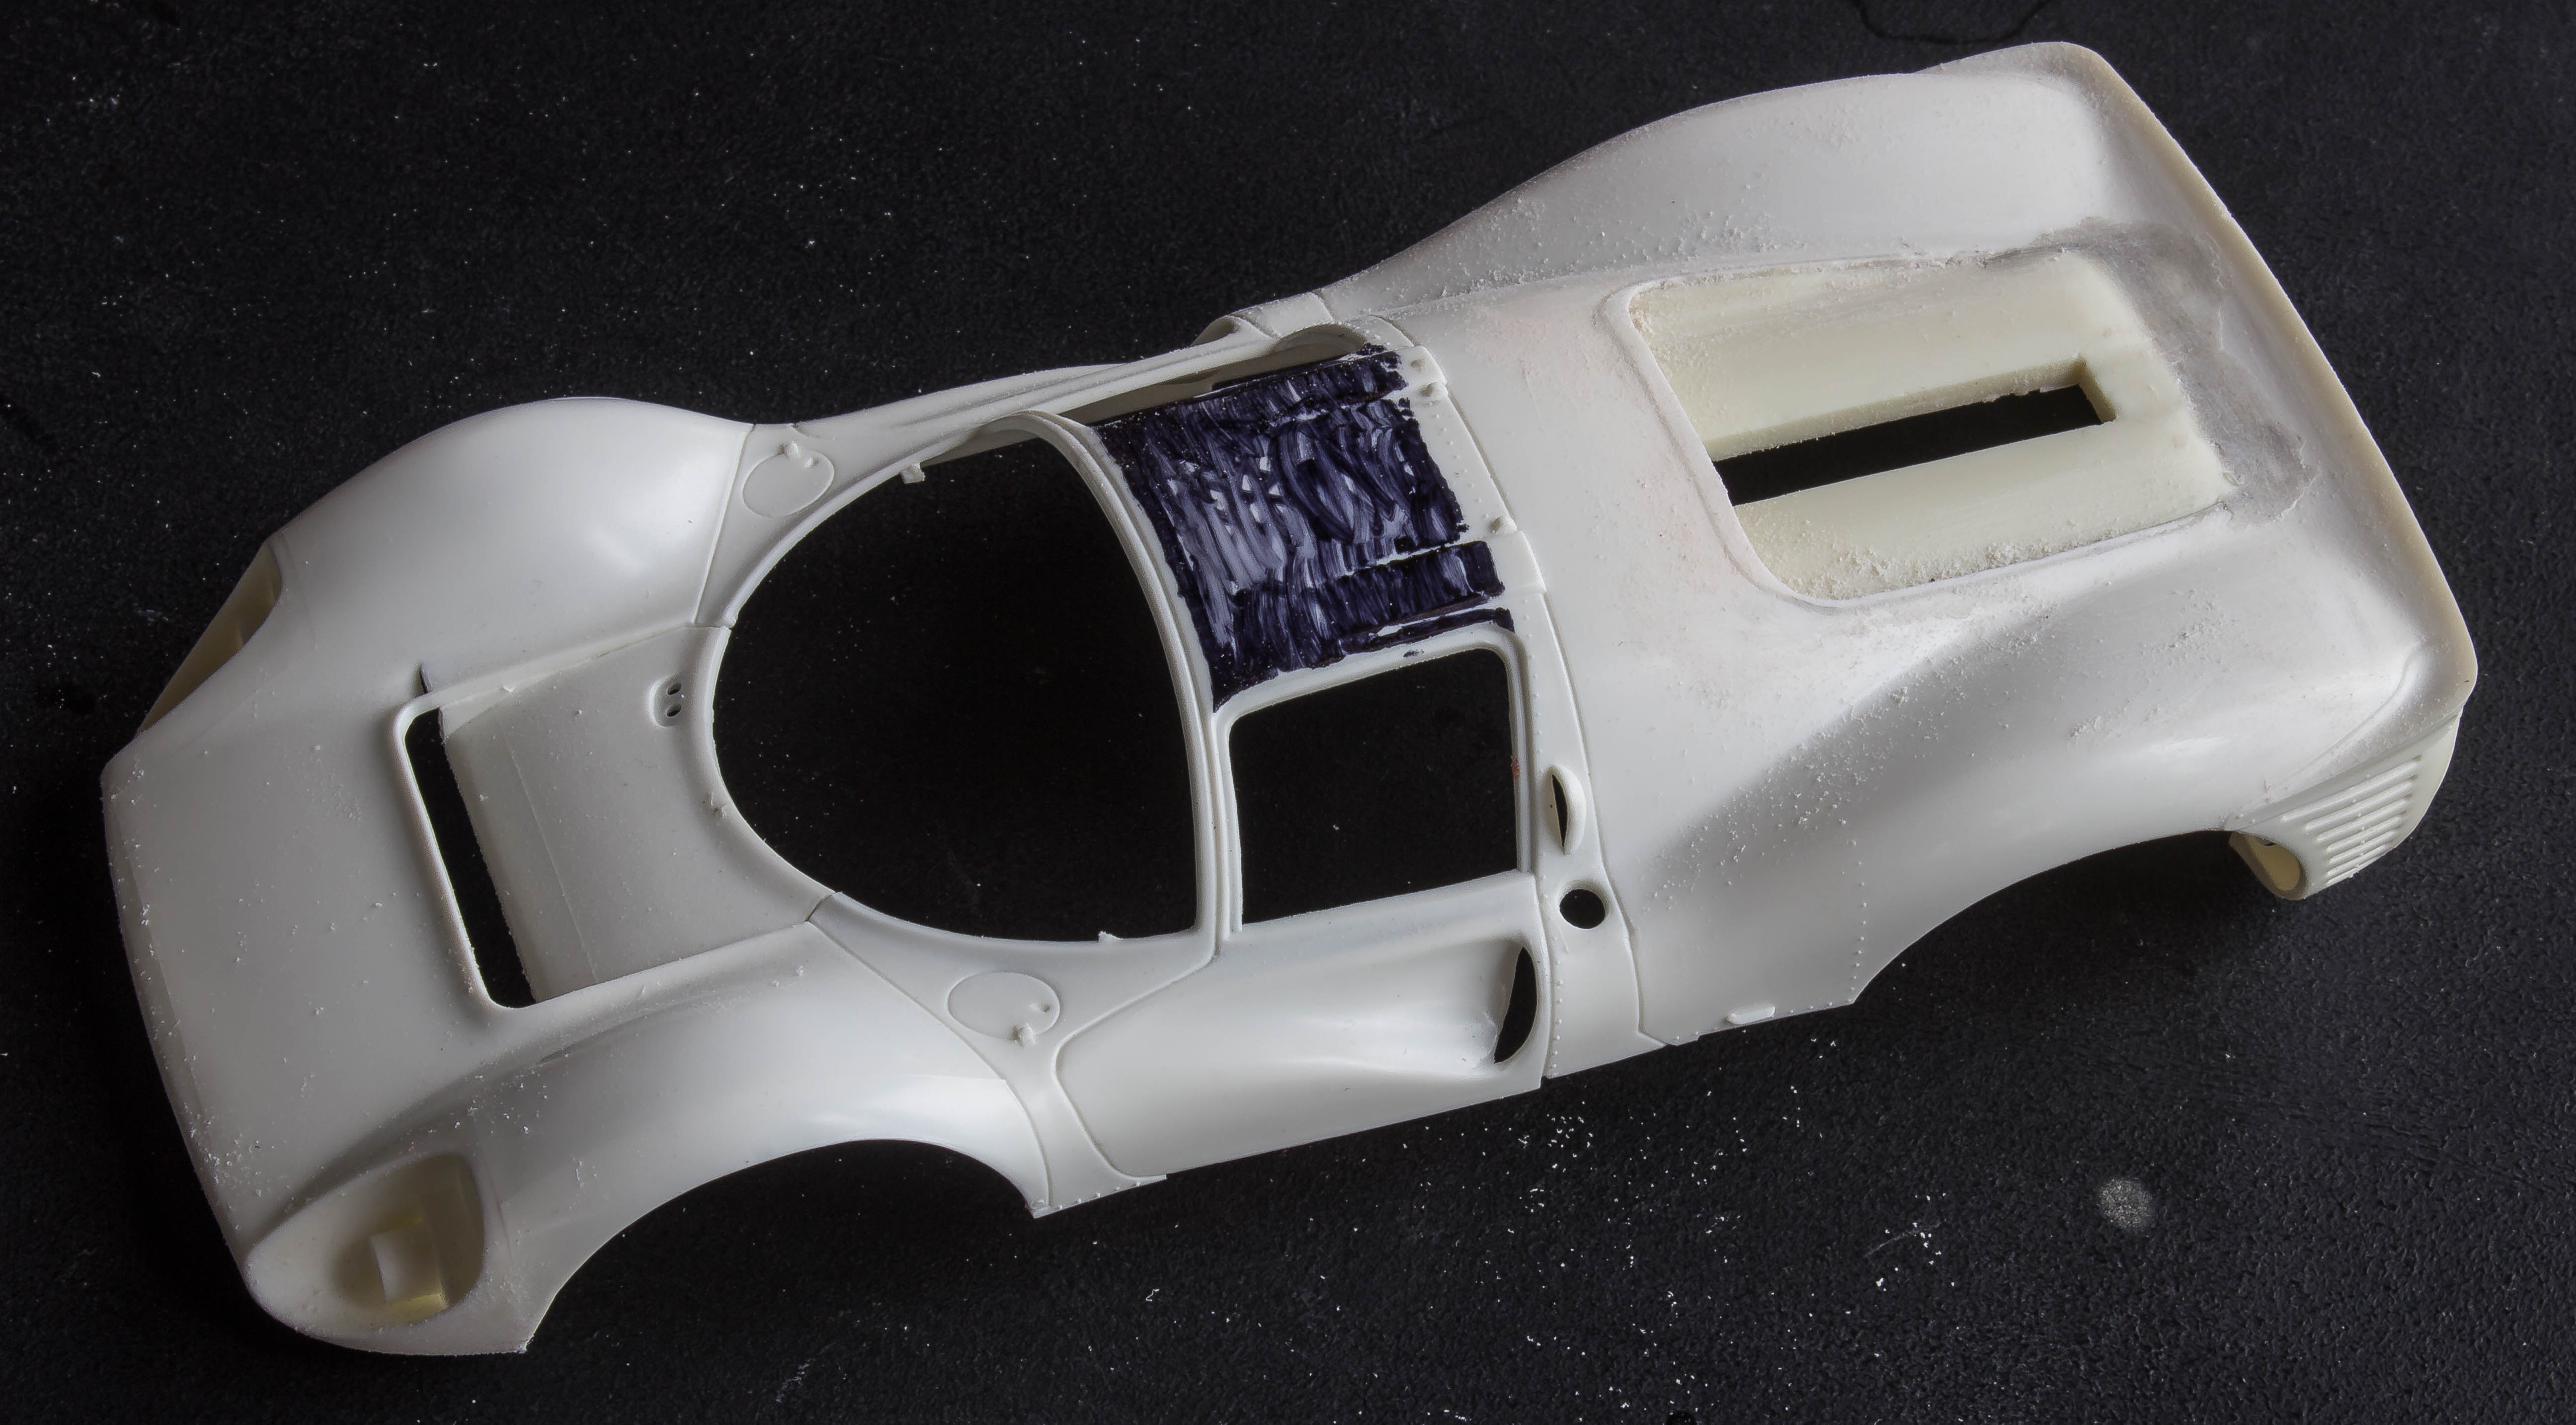
Since this is a Spyder conversion we need to cut the top off this car. Its pretty straight forward. The part in between the front and rear pillars of the side windows needs removed.
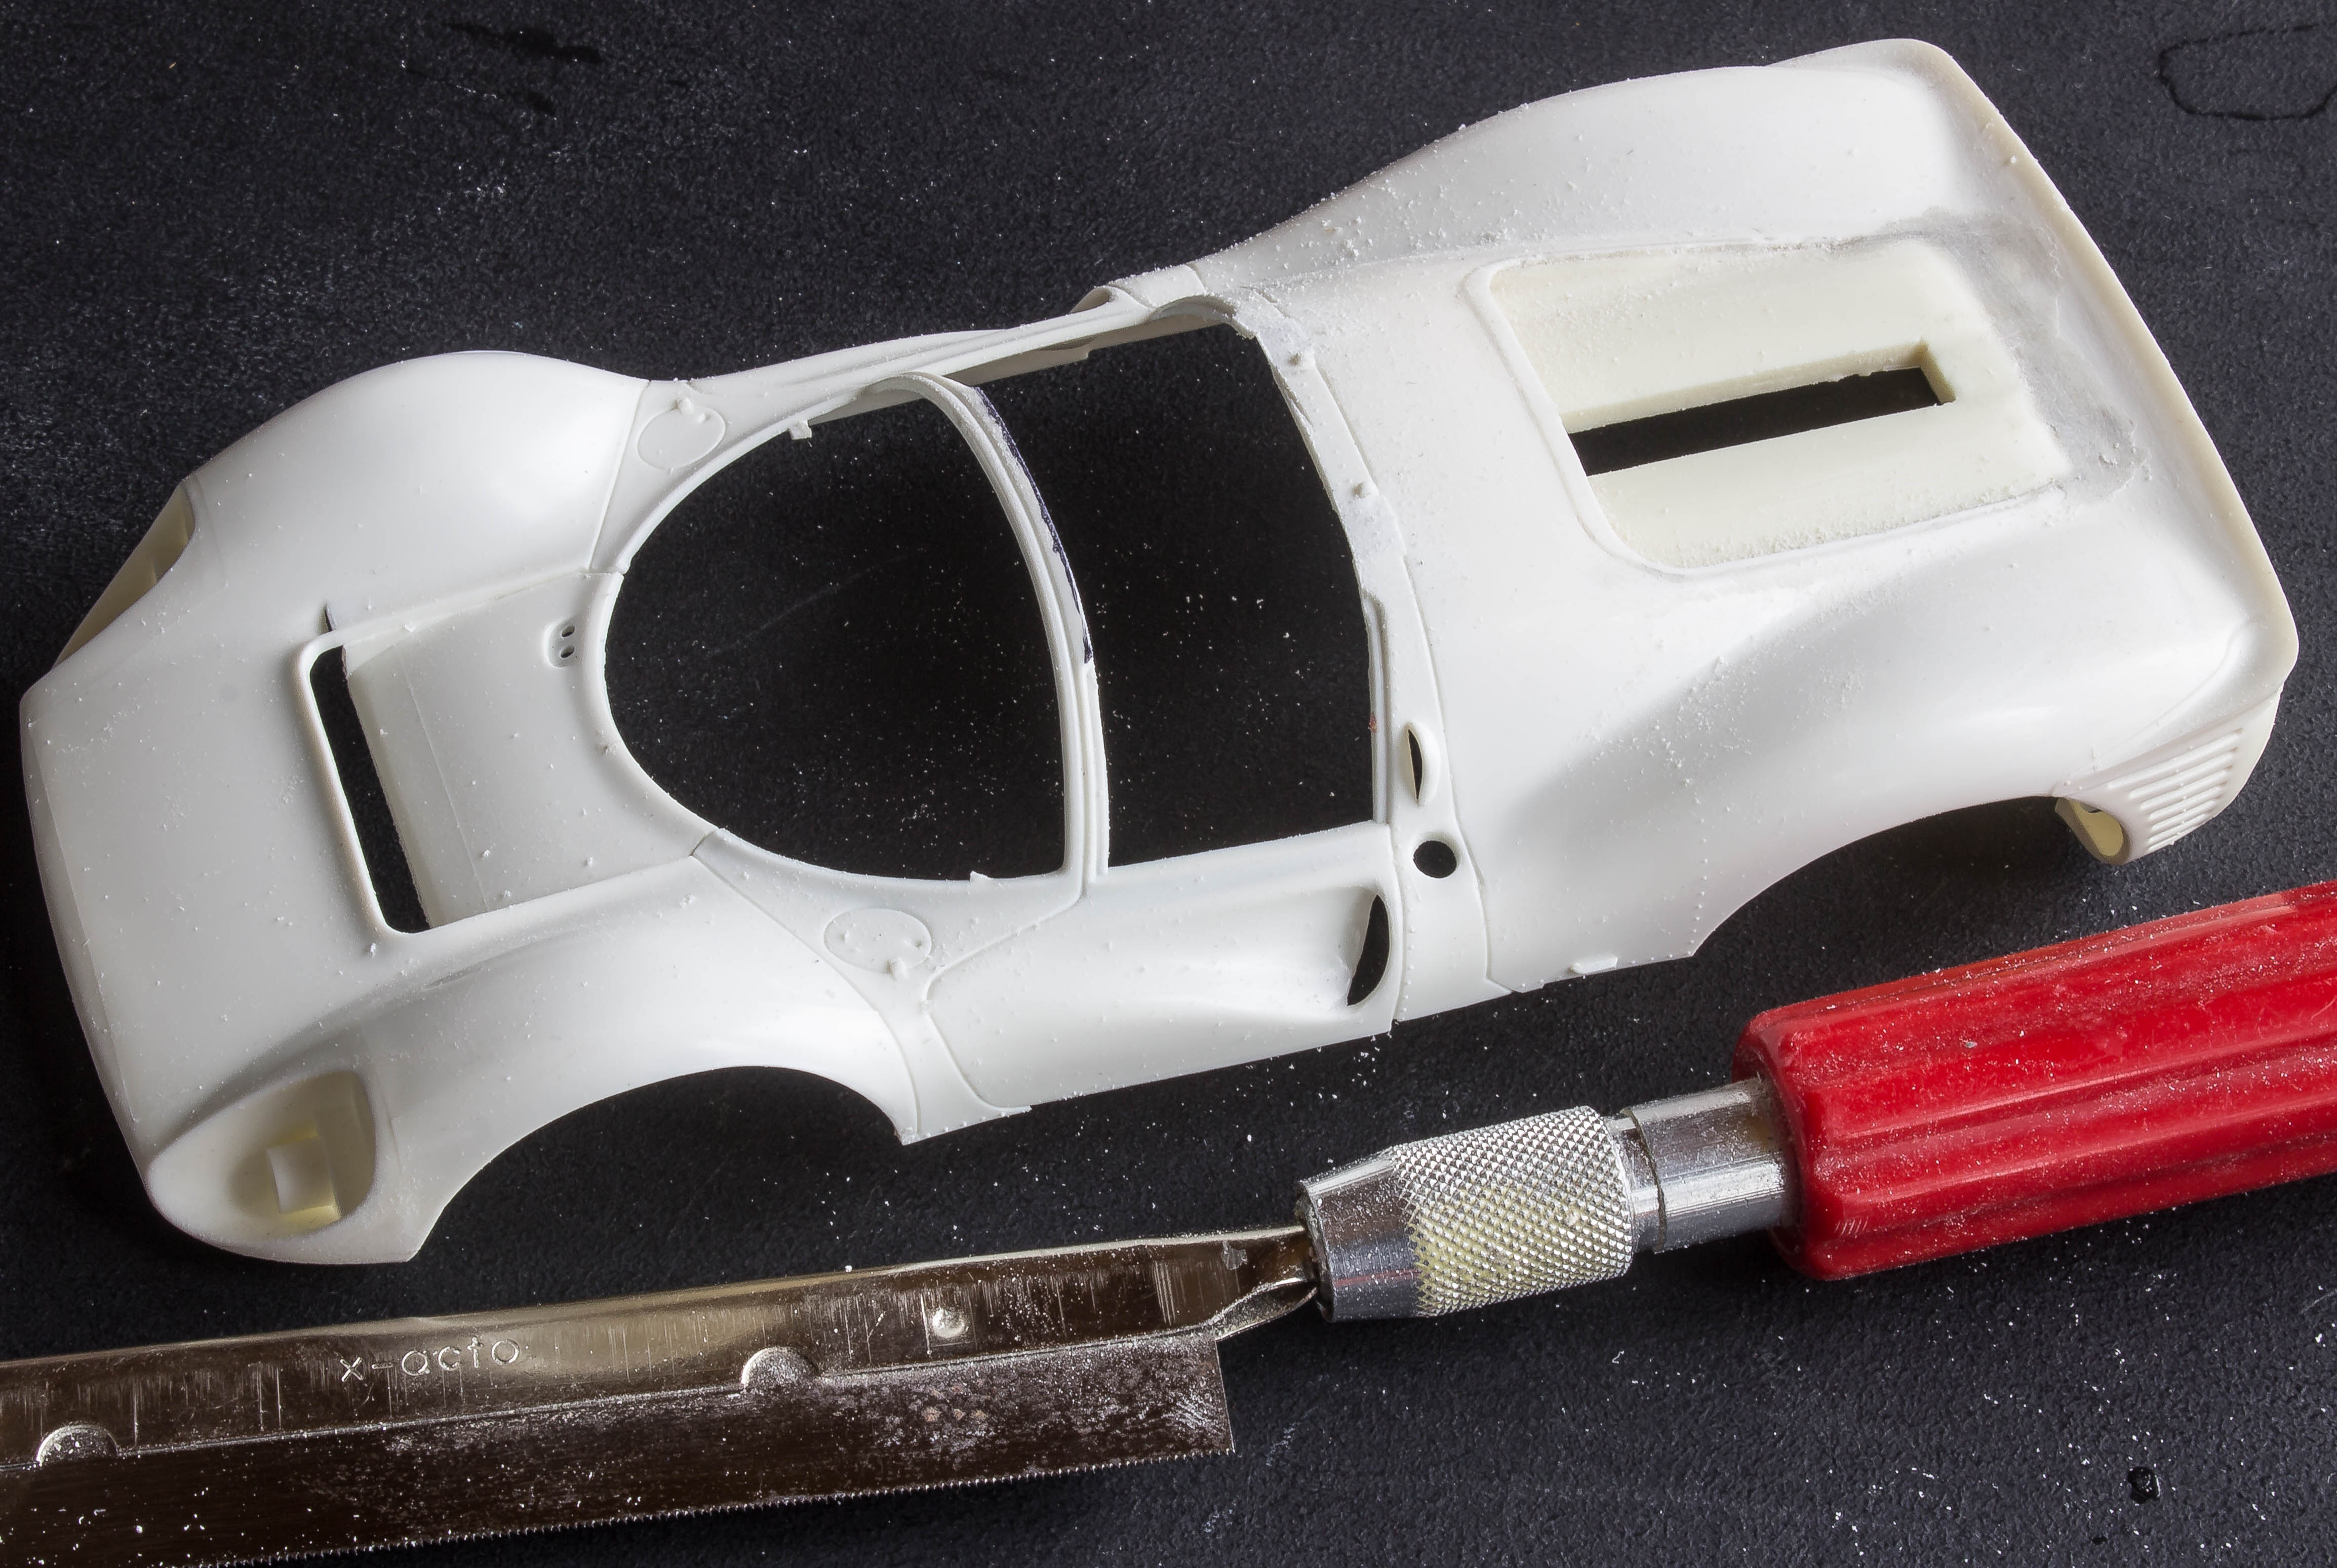
Using an X-acto saw, cut off the top of the roof. Sand off any burrs with a sanding file.
Sand the Apoxie Sculpt and smooth and rough spots. Use Tamiya white primer and cover the body in a light coat. The purpose of primer is to show any imperfections and to give the color coat a clean surface to adhered to. Its very important to use white primer as your base coat as Tamiya spray paint is very thin and transparent. Use Tamiya TS-8 Italian Red for the best match for this year of Ferrari. Paint the rear engine resin louvers with “chrome paint” (Polished Aluminum)
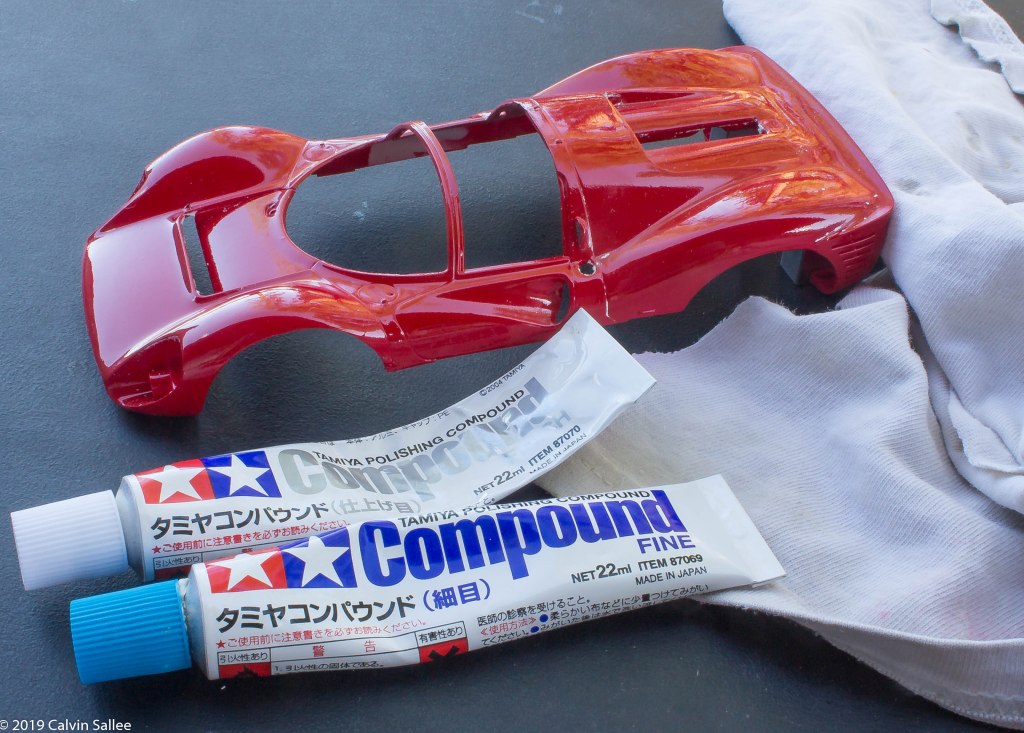
I recommend using Tamiya Polishing compound using an old T-Shirt.
Super glue the lovers into center section
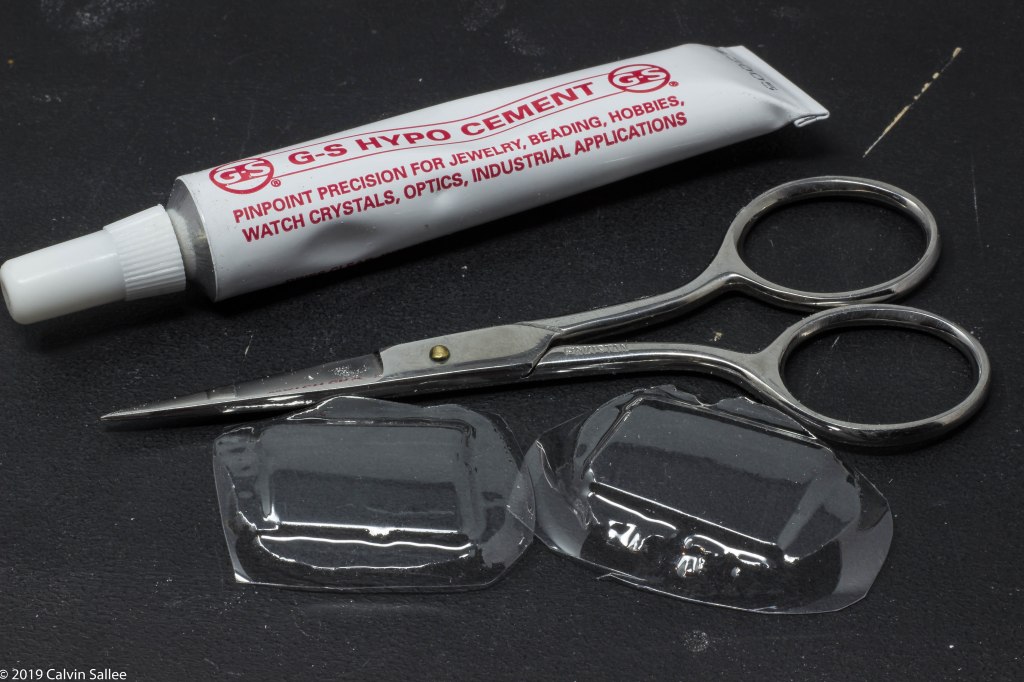
Cut out the Vac-U-Form side windows, using small sharp scissors and G-S Hypo Cement for all the clear windscreens, side windows and headlights
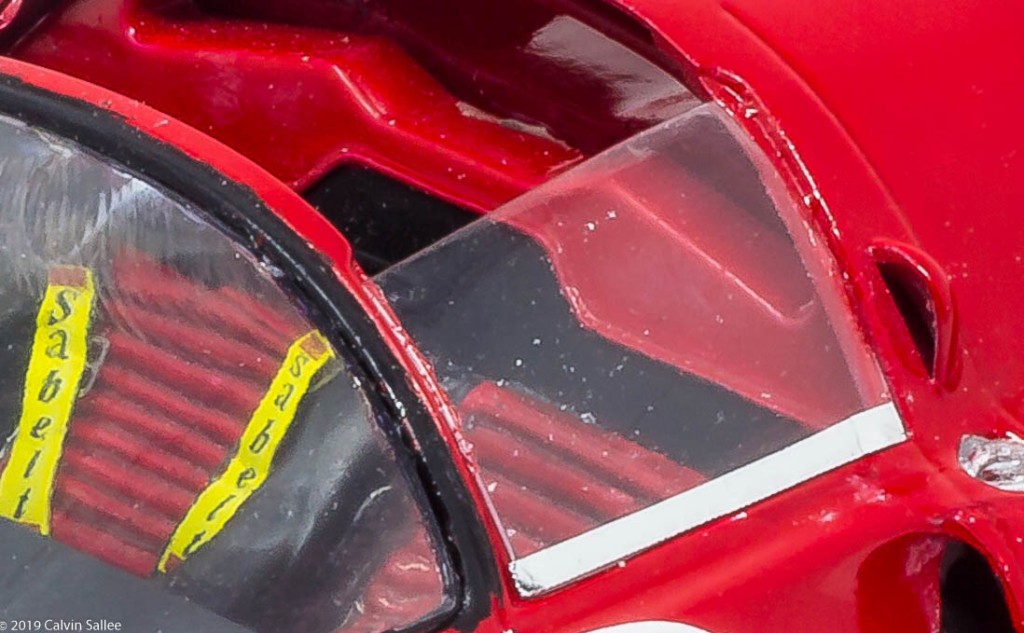
Glue the side windows in place and I recommend using Bare Metal foil for the metal strips that outline the side windows, NOTE this might vary between the different races and cars.
After all the clear plastic has been attached its time to decal the car of your choice! Indycals has a selection of decals for this kit.
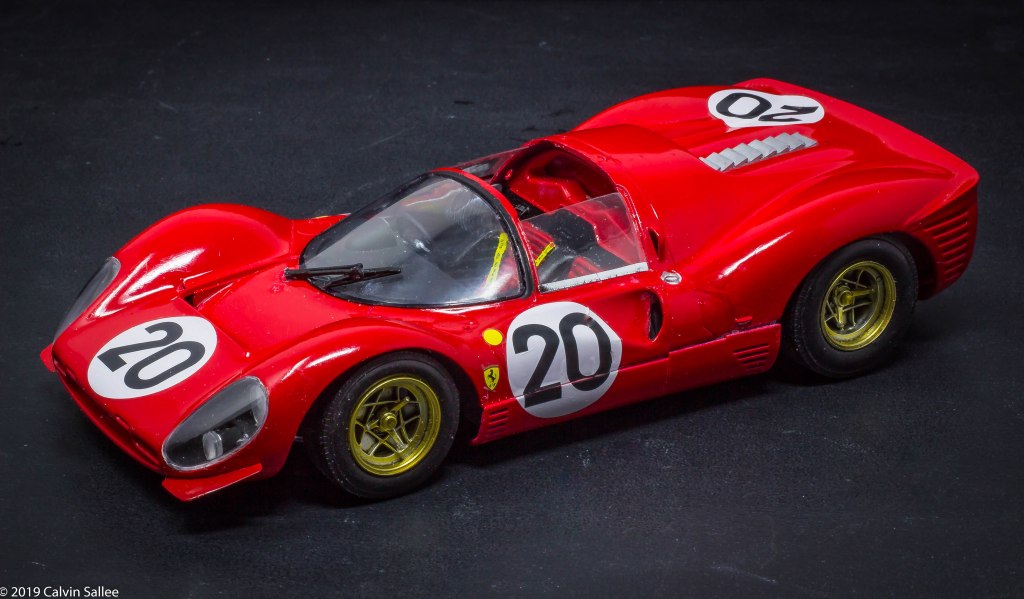
1967 #20 Lemans decals can be purchased at Indycals
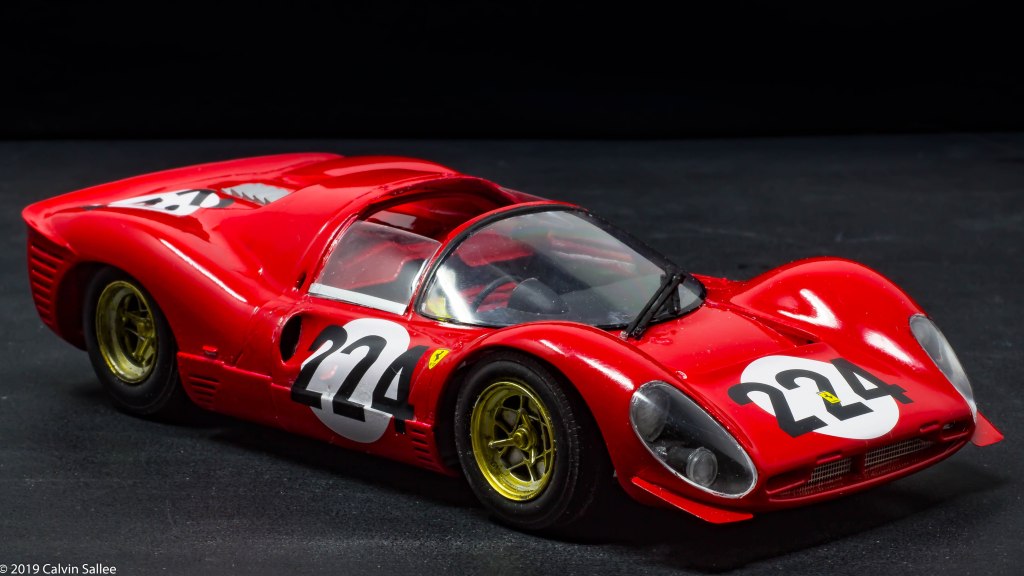
1967 Targa Florio #224 Decals can be purchased at Indycals
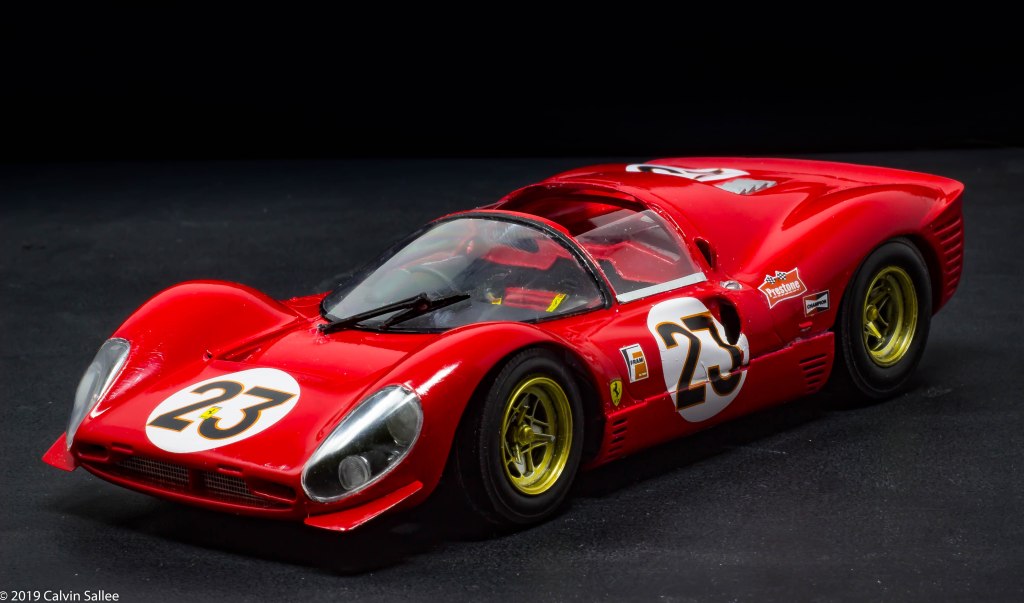
1967 Daytona 24 hour winning #23 decals can be purchased at Indycals

Other notes:
I used an AmazonBasics Photobooth for all my finished work. I highly recommend this photobooth, its very easy to set up, it fold-ups and fits anywhere which really benefits anyone with limited space. You can buy an AmazonBasics Photobooth HERE
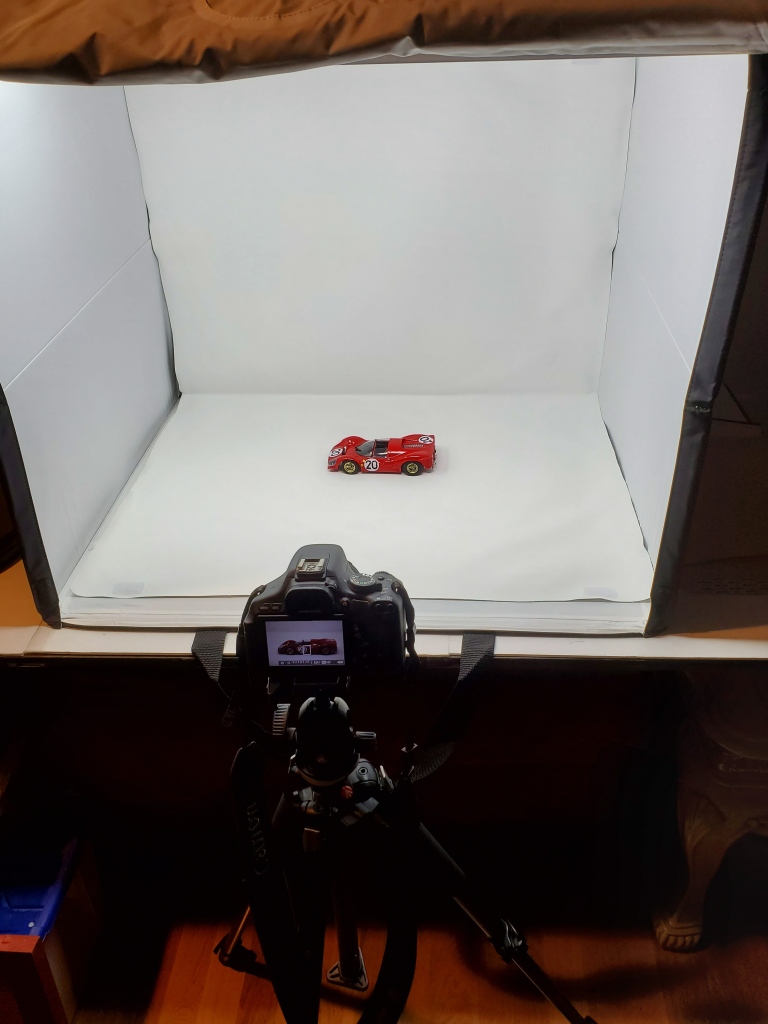
I used a Canon EOS Rebel T3i Digital SLR Camera with a Canon 50mm Prime lens