
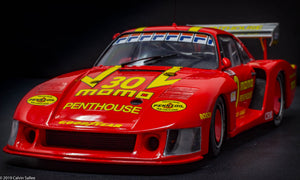

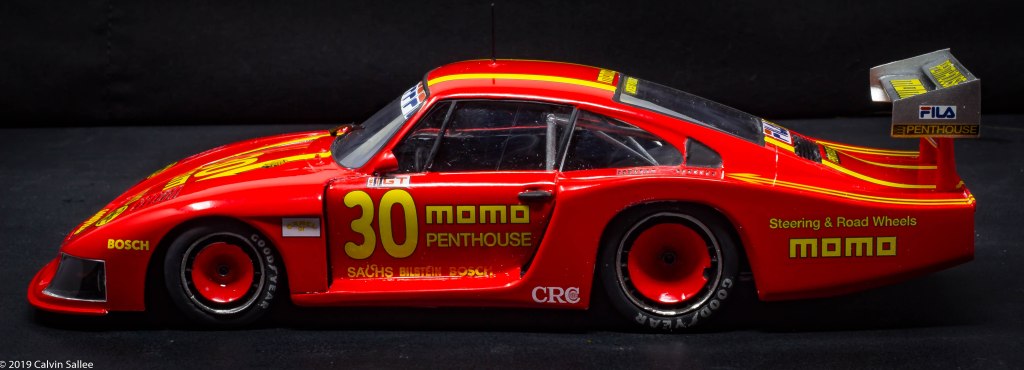
This blog post is for converting the 1/24 Tamiya Martini Porsche 935 “Moby Dick” plastic kit into the IMSA 1981 MOMO Porsche 935, Riverside 6 hr version, Sears Point, Portland, Road America or Nurmberg race version.
The project….
Pictures of the 1981 MOMO Porsche 935 can be found here at Racing Sports Car Photo Gallery 1981 Sears Point 100 1981 Portland 100 1981 Road America 500
About the kit….
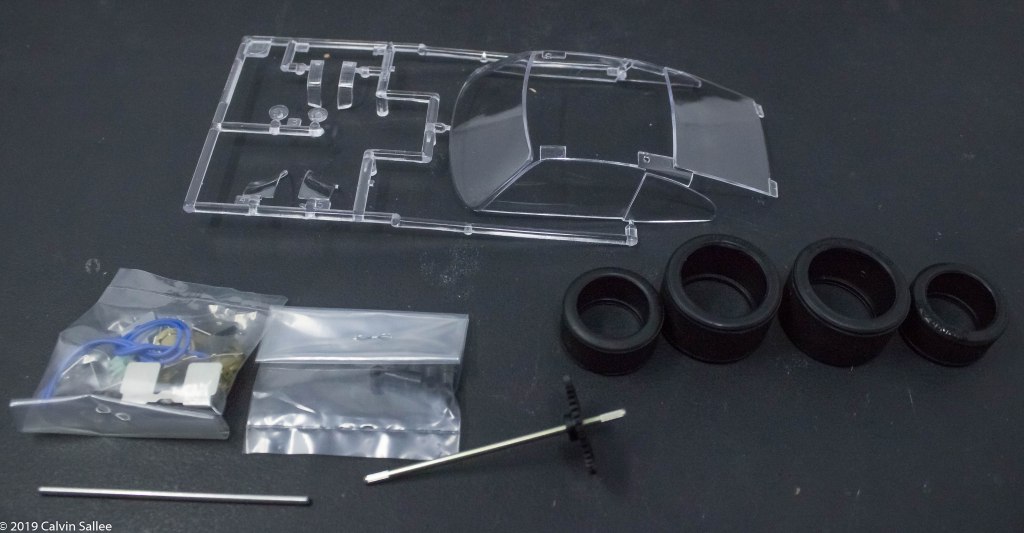
-Resin conversion kit


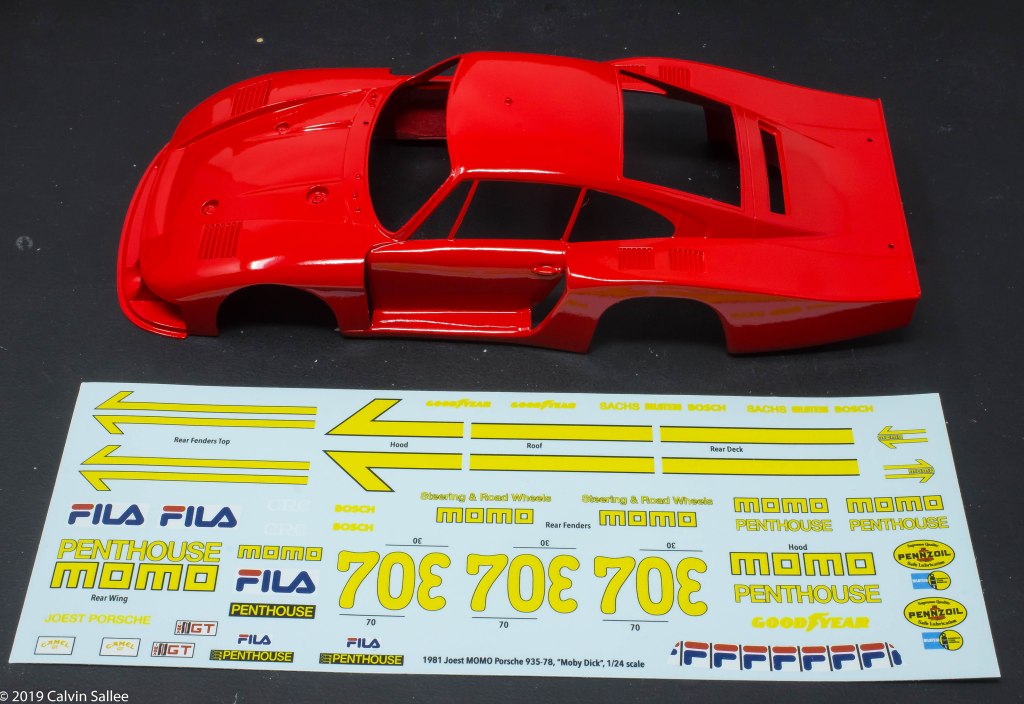
You can purchase a 1981 MOMO Porsche 935 conversion kit at my website HERE It comes with two resin doors that replicate the MOMO IMSA 935, rear bare aluminum rear wing assembly with angled endplates.
-Decals
Decals can be purchased at Indycals HERE

Decals can be purchased at Indycals HERE
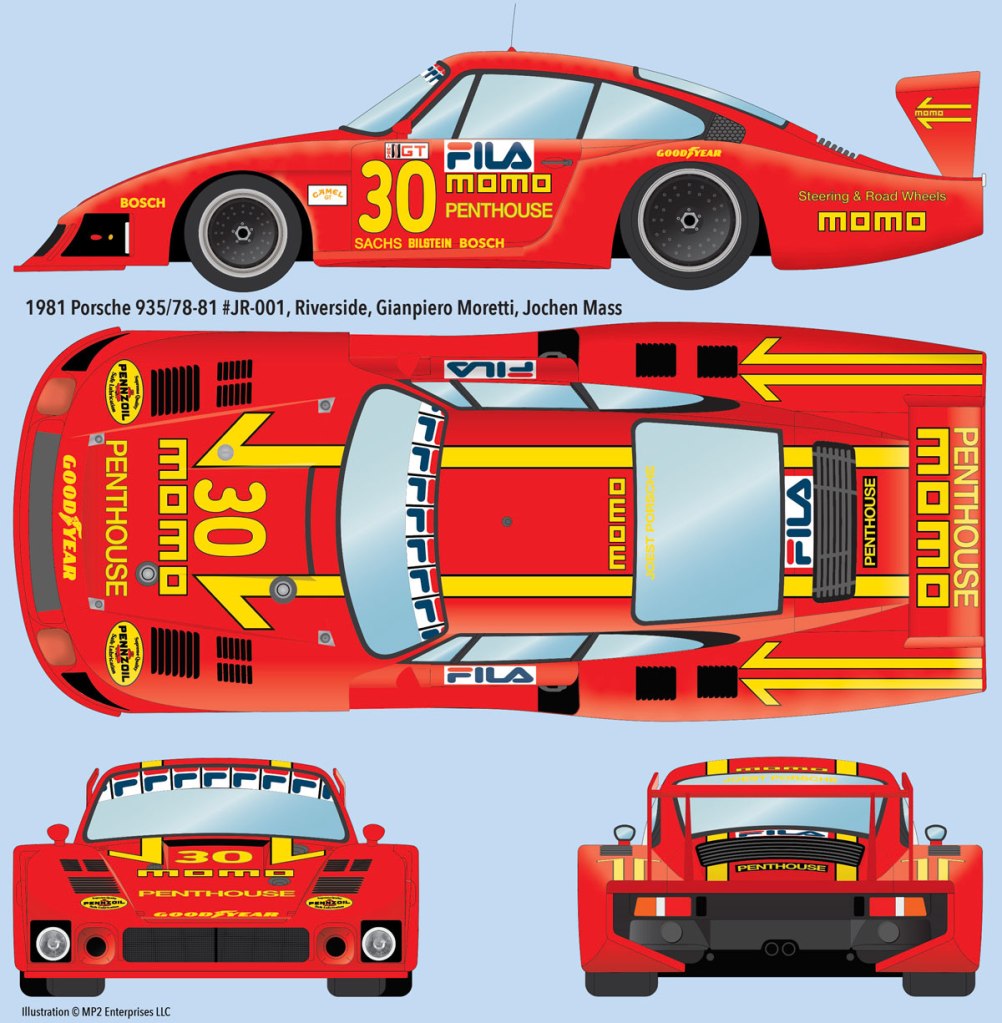
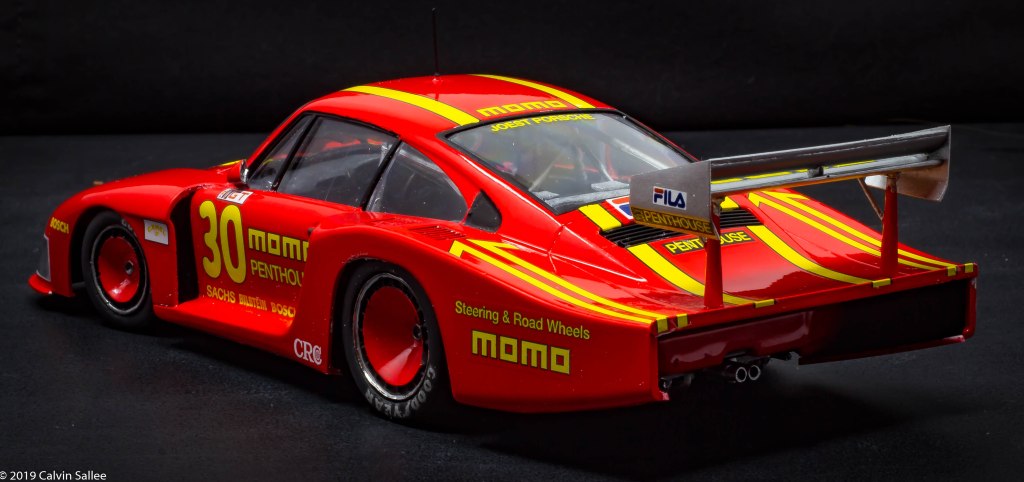
These decal placement artwork by Indycals depicts the 1981 Riverside 6 hr layout and uses the Tamiya kit rear wing. The rear wing in my kit is the bare Aluminum rear wing that was mostly used during the IMSA season and in the Nurmberg race as seen in the illustration below….

Decals can be purchased at Indycals HERE
The Nurberg version of this car, uses the aluminum rear wing which is supplied in this kit.
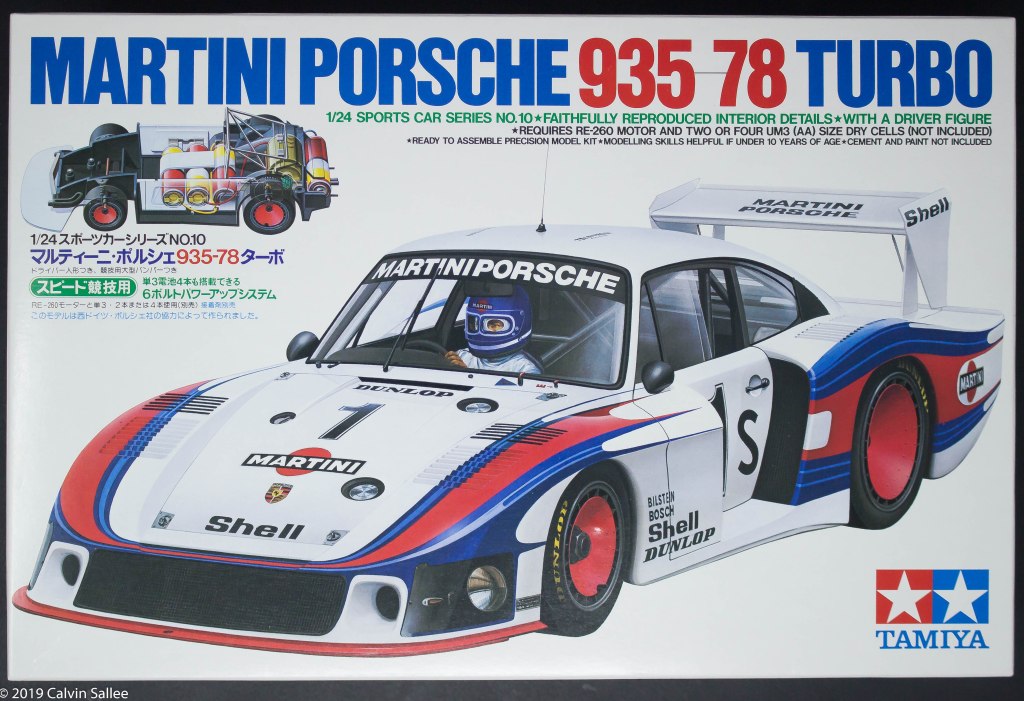
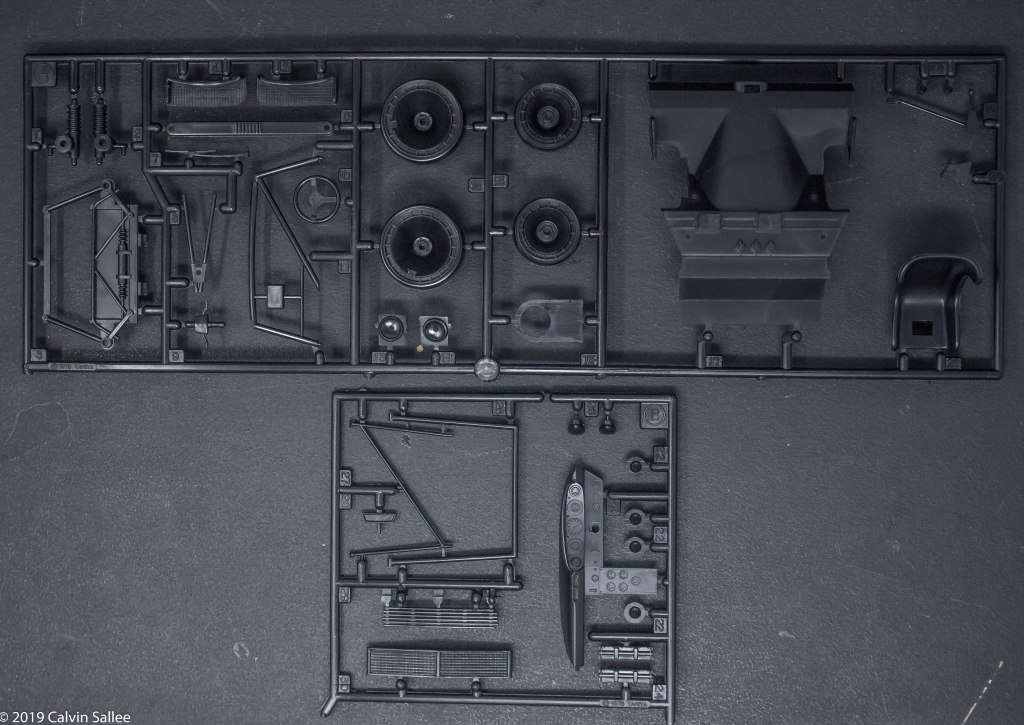
1/24 Tamiya plastic kit
Designed in 1978 by Tamiya model company, this kit was originally designed for an electric motor and batteries. The body is beautifully shaped to look as real as it can get. The chassis is very basic with very minimal detail. Many 1/24 Tamiya Martini Porsche 935-78 Turbo kits can be found on ebay HERE


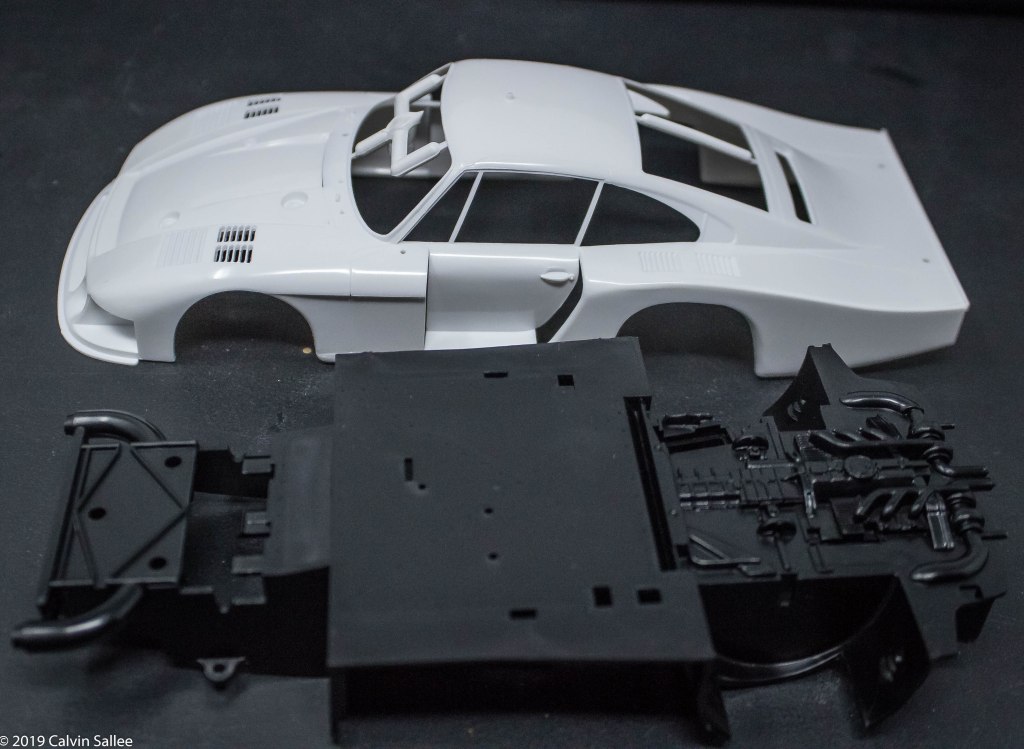
The build-up…..
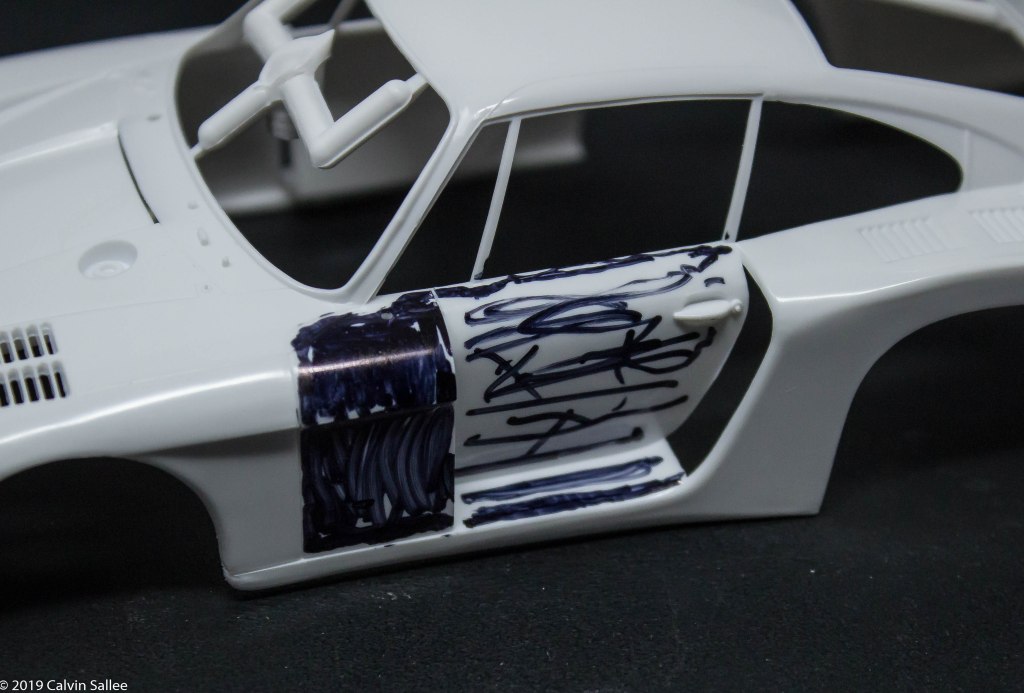
The MOMO Porsche 935 did not have these front fender extensions. Everything in black needs to be removed
This part takes some concentration and patience. Use a thin razor saw the fits onto an X-acto knife. Cut along the kit body line as best as you can. Be sure not to cut off the window moldings off too much as you will need these to touch the new resin replacement door. If you are brave, you can use a Dremel and quickly grind out the sections that need to be removed…
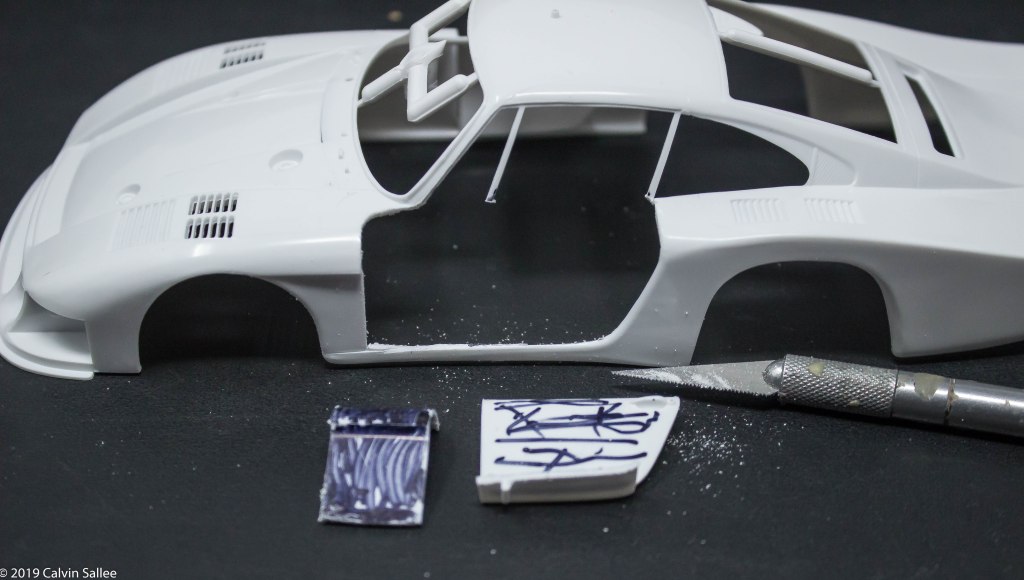
If you dont get the cut lines perfect you can easily use Apoxie-Sculpt to fix the lines. 9 times out of 10 this will be part of the building process.
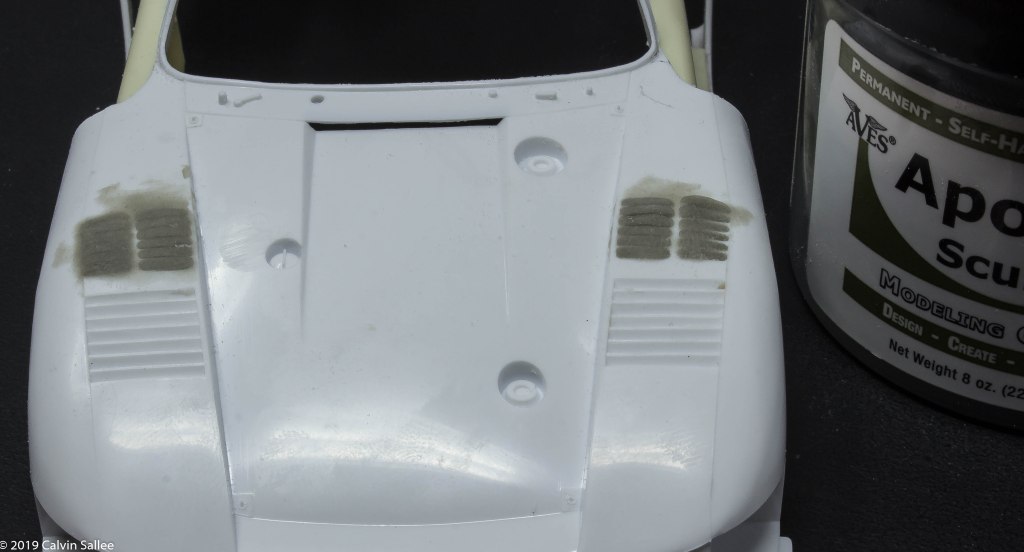
The 1981 Momo Porsche didn’t have the top fender louvers. So those need to be filled in with Apoxie-Sculpt. Be sure to wet down the Apoxie Sculpt and press it well into the louvers and blend it into the gaps.
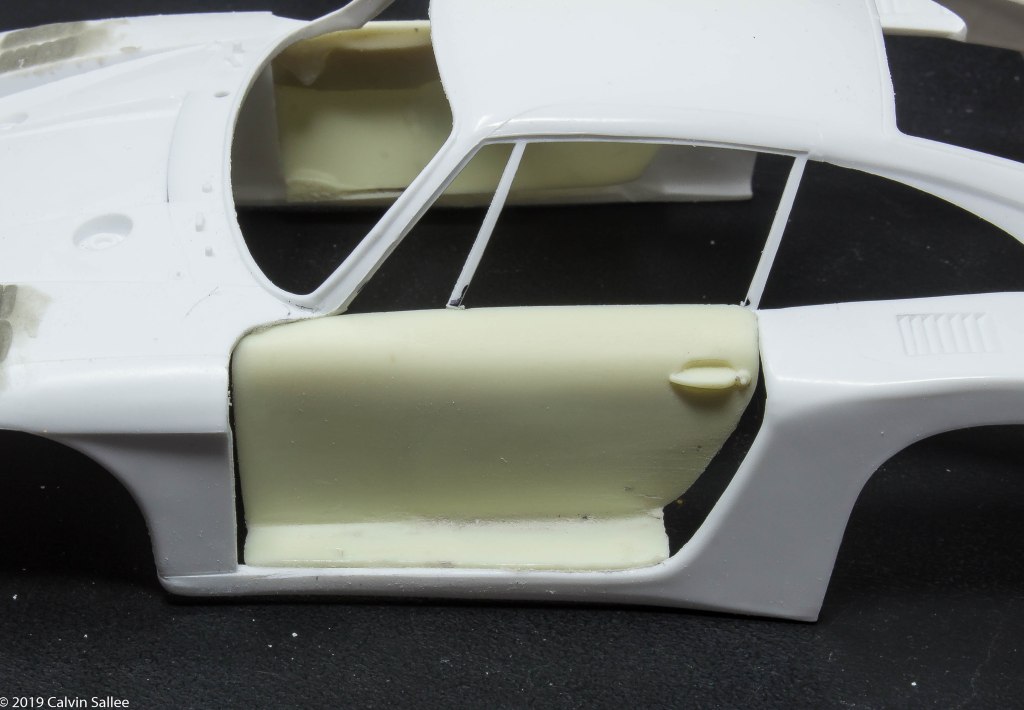
Use Super glue to stick the doors into place. Glue the bottom of the door in first from the inside. and make sure the front top of the door is somewhat under the front fender edge. Make sure the window moldings are slightly touching the resin door.
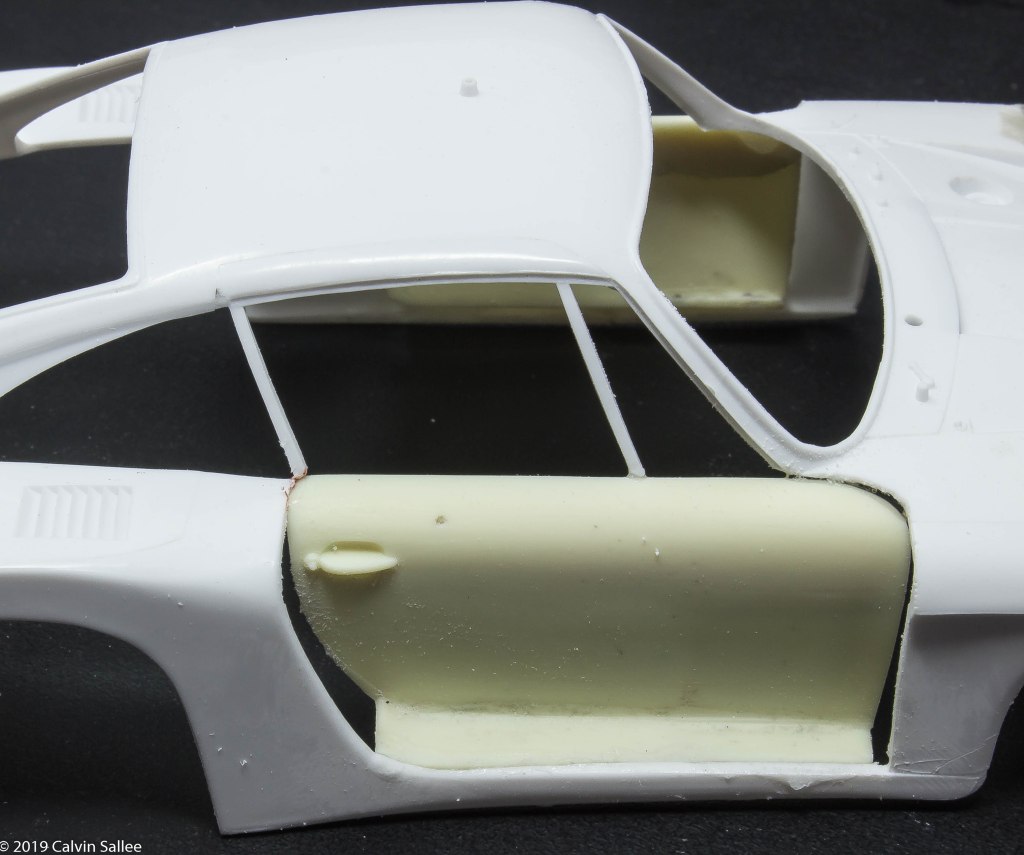
Be sure to test fit your door and get your hands and motor skills trained to handle the door the best way possible to make the gluing process easier. I also recommend using a fresh super glue, old super glue loses some of its instant grip. After your initial gluing, do an extra round of glue on the inside to make sure there is the most adhesion possible.
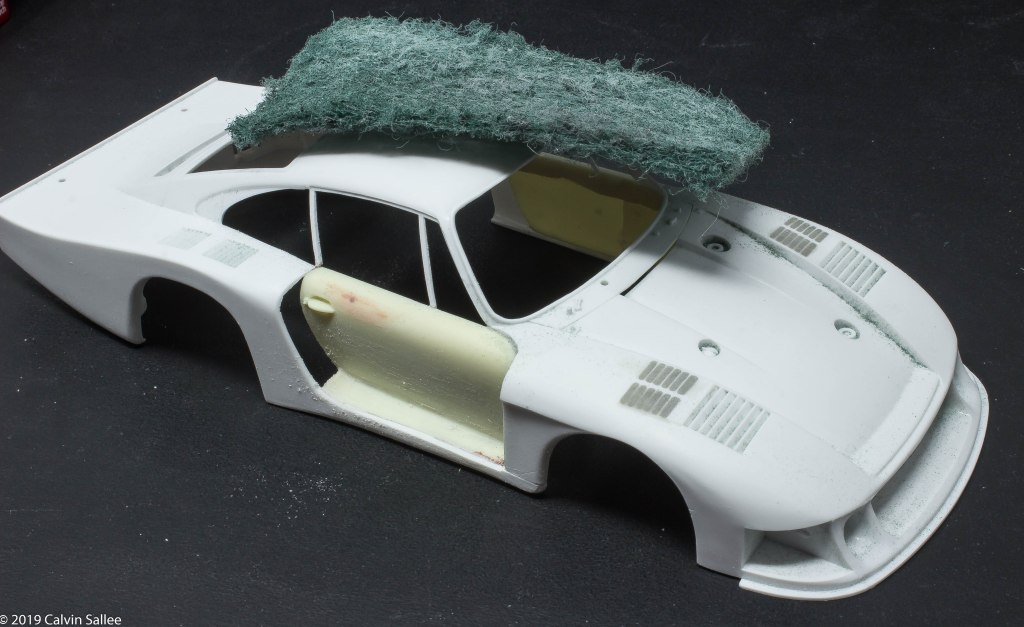
Scuff the entire body with Scotch brite green scratch pad to take the shine off the plastic surface and make slightly roughed up surface for the Primer to adhere to properly. If you fail to scuff the body, your paint job will not stick and will flake off because its like painting over a glass surface, it doesn’t stick.

Give a nice light coat of Tamiya Grey Primer to find all the problem areas
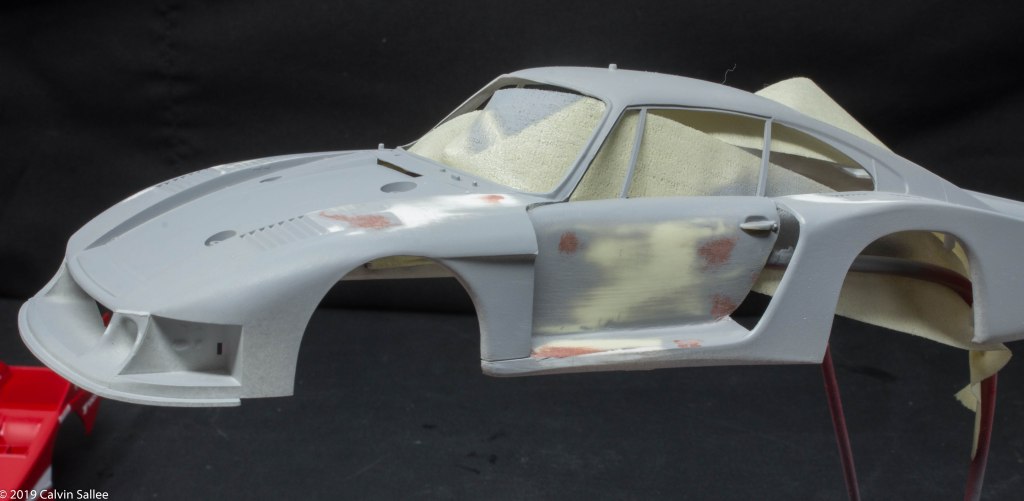
The grey is easy on the eye and shows the bad spots on the body and or contamination areas that need to be addressed. Sand and use Bondo spot filler to cover over any pin hole or rough spot.
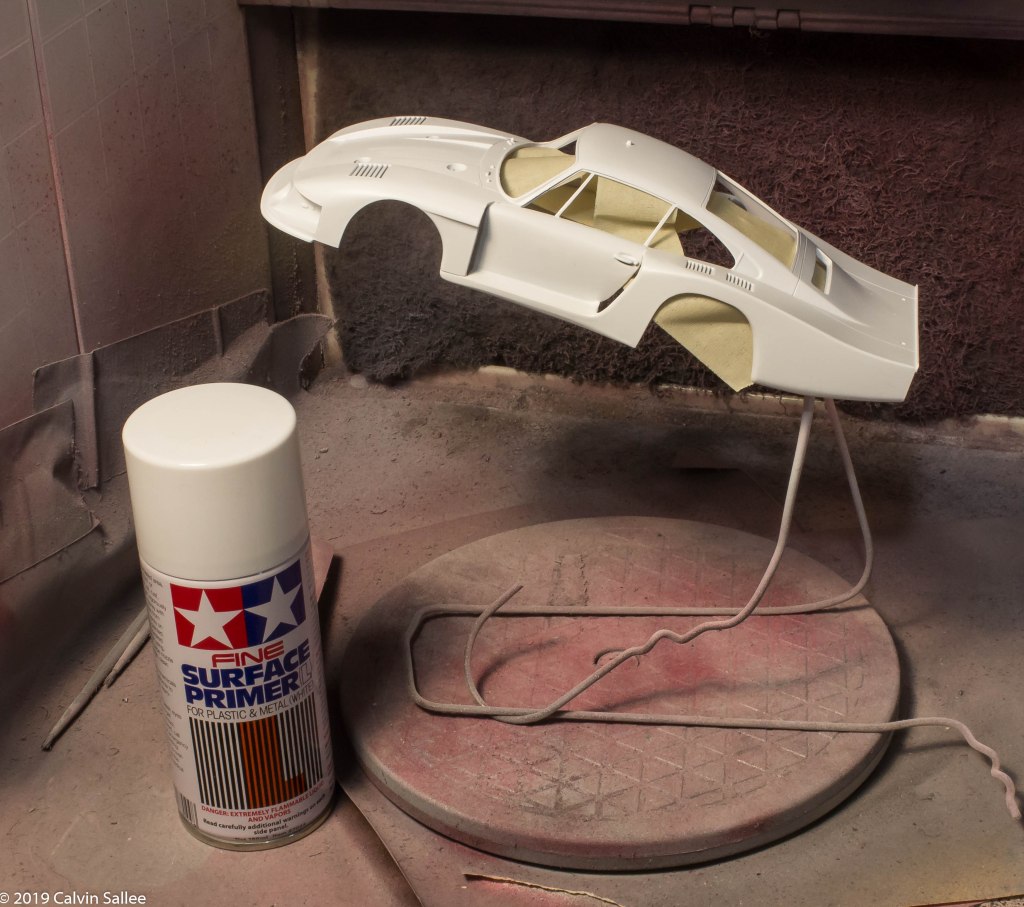
I recommend using Tamiya White Surface Primer – Spray light coats until the entire surface is all white. Doing this will insure the Bright Red will be the proper shade in all areas of this car as Tamiya Paints are very thin and any color under the layer of paint will show though, so that’s why its important to lay a nice coat of white primer down first.
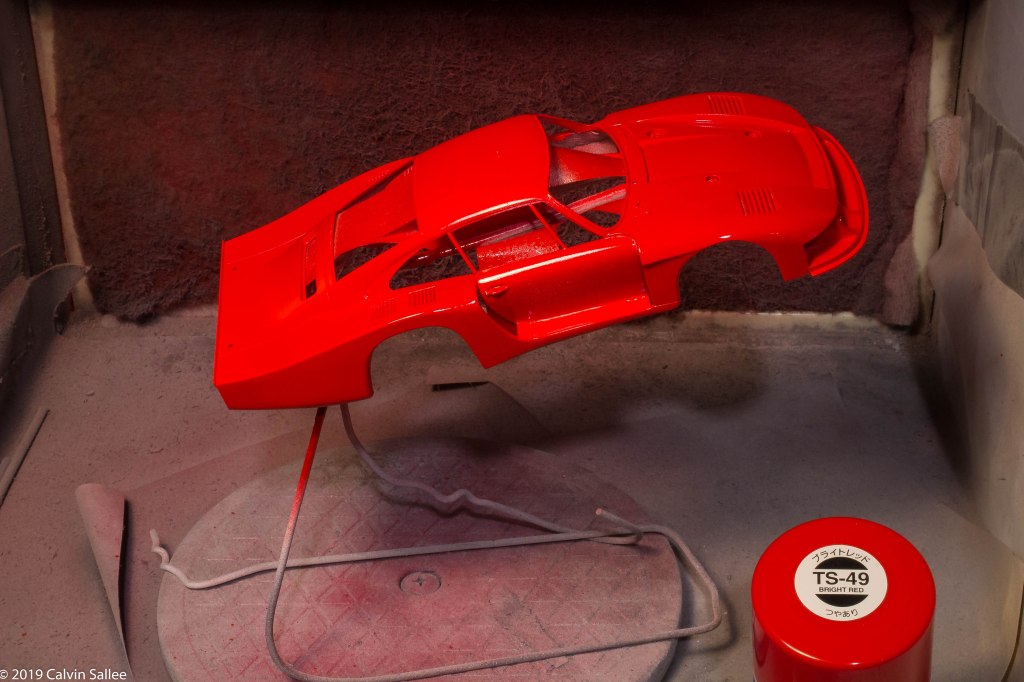
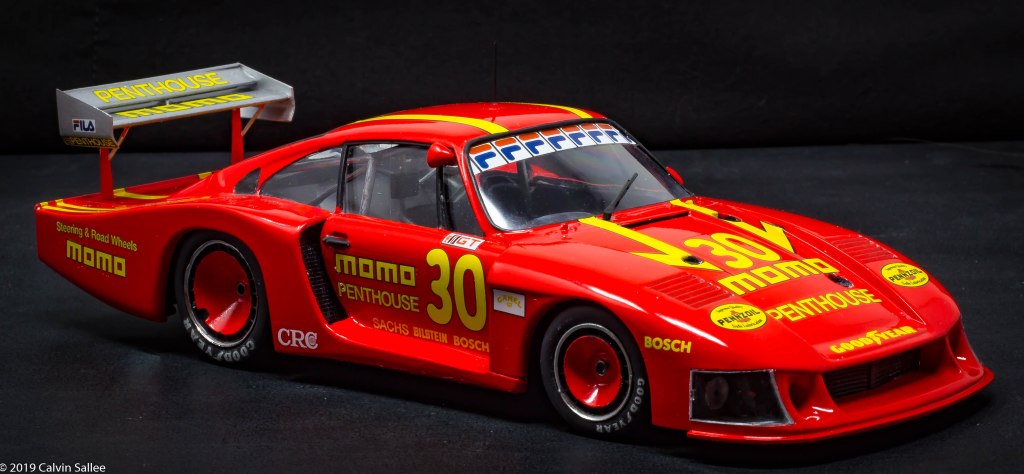
I recommend using Tamiya TS-49 Bright Red, but this can be debatable. Red is always a controversial color. A lot of older pictures of this car look like a darker red. But I found a number of good quality images that show this paint job as Bright Red. I also compared pictures of the Coca-Cola Porsche and the Miller Mustang in the same shot as the MOMO Porsche and the MOMO Porsche is always lighter red than those cars and we know the Coke and Miller reds are a traditional shade of red.
I use the Master Airbrush Brand Lighted Portable Hobby Airbrush Spray Booth Ive been using it for over 7 years and it keeps going and works great
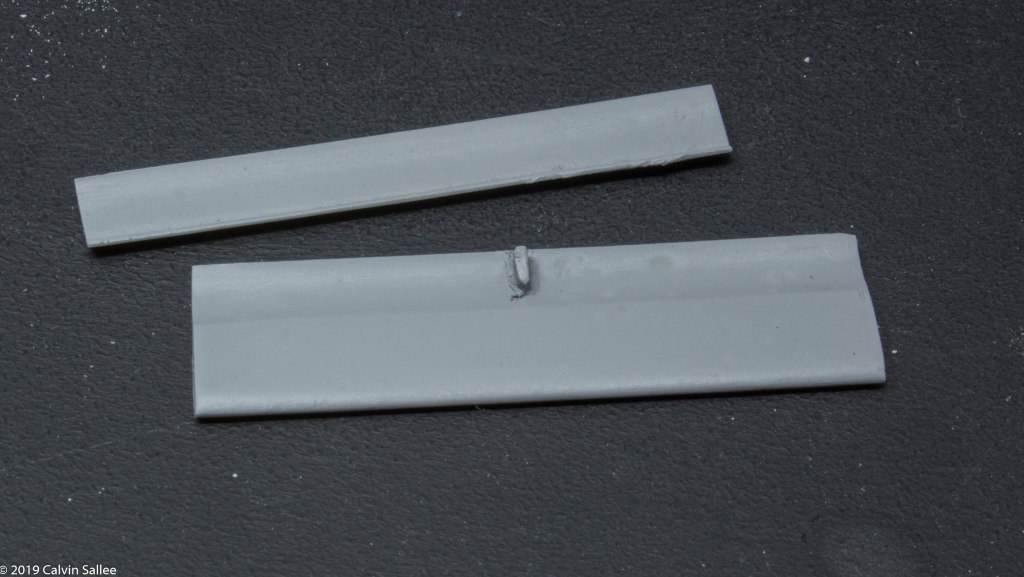
Use Tamiya Grey Primer for the rear wing assembly to make sure the surface is good and clean for the coat of Flat black, then Aluminum paint.
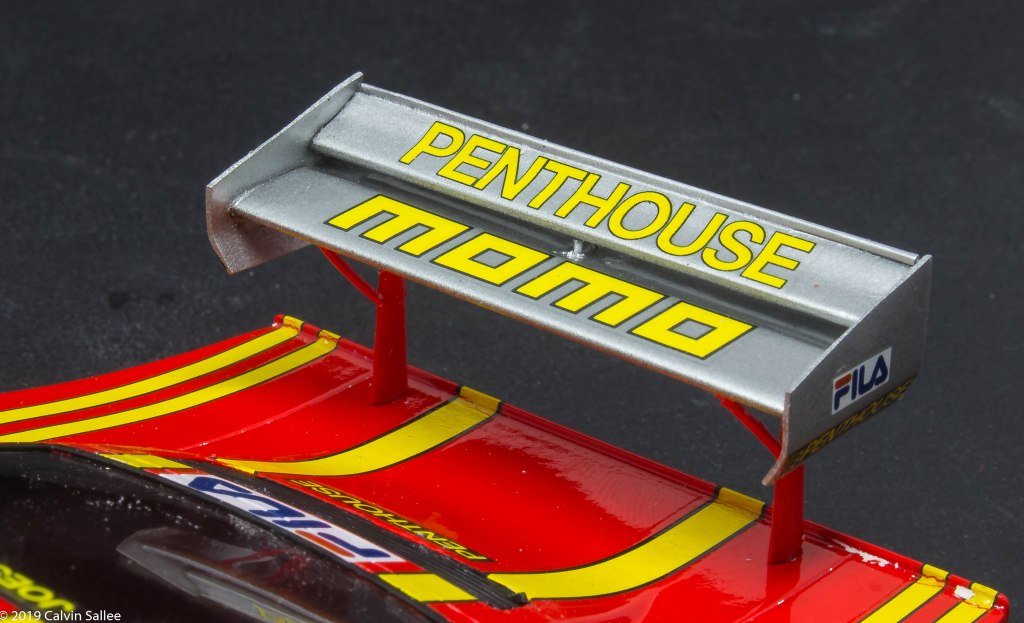
I recommend spraying a light coat of Lacquer Clear over the Aluminum paint to seal the metal flakes down before applying decals, because if you clear coat over your decals, metallic paint has the tendency to lift and move around when clear coat is applied, and not apply clear before decal application will result in a strange shade difference around the decal film.
You can choose how you want to construct the rear wing. I prefer to put it together before final paint work. I primered the parts to make sure they are clean and then super glued all the parts together and applied the flat black, then aluminum, then light coat of clear, then decals, then a final coat of clear to protect everything. I painted the wing struts Tamiya TS-49 Bright Red.
My favorite part of model building is applying the decals to the body. Decaling takes a lot of experience and finesse. Every decal manufacture, age, type has its own characteristics and that’s where the knowledge and experience comes in. Applying decals take precision, finesse, and good motor skills to handle the thin decals. Luckily using Indycals decals is a best case situation. Indycals decal sheets are forgiving and wont crack from dryness, they not too thin or not too thick, the colors are correct and the whites are VERY white with very minimal bleed though of the underlying color. Most other decals, especially kit decals have TERRIBLE bleed though and completely ruins the whole model build.

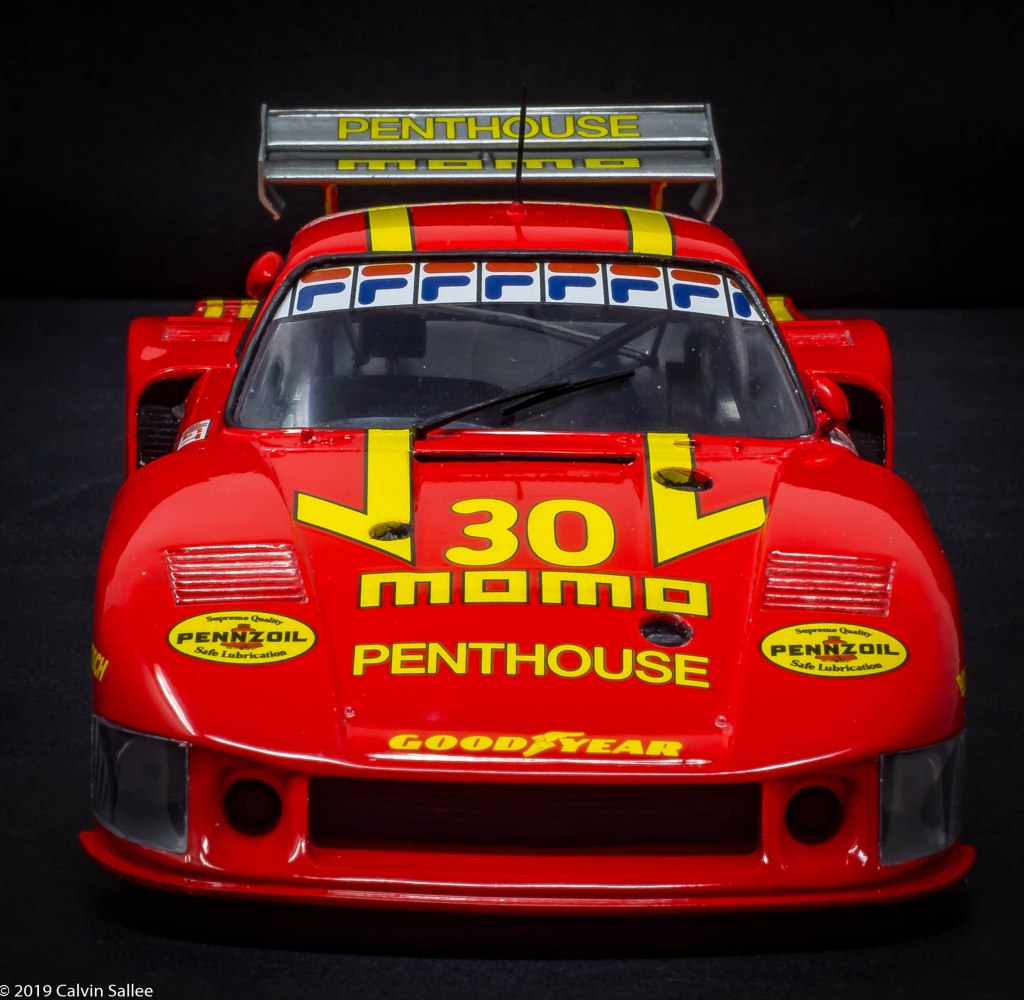
When you start the decal application, I recommend starting with the deck lid logos, first, then apply the yellow stripes on both sides of the to figure out where the yellow stripes need to be located. Be sure to keep the decals wet to not dry out and start sticking because you need to adjust them.

I highly recommend using Walthers Solvaset Decal Setting Solution. The Solution softens the decal film so it snuggles down to the surface and stretches over details, such as rivets, without hiding them. Make sure you have your decal placed into the location you want before adding decal setting solution on as it will “melt” the decal fim onto the surface and after it dries, it will look like paint. Also adding decal solution will help remove air bubbles from under the decal film. Indycals decals react to the Walters Solvaset Decal setting Solution very well and Ive had no issues using this combination. I prefer the Walters Solvaset over others because its aggressive and gets the job done.

After decaling the body, be sure to apply flat black paint by brush, I use Tamiya Acrylic XF1 Flat Black to the inside of the body and the window moldings, this takes a steady hand. Super glue the window assembly into place. Apply the decal to the front windscreen and rear window.

and before putting the body over the chassis, make sure the dash is total glue to the bottom so the body fits all the way down. I had trouble with the dash touching.
After the body is applied onto the chassis, stick on the front headlight covers and attach the antenna and off to the photobooth the model goes!

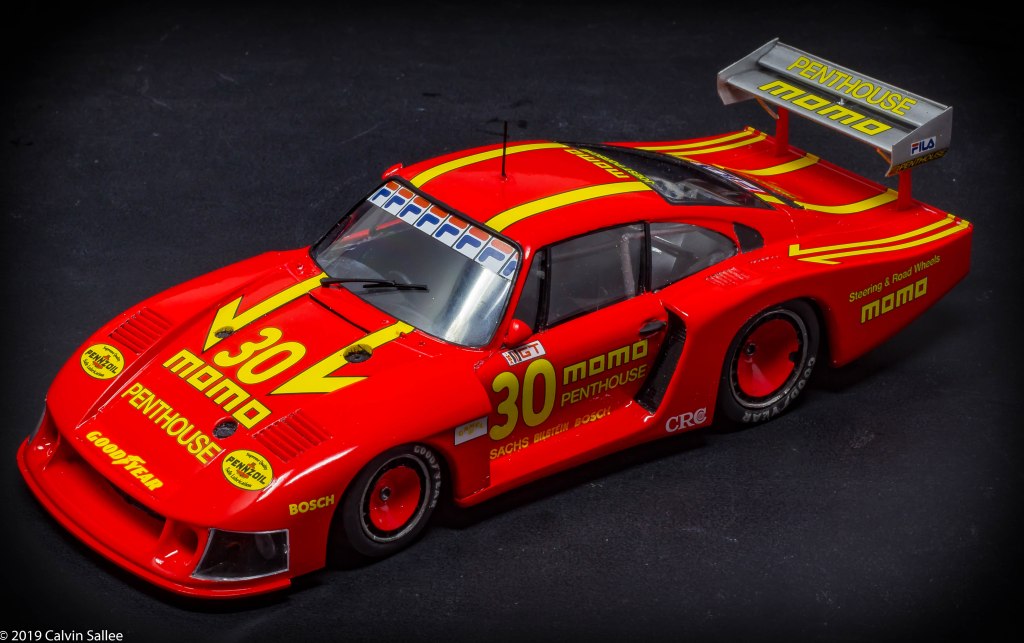
I used a I used an AmazonBasics Photobooth for all my finished work. I highly recommend this photobooth, its very easy to set up, it fold-ups and fits anywhere which really benefits anyone with limited space. You can buy an AmazonBasics Photobooth HERE
I used a Canon EOS Rebel T3i Digital SLR Camera with a Canon 50mm Prime lens