

About the kit…..
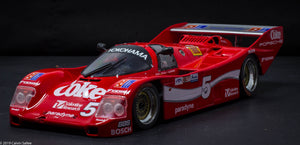
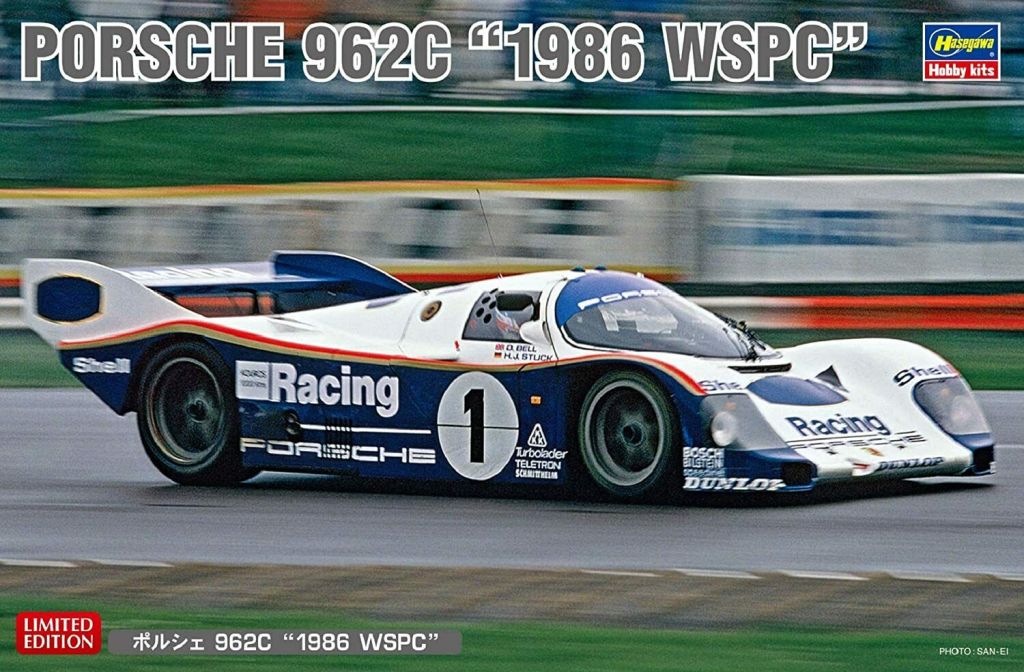
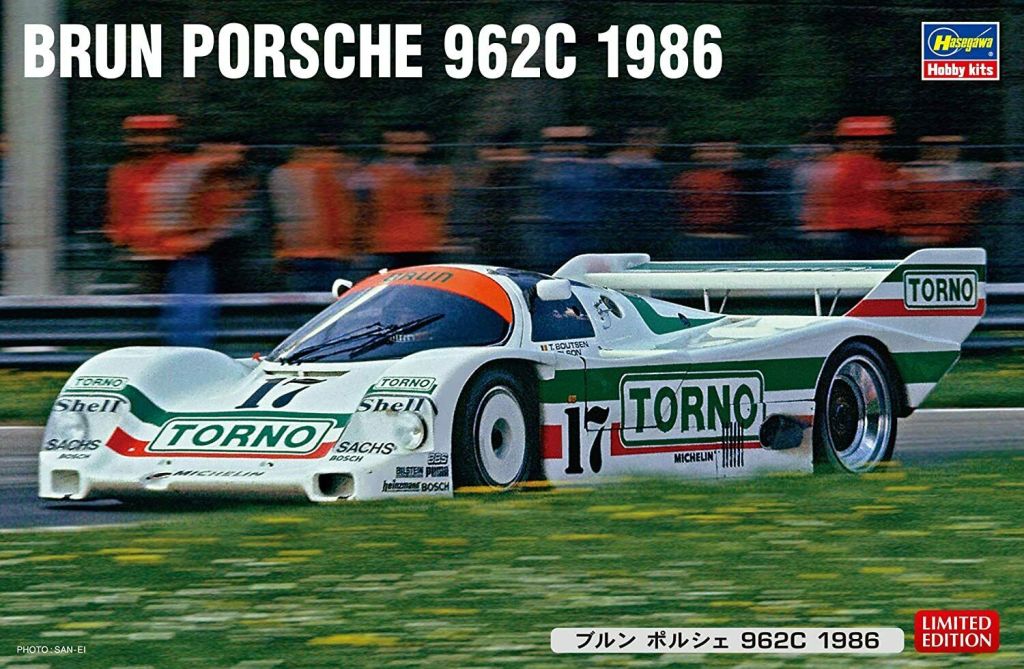
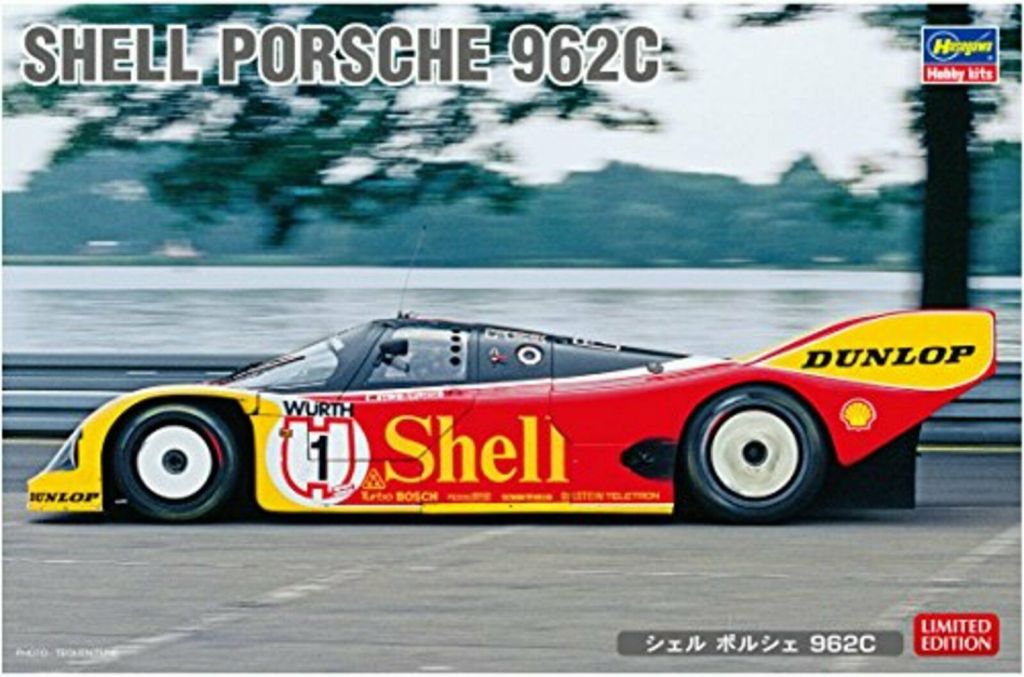
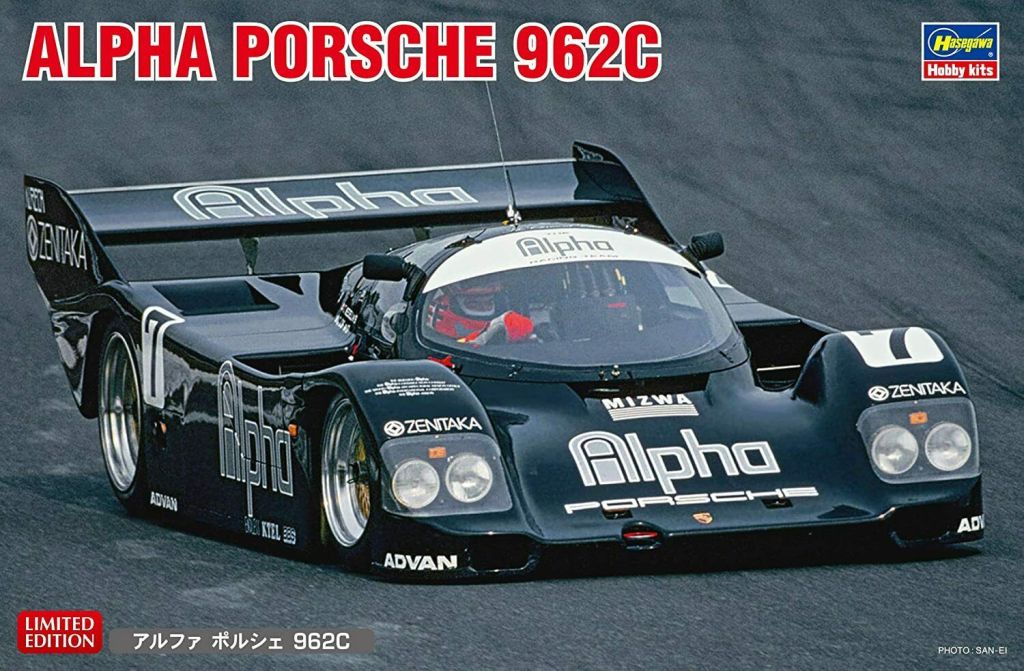
This conversion kit is for any of the 1/24 Hasegawa or Revell Porsche 962C kits and will replicate the 1986 12 Hours of Sebring winning car of Bob Akin, Hans Stuck, and Jo Gartner.

You can purchase a conversion kit from my website HERE… Easy checkout, you dont need any account, I accept Paypal and credit card. The kit comes with the proper turbo hump that was used in the 1986 12 Hours of Sebring, along with replacement side panels, naca roof duct, naca duct plugs, BBS wheels, and simple instructions.

The Donor kit you need
Any of the 1/24 Hasegawa or Revell Porsche 962c kits will work, even though each kit might have different wheels in the kit, thats doesn’t matter as the IMSA Porsche 962 conversion kit comes with wheels and tires.


The Decals
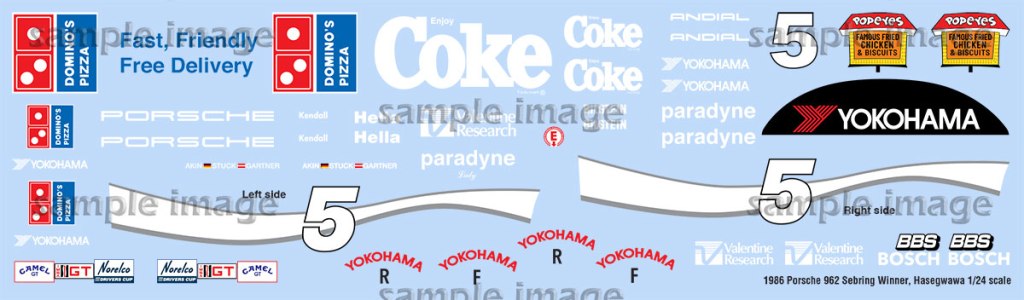
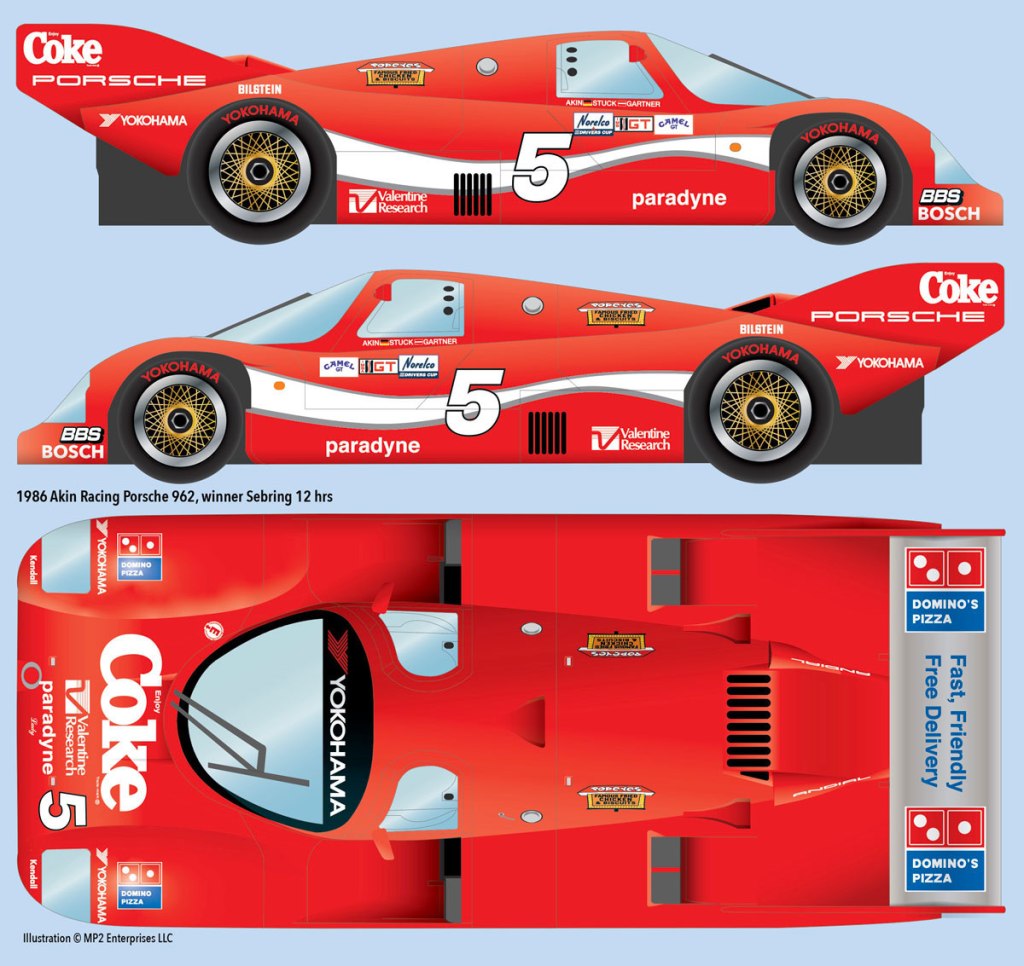
Indycals has a beautiful decal sheet for this kit. These decals accurately depict the winning car from the 1986 12 hours of Sebring. Many replicas of this car got the main sponsor logo wrong – in 1986 they were sporting a ‘new’ bold product and along with that came a new logo. Indycals got the logo correct!
Fax about the car…..
The 1986 Coke Porsche 962 had the new “Bold brand look” taking on the bold “Coke” logo for 1986 when Coca-Cola changed its formula to compete with Pepsi, after Pepsi beat them in sales for the first time in history.
This website has beautiful reference pictures of the restored 1986 12 hours of Sebring winner http://www.stanceworks.com/2018/09/coke-porsche-962/ But take note the car on race day did not run the white wheel covers as seen on raceday, but with the open gold and chrome BBS wheels.
The build-up…..
I recommend using Grey and White Tamiya lacquer Surface Primer for this build. Its important to use lacquer on resin parts for best results. Its best to avoid enamel paints over resin parts at all cost. Unless you use lacquer primer as a base, you can apply enamel over lacquer paint.
The recommend color for this build: Tamiya TS-8 Italian Red for the overall body color
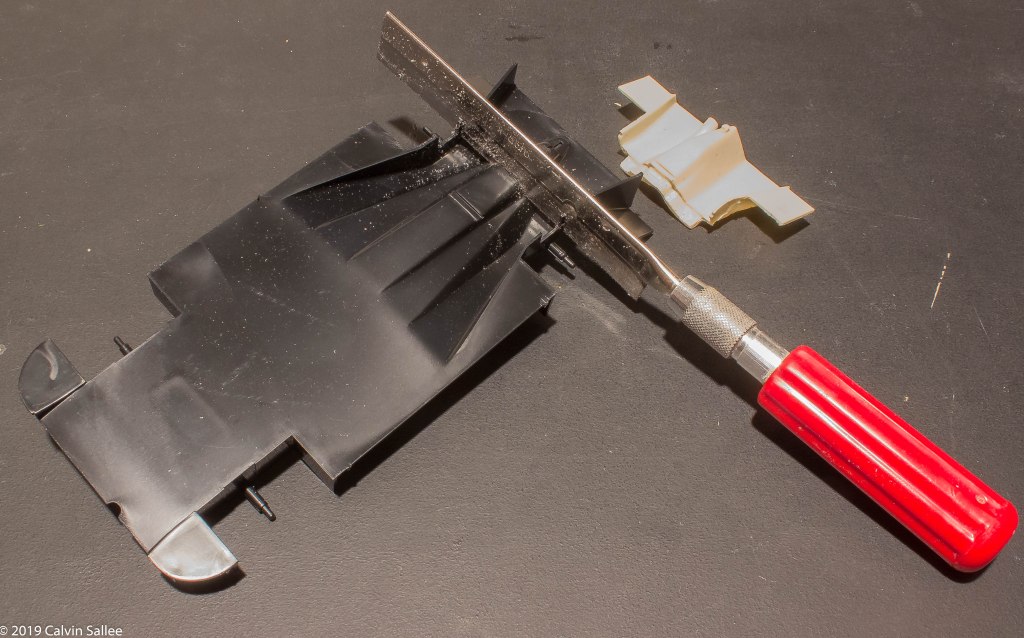
The first step is to cut of the last part of the under-tray to fit on the larger ground effect tunnels. Using a Razor saw, saw right on the leading edge of the rear bottom A-arm mounting point.

Superglue the ground effect tail end onto the plastic kit chassis. Be sure to use plenty of glue for a good weld

Add Apoxie-Sculpt, if needed to fill-in any gap of ridge. Sand the bottom of the tunnels smooth after the Apoxie-Sculpt cures….

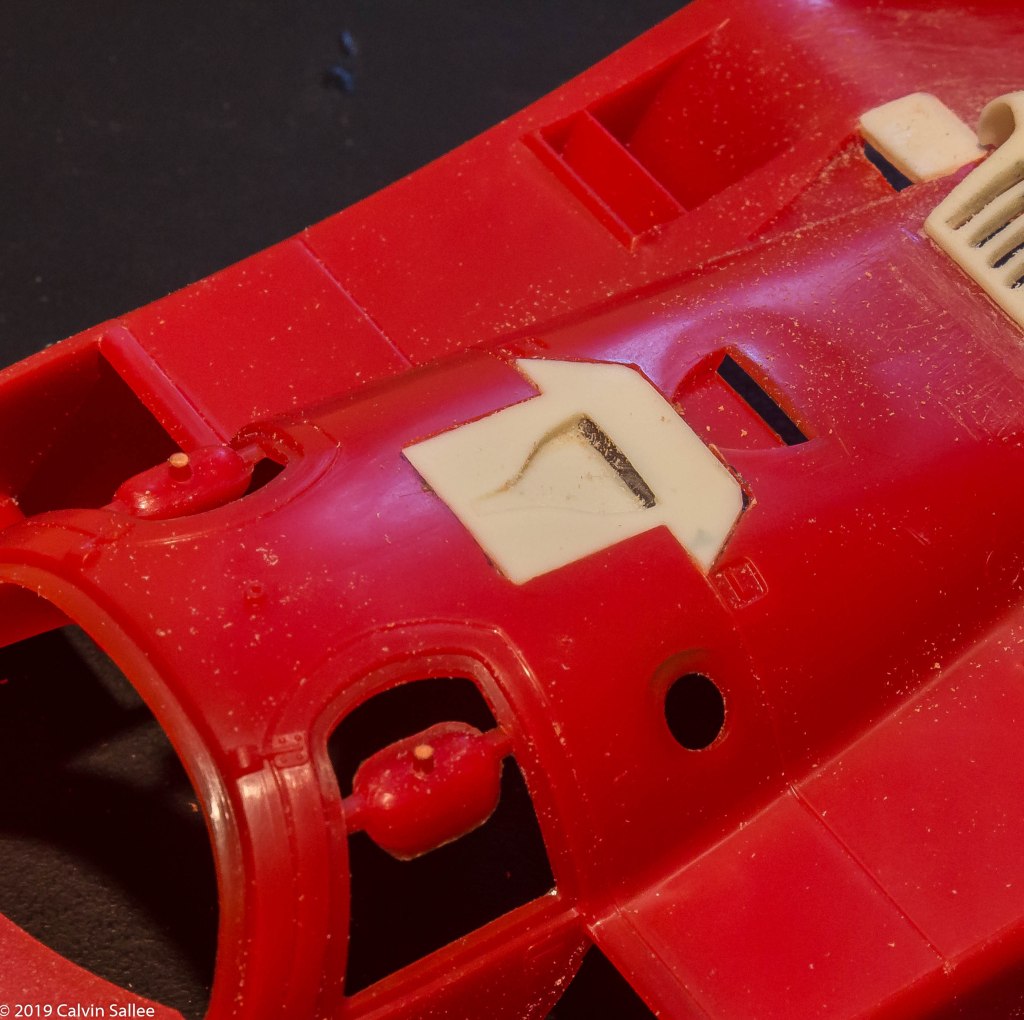
Using a Dremel, grind out the square raised part of the rear side naca ducts

Test fit the turbo hump on the rear. The resin turbo hump has an indention of the naca duct underneath that will help align the turbo hump on-top of the body work. But, before gluing the turbo hump on-top of the bodywork, I recommend tracing out a section where the vents of the turbo hump is, to cut out an open section for a more realistic look. Not opening up this section inside of the turbo hump vent section will make for a tricky painting situation later on.

Use an ink pen to mark out the section for the turbo hump area and mark the section of the top roof naca duct.

Use the Dremel and grind out the marked sections – use sanding files and or metal files to smooth out the edges of the cut out sections.

Test fit on the two rear naca duct sections with the square resin blocks.

Superglue the resin blocks into place.

Its recommended to take a sanding file to rough up the are where the the resin turbo hump will be super glued on. This gives the super glue a roughed up surface to grab onto.

Super glue the resin turbo hump into place. Align into place before the glue sets-up.
Superglue the top roof naca duct into place. If there is some gaps, there is no need to worry as you can fill these spots with Apoxie-Sculpt, which that step will come later….

This step is optional – if you don’t want to cut anymore off your body you can simply glue on the exhaust side plug on each side. But if you want the full replacement panels with vents, see the next step….

If you choose to add the whole square pannel with side vents, go ahead and mark the location that needs to be cut off. Use a razor saw to cut the two sides.

Superglue the side panels into place.

Use Apoxie-Sculpt to fill in any gaps on the attached resin parts. Add Apoxie-Sculpt into the old naca duct hole that is part of the kit. Be sure to rough up the surface before adding Apoxie-Sculpt so it has something to adhere to. The apoxie-sculpt will need 24 hours to cure properly and then it can be sanded down and leveled.
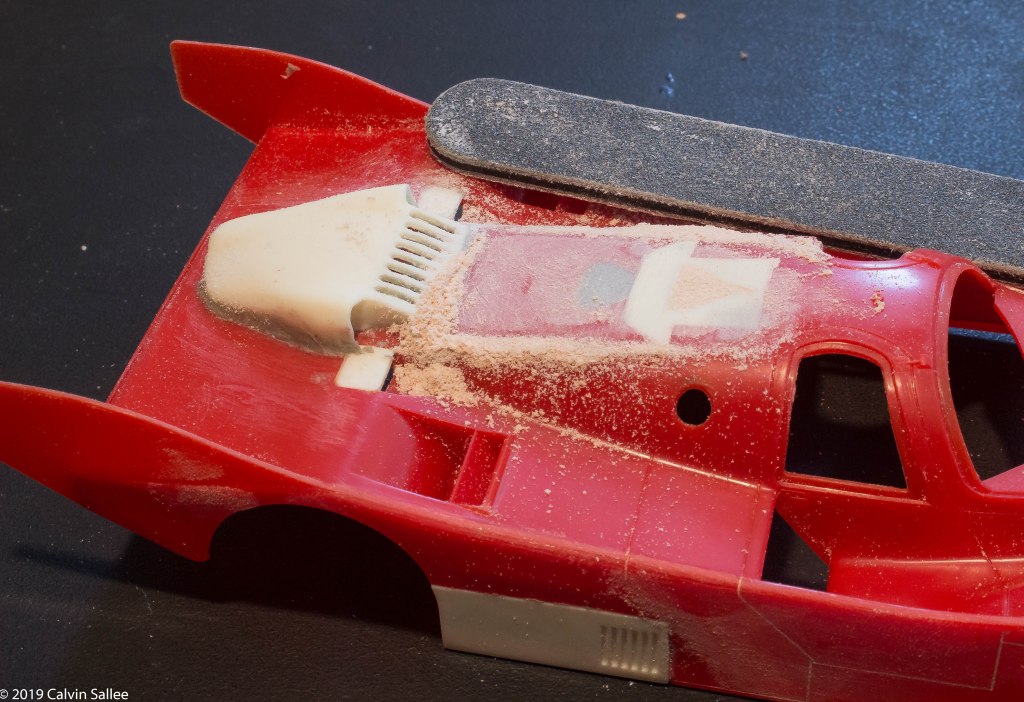
Sand all the bumps out smooth…..

Cut out a wedge of styrene to fit into the first section of the radiator exit and glue into place to make a “T” section in the radiator exit.

After the glue cures on the styrene wedge cut off flush and sand the top smooth.

After leveling out and sanding the Apoxie-Sculpt the entire body and any part of the kit that needs paint will require scuffing up the surface with a scotch brite pad so the primer has a nice surface to adhere to and grab onto.
After you have a dull roughed up surface and all course sanding spots are finely sanded out. Wash your body and parts with Dawn dish washing soap and scrub. This will help take off any oil or contamination off the body so the primer will stick.

When the body is dry and clean, use Tamiya grey primer in the modified areas of the body first. Adding primer shows any imprecations on your surface and most likely there will be some blemishes to fix. If there is an small hole or fine gap, use Bondo sport filler in the problem area. Use a dull x-acto knife to apply the filler. Let dry for about an hour and re-sand the surface until it looks smooth, then repeat the primer application until the blemishes are gone. This step is not necessarily exciting but is the most important to accomplish a desirable finish. A good finished paint job requires a lot of long and hard prep work.

When all the blemishes are all gone, use Tamiya White Primer to eliminate any color bleed-through with the of the body and other parts. Adding the Tamiya White Primer helps the Tamiya TS-8 Italian Red to have a nice white surface that will not effect the color of the red paint. Tamiya Lacquer paints are very transparent and need a nice white surface to lay over.

Apply very light coats during your first time of applying spray paint and focus on the hard to reach places. Take your time and observe every area of the body.

I traditionally apply three coats of Tamiya Spray paint with 1 hour intervals, ideally in 75 degree temperature, preferably in a dry climate.

I recommend painting the rear wing flat black first before spraying on the Silver/Aluminum/Chrome paint. Its always recommended to spray a matte black base coat before any metallic paint job, it makes the metallic paint ‘pop’ more.
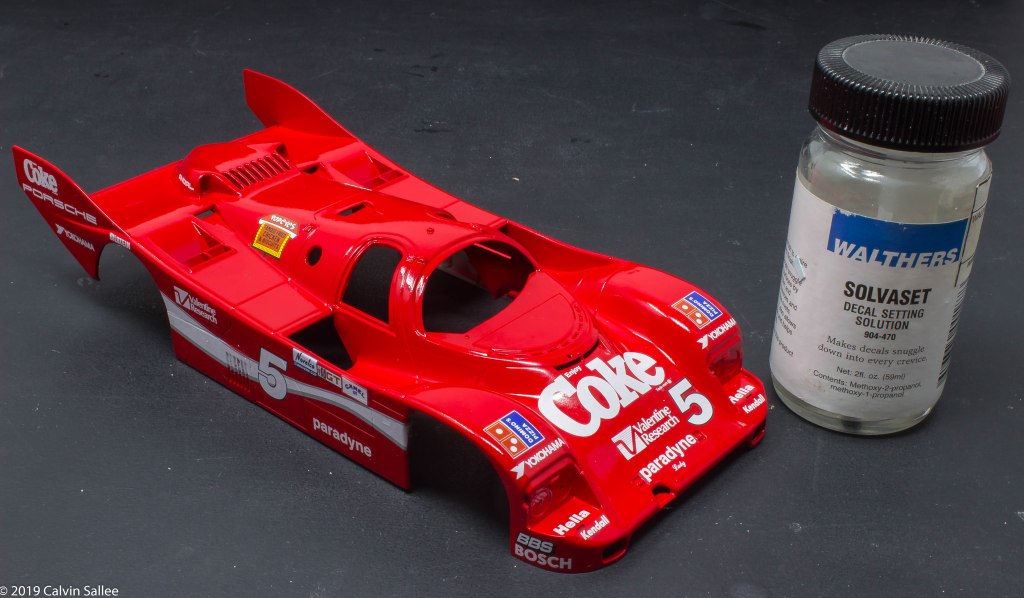
My favorite part of a racing car model build is the the decaling part. I prefer using Indycals decals whenever possible. The nice futures of Indycals decals is the are fresh, not too think or thick, easier to handle than a lot of decals, Indycals decals always works great with Walthers Solvaset decal setting solution. The white decals are actually WHITE when you apply them over any colored painted surface and have the least amount of transparency than any decal manufacture I know, especially kit decals!
Im decaling this body FIRST because I plant to clear coat over the decals with Model Masters or Testors Clear Lacquer. Indycals decals handle clear lacquer paint just fine, also the ‘hot’ Tamiya TS-13 Clear. Im not using Tamiya TS-13 on this build because after a decade of using Tamiya paints Ive noticed Tamiya TS-13 has the tendency to make red Tamiya ‘roll’ off , Im NOT talking about crinkle, but more like, ‘melt off’…it also does this with Tamiya Black and Florescent red.

apply the Indycals Tire decals with Walters Solvset Decal Setting Solution.

When preparing the wheels for paint, I like to spray anything that requires chrome with a Flat Black base coat first. I gave the wheels a spray of Tamiya Matte Black.

My new love for Chrome paint is actually in pen form and that is Molotow Liqued Chrome pens, the chrome reflection is AMAZING! and in an easy to use pen form to where you have complete control. If there is any spots you cant fit the pen tip, you can quickly take a paint brush and move some of the paint in the hard to reach area and it doesn’t effect the chrome shine.
Next I brushed on some Tamiya X12 Gold Leaf to the inside part of the wheels. After the Gold dries I added some washed down Tamiya X-19 Smoke to add some depth to the wheels. I use Tamiya Acrylic Thinner X-20A to wash down the Tamiya X-19 Smoke.


For attaching the rear wing onto the tail ending of the body, use a #60 – 0.040″ drill bit and use a pin vise. There is holes under the body for the wing struts. Drill out from the bottom, then re-drill on-top to clean the hole out.

I chose to clear coat using Testors Clear lacquer spray paint and covered over the decals to seal them on and adds protection. I let dry for a couple days and used Tamiya Polish and rubbed down and orange peel in the clear finish.

Attach the rear wing by added small amounts of Gorilla Glue to the ends, then take your fingers and squeeze the tail fins (End plates) up to the sides of the rear wing. After the glue sticks to the tail fins (end plates) add super glue underneath the body into the holes for the wing struts.
Carefully paint the edges of the window outlines on the body and paint the outside edges of the clear windows. Use windscreen glue to apply them. Dont for get to add the windscreen decal, too!
Follow the kit directions to the end with cockpit and other details and after all that its all done.


I used a I used an AmazonBasics Photobooth for all my finished work. I highly recommend this photobooth, its very easy to set up, it fold-ups and fits anywhere which really benefits anyone with limited space. You can buy an AmazonBasics Photobooth HERE
I used a Canon EOS Rebel T3i Digital SLR Camera with a Canon 50mm Prime lens