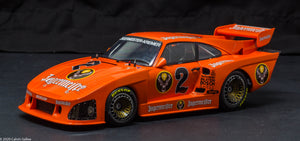
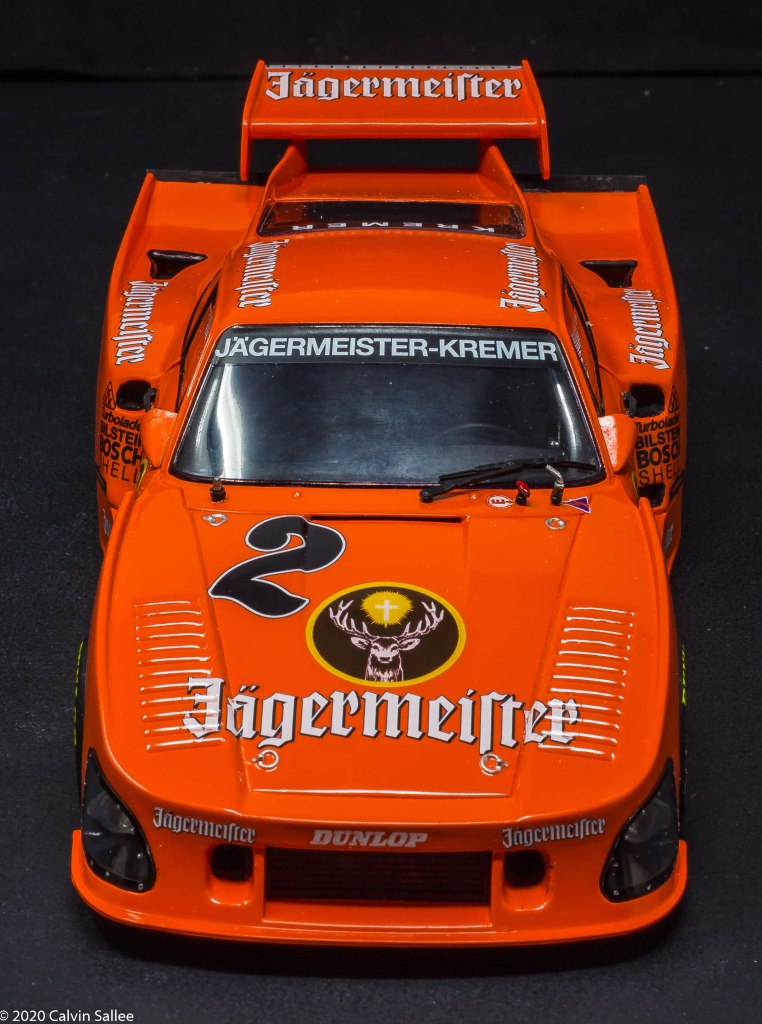
This blog reviews the 1980 #2 Kremer Jagermeister Porsche 935 K3 conversion kit.
The Resin kit
This resin kit converts the 1/24 NuNu Porsche 935 K3 into the 1980 #2 Jagermeister Porsche 935 K3 Version 1 or Version 2
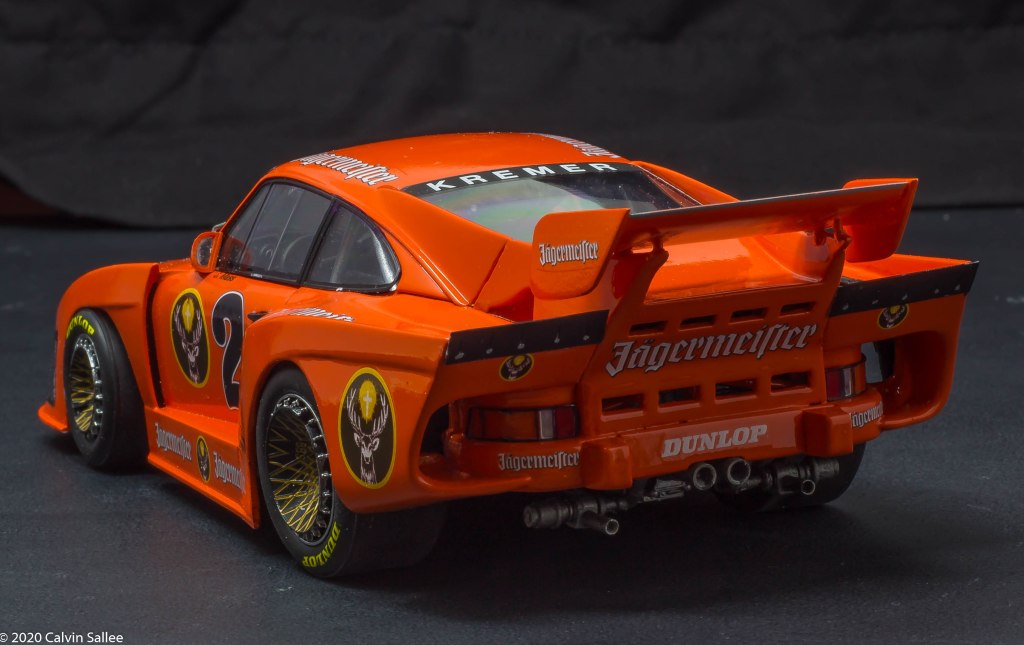
-The 1980 #2 Jagermeister Porsche 935 K3 had more aggressive bodywork in the rear.
-The rear fenders had a higher downforce setup with a more curvy tail end.
-The fenders sides had a more defined outline
-Different hole configuration on the front part the fenders
-The engine/wing struts had a different design with higher fins leading up the wing struts.
-The wing endplates are more square
-This 1980 #2 Jagermeister Porsche 935 K3 had two different versions of fender configuration.
-Version 1 was used in the first half of the season
-Version 2 was used in the 2nd half of the year and the particular version I offer can build the Fall Zolder race driven by John Fitzpatrick
The kit includes:
-Two Resin fenders
-Two resin wing struts
-Two Resin rear window side fins
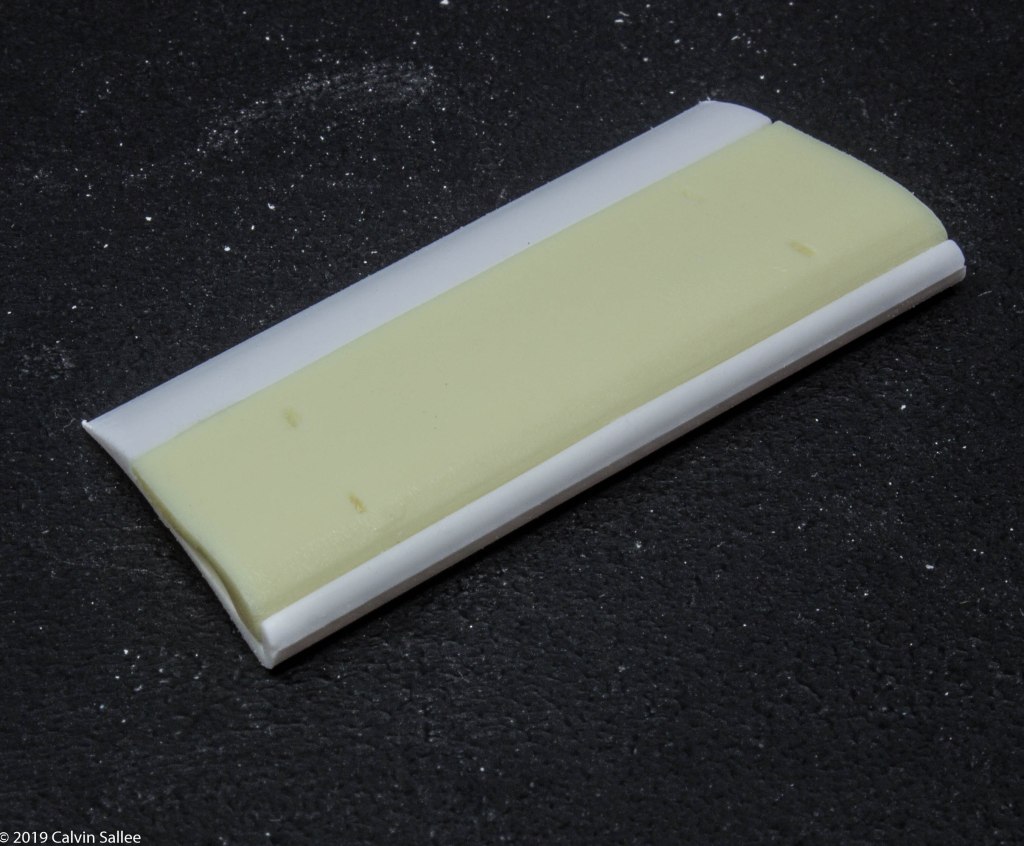
-Resin engine cover
-Resin rear engine cover rear panel
-Two resin square bumpers
-Resin rear wing base
-Resin wing endplates


The Decals
These Decals are properly sized for my Resin conversion kit and the NuNu K3 kit. This decal sheet will depict the following 1980 DRM races.
- Zolder Bergischer Löwe – Driver: Axel Plankenhorn – Version 1
- Spa – Driver: John Fitzpatrick – Version 1
- Nurburging: Driver: Axel Plankenhorn – Version 1
- Norisring – Driver: Jochen Mass – Version 1
- Zolder Westfalen-Pokal – Driver: John Fitzpatrick (Winner) Version 2 fenders

Removing parts of the kit…..

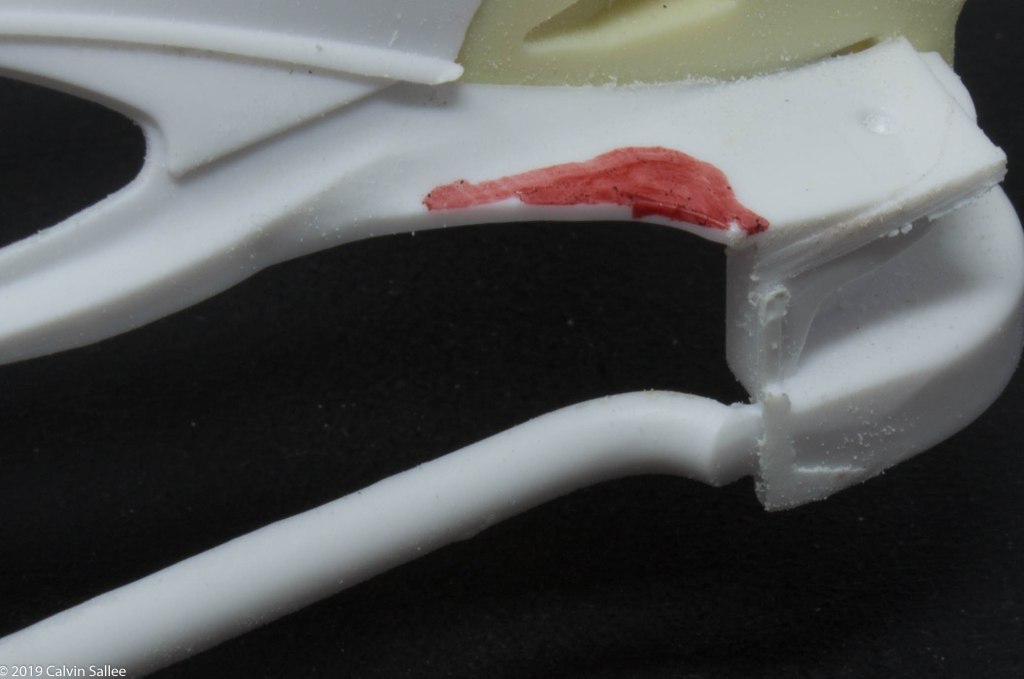
The first step for converting your NuNu Porsche 935 K3 into a proper 1980 #2 Jagermeister car is to cut off the sections pictured above highlighted in red on both sides. In order for the new resin fenders to fit on, these side sections need to be removed. The bottom highlighted area of the rear bumper needs the bottom section removed.

Remove the red highlighted sections seen in the pictures. These areas need to be removed of the NACA ducts will hit onto the section of plastic.
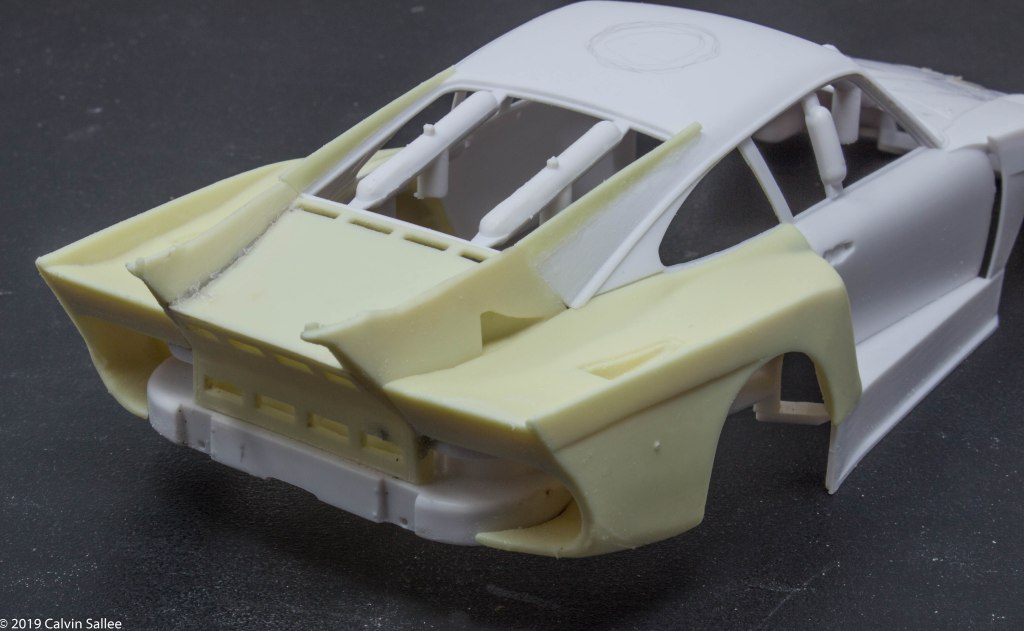
Attaching Resin Parts to plastic kit
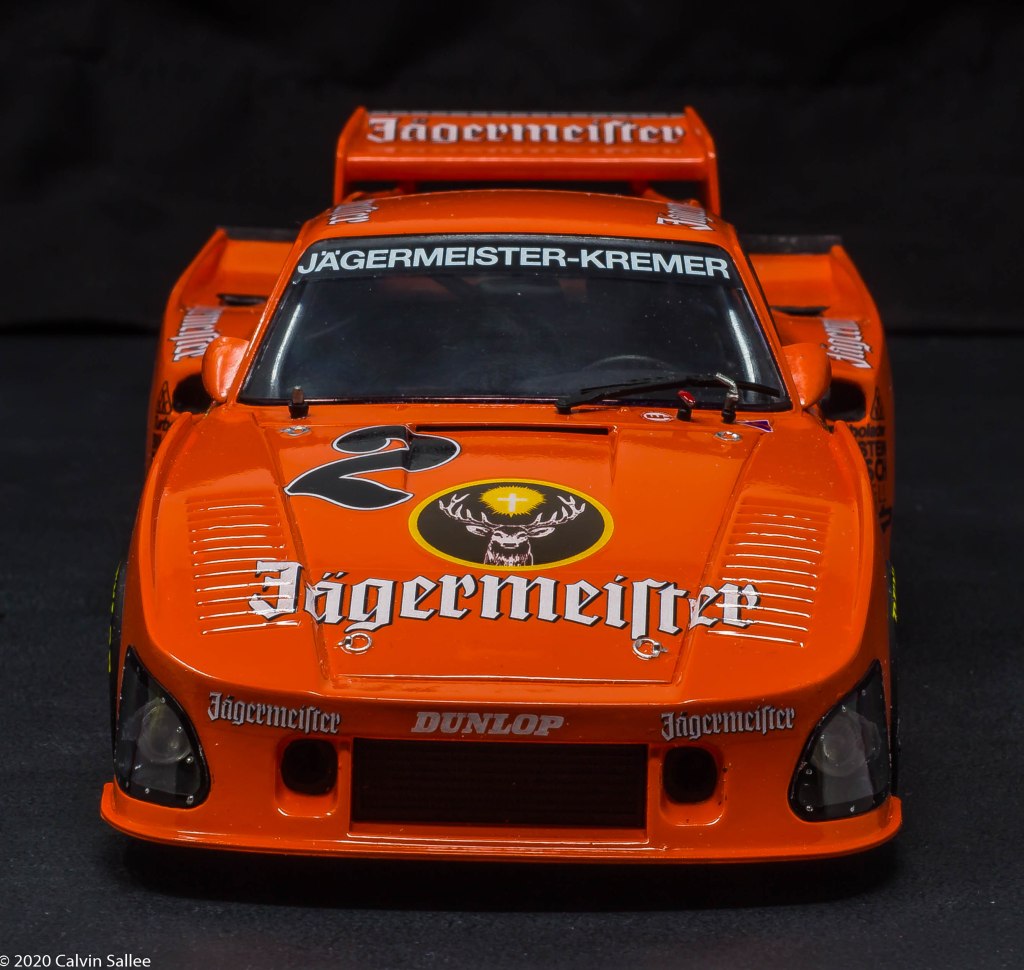
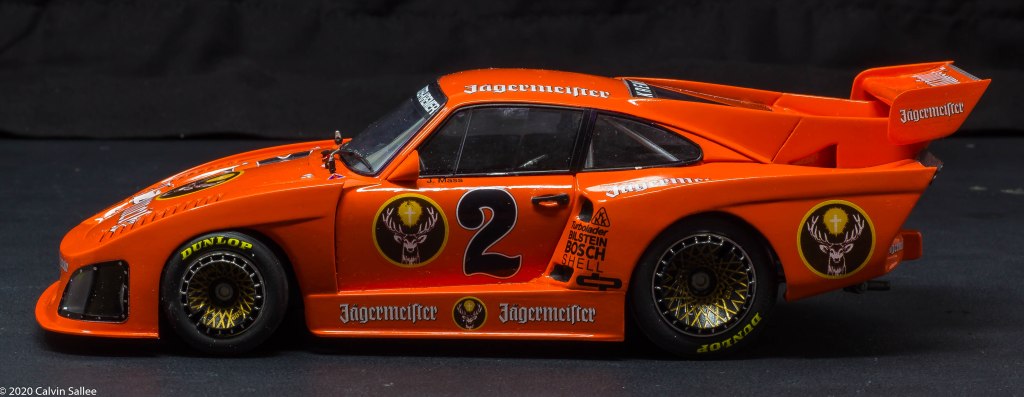
The 1980 Jagermeister Kremer Porsche had a totally different engine cover/rear wing setup, compared to other Porsche 935 K3’s The 1980 Jagermeister Kremer Porsche had higher wing strut fins that ran up along sides of the rear window. The top of the engine cover also had a dove-tail curve shape for more down force. The back panel for the engine cover was shorter.

When super gluing the engine cover parts together, be sure to test fit and understand how you need to hold your hands to accurately align the panels up. This step isn’t necessarily easy. If you dont get it completely lined up you can always fill in gaps with Apoxie-Sculpt. If you read my earlier blog post on the 1/24 NuNu Porsche 935 K3 kit review this set was a challenge wit the kit panels as well.


Glue on the top engine cover. Its best to try sliding it into place from the top. You might have to sand the tail end edge off after it is fitted and glued into place.

Glue the side fins onto the edges of the rear window. Take note of the tapered edge of the fins. The tapered edge needs to be facing inwards towards the window.


After the glue is set up, you must use Apoxie-Sculpt to fill in the gap in between the kit plastic and the resin fin. You will need to level the surface area and flat as possible. I recommend using a flat sculpting tool to make the area on the side as flat as possible. (See picture above for reference)
Attaching fenders Version 1 or 2
Be sure to test fit the fenders before gluing. Study the area and understand how they go on. Theres a good possibility you will have to do some sanding and adjusting to the fenders. There is many contact points that can change the fit of these fenders. Glue the fenders on using super glue.

Super glue the bottom base of the rear wing. This part has a different location for the hols to attach to the rear wing struts.

Attach the wing end-plates
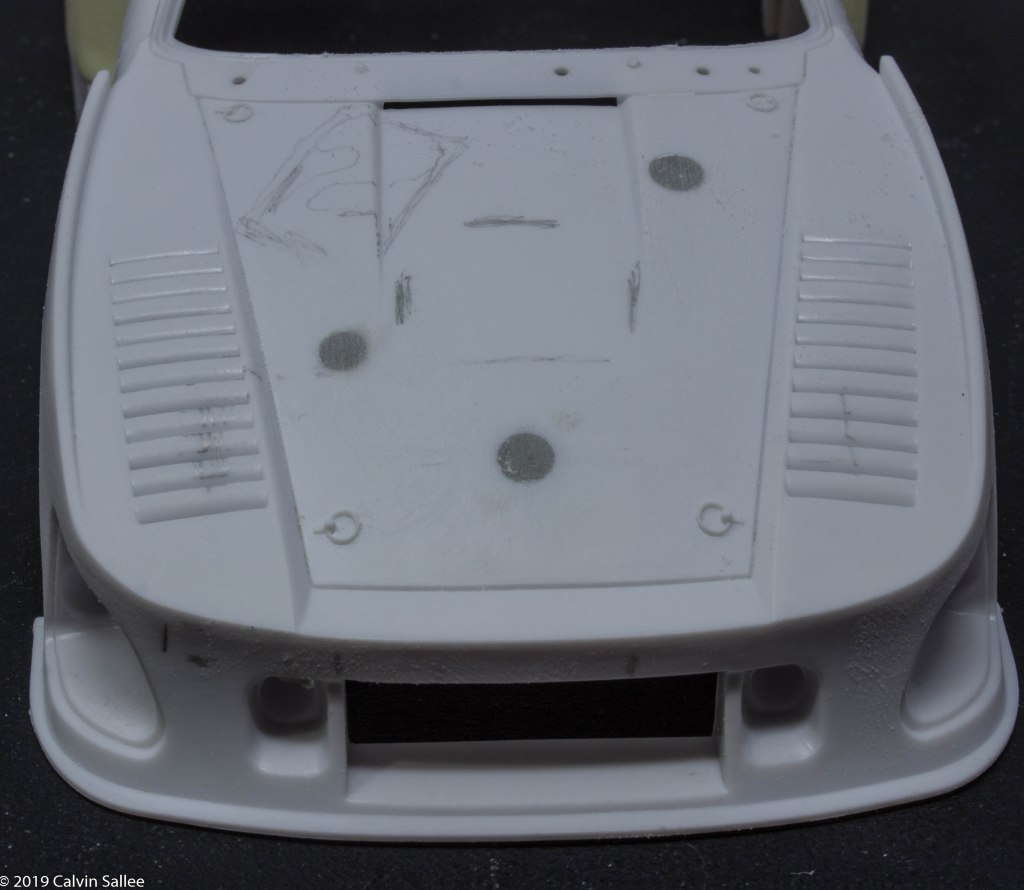
Be sure to fill in the fuel inlets in the hood. The 1980 DRM #2 Jagermeister K3 did not have an fuel inlets

Use Tamiya Grey Primer to find any imperfections.

Tamiya White primer is a good type of primer to use before the final color coat of Tamiya TS-12 Orange.
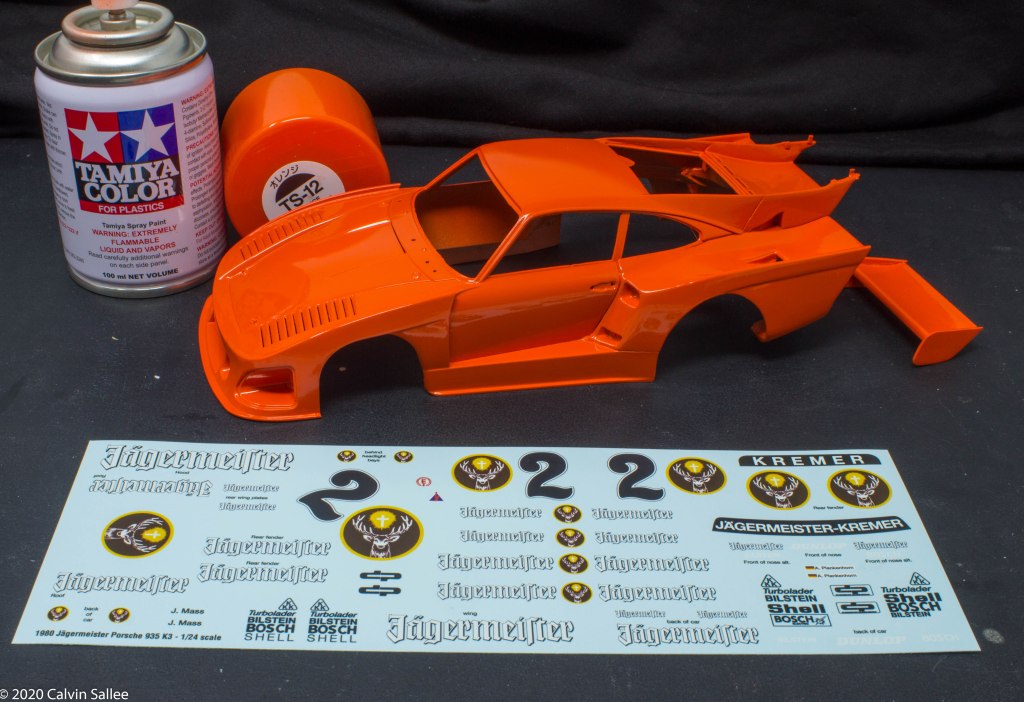
Tamiya TS-12 is a great match for Jagermeister Orange. Indycals makes accurate decals for this car with multiple race options and details.
The finished result…