
The kit required
The kit required for this conversion kit is the 1:24 scale Otaki BMW 3.5 CSL. This kit was originally issued in 1978 and since then has been re-issued 7 other times by ARII, ARII as Owners Club, and Micro Ace with the Owners Club branding in the mid 2000’s

Otaki | No. OT3-89 | 1:24

Otaki | No. OT3-89 | 1:24

Otaki/Scale Craft | No. OT3-89 | 1:24

Otaki | No. OT3-89 | 1:24

Otaki | No. OT3-89 | 1:24

ARII | No. A254 | 1:24

ARII | No. 21154 | 1:24

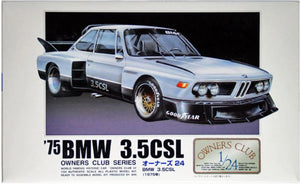
Micro Ace | No. 21154 | 1:24
What’s in the kit…
This kit was designed to be a motorized kit and comes with a motor and the interior detail is minimal


Sand the top of the front fenders flush to make the fenders fit better to the body

Sand off the vents on the rear fenders

The rear part of the front fenders needs to be modified

Use the Dremel to grind down edge

Grind down the triangle section of the inside the front fender

Grind completely flush


Glue on some flat styrene to modify the shape

Use Apoxie Sculpt to fill in the holes on the trunk.

Superglue the Resin bottom bumper extension onto the bottom of the kit bumper

Superglue the front bumper onto the front of the kit. Be sure its level and square to the rest of the body.