

In this blog review I will be reviewing the the new 1/24 NuNu Porsche 935 K3 “1979 Le Mans winner” This review will cover all the initial box opening basics. This review will be totally honest and I’ll go into great detail about the basics of fitting up the bodywork and important things to lookout for. This is not going to be the usual kit review worrying about flashing around the parts. This kit review will be of great value to you.
You can buy this kit HERE on eBay. Most are from Japan but I never have any issues buying from the Japaneses sellers and the shipping time is typically around two weeks to reach the USA. Every link in this blog post for this kit is an ebay affiliate link. Using my affiliate link to buy the 1/24 NuNu Porsche 935 K3 off ebay will give me a fee from ebay. This doesn’t cost you any more but I will make a little bit from ebay for referring you to their website, you don’t have to use my affiliate links but doing so is greatly appreciated and helps my business and website to bring you more resin kits and value.
Un-boxing the K3
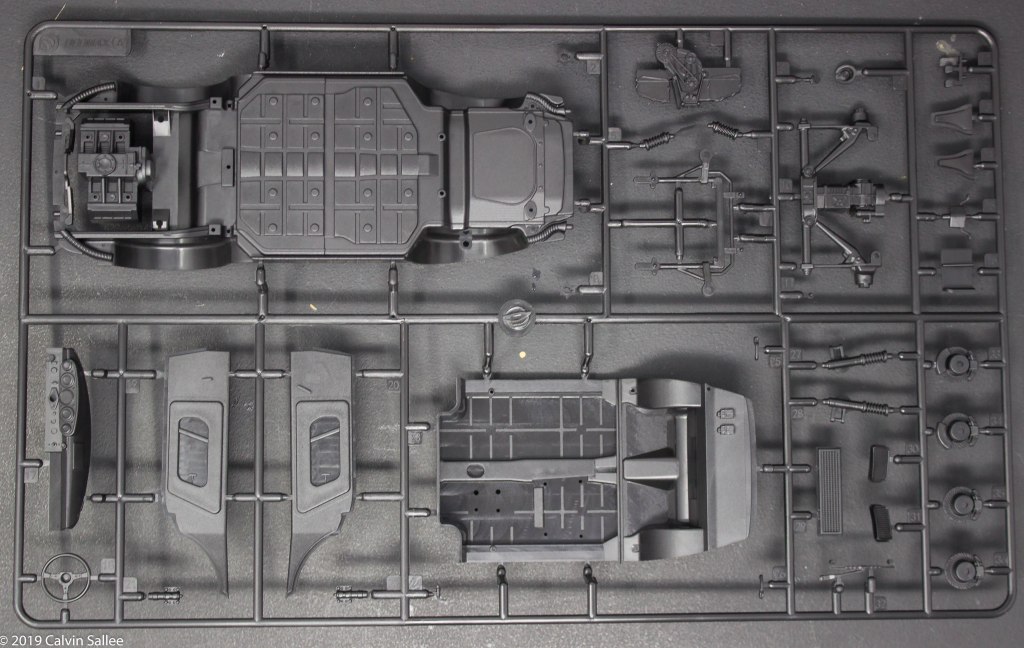
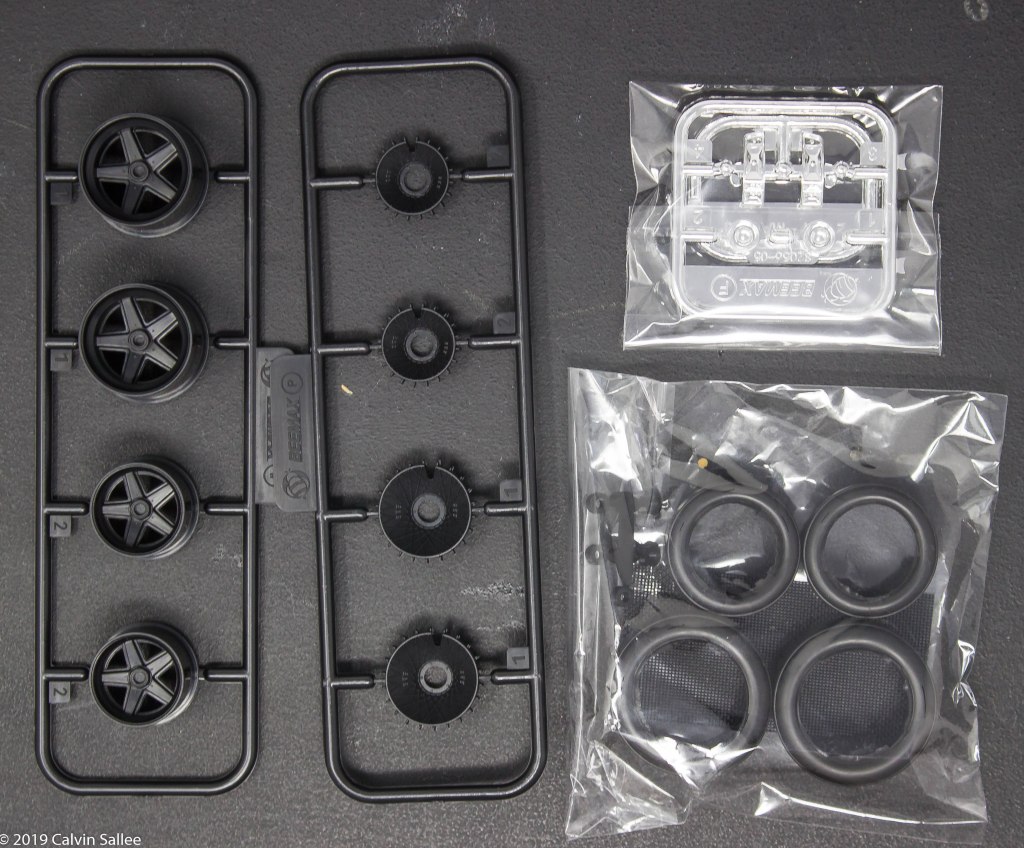
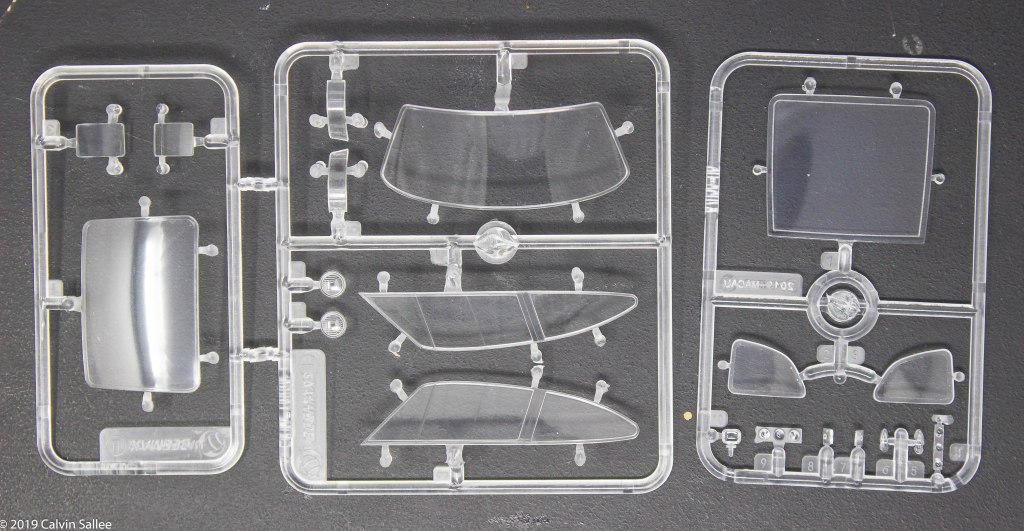
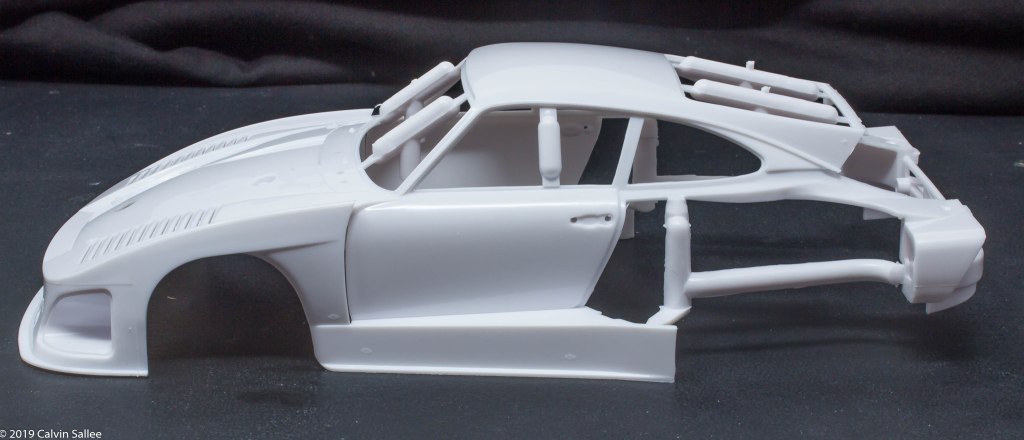
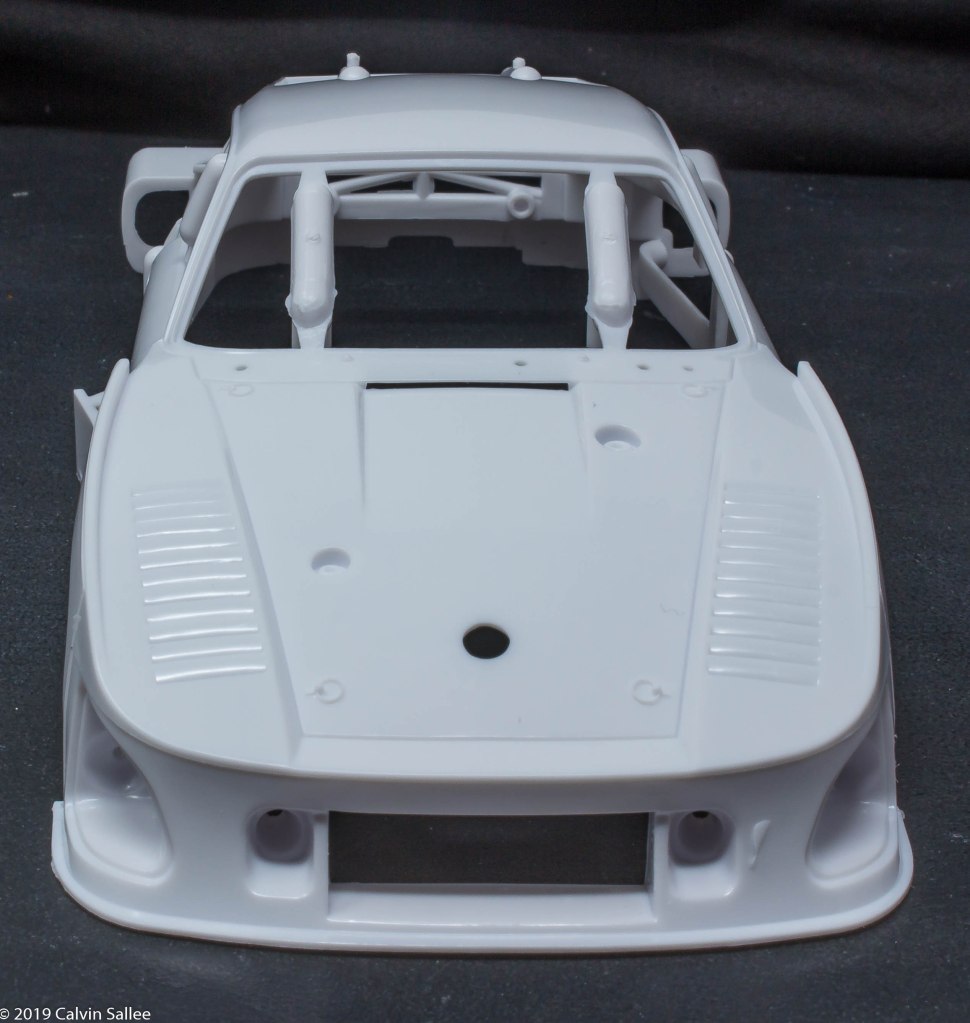
First off I was very excited about this new Porsche 935 K3 kit. There is so many possibilities with this K3. All the parts look great, very minimal flashing. The same great chassis mold from the K2 is used in this K3 kit, which is great, because it worked great in the K2 kit and the fit was awesome! There is also some other molds that were used in this kit that was used with the K2, like the rear wing/engine cover, fenders, twin turbos, and glass parts. I dont mind having extra parts as they could possibility be used in scratch building projects. The shape of the body looks good. I’ve studied this car for many hours now, and I think majority of people will agree. Its important to be careful when comparing a model to photographs as different types of lenses will produce a wider than normal picture and if you are comparing and sizing up a picture to the model kit, you might find yourself comparing your model to a picture that is slightly off


First things to look out for before you start
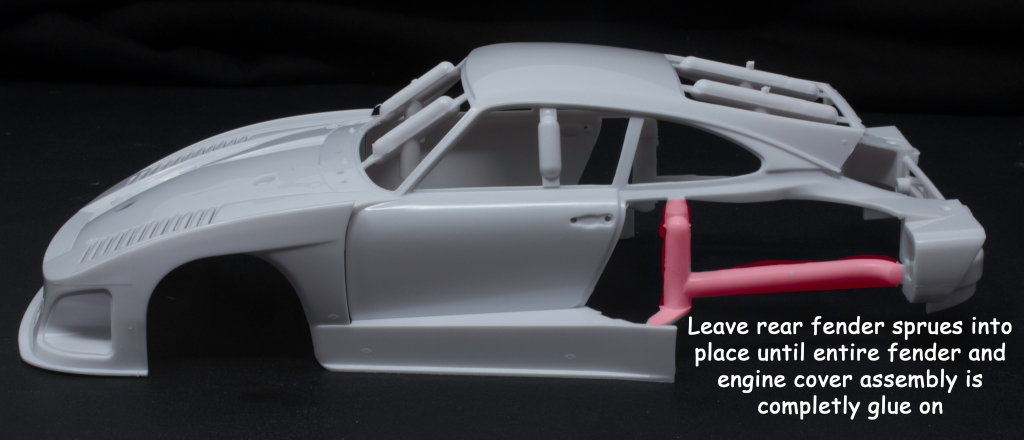
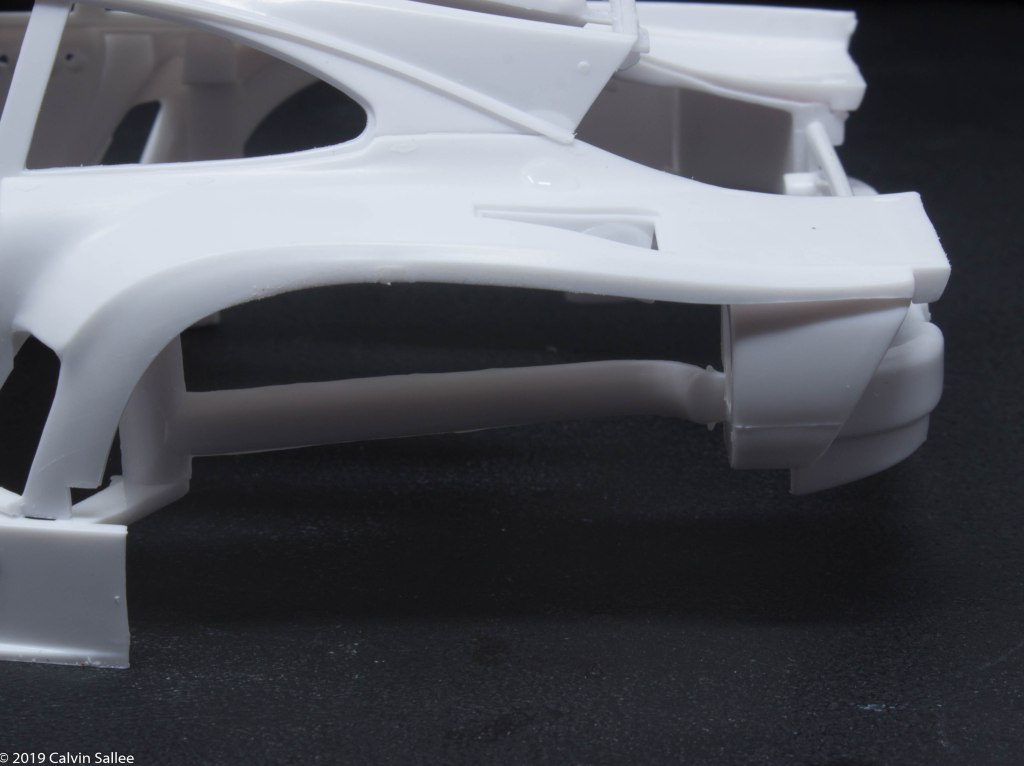
I recommend leaving the rear fender spruces on until you are done gluing on the entire fender assembly as not doing this will make your fit very complicated as the entire rear section will bend around without the spruce holding into place. But it is nice that the kit manufacture put such big heavy duty spruces holding up the roof and all the fragile parts in place because there has been so many car models get slightly bent or crushed because of not the proper reinforcements.
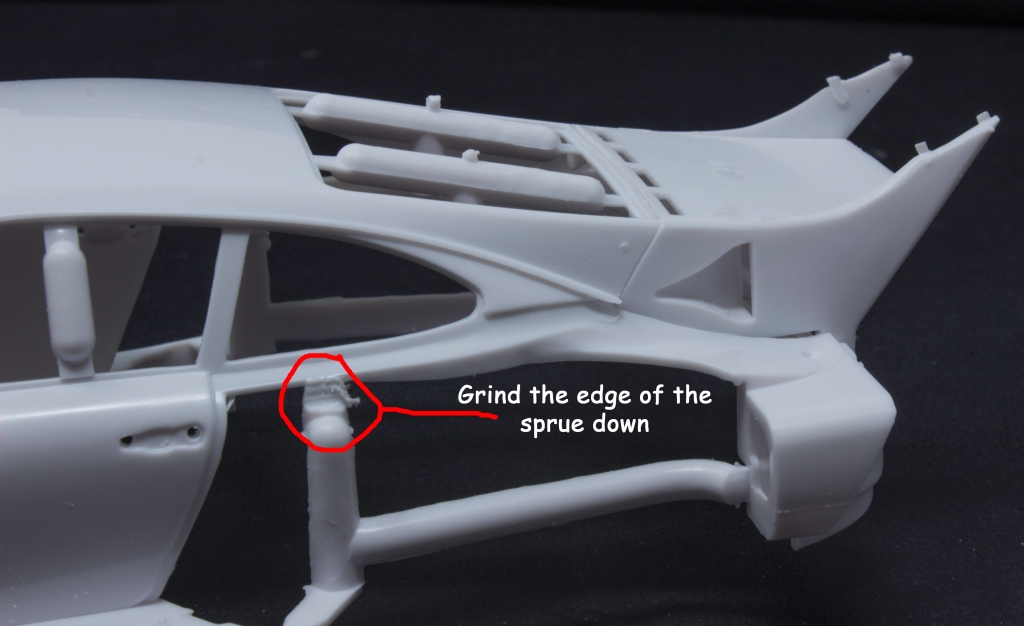
Before test fitting grind the edge of this spruce down with a Dremel. The fender wont fit unless you grind it down enough for it to fit.
Clean and de-bur all the edges on the fender/engine cover area. The fit is very tight with all these parts and test fitting will be VERY important.
I recomend glueing to gether the engine cover/rear wing up rights all together. Then test fit it ont the back.
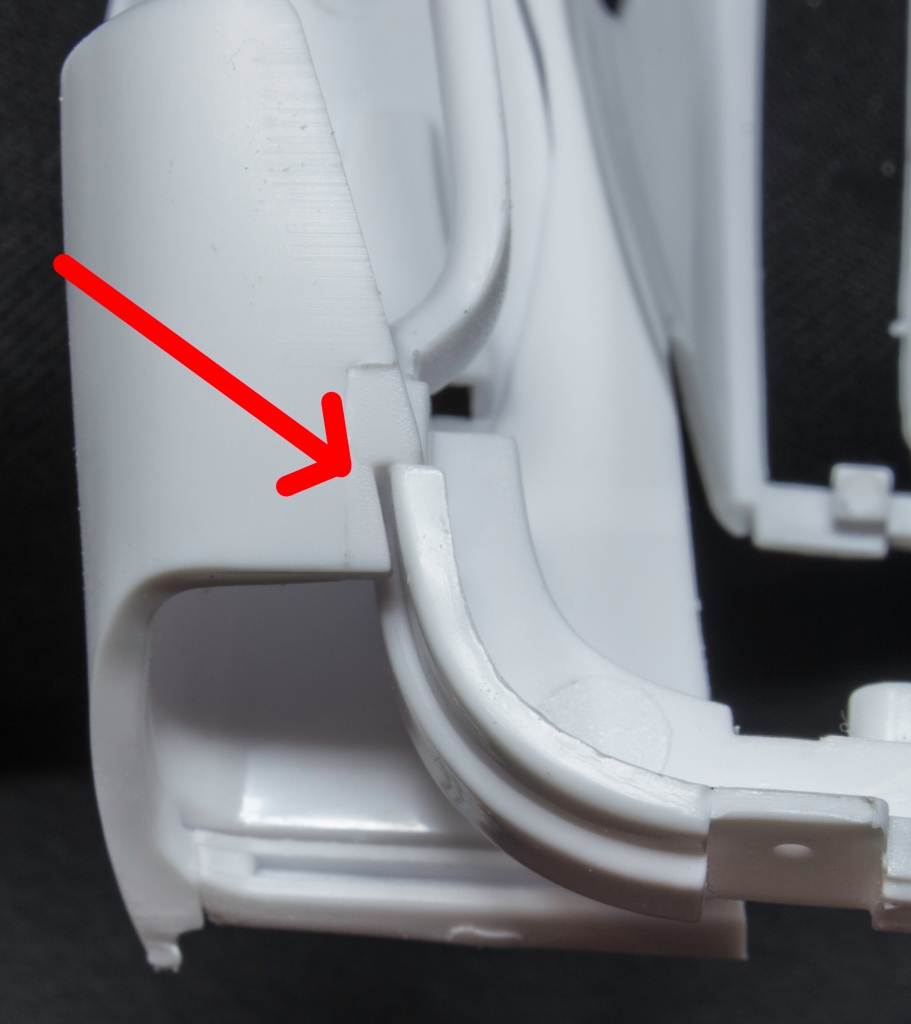
The little fender hole

Before gluing on the top rear fenders. Take note of this little hole on the back of the main kit bodywork. There is nothing mentioned in the instructions but this needs to be drilled out as the top rear fenders have a pin and not drilling out this hole will not let your top fender fit snugly down and will be raised and off.

Fitting up rear fenders
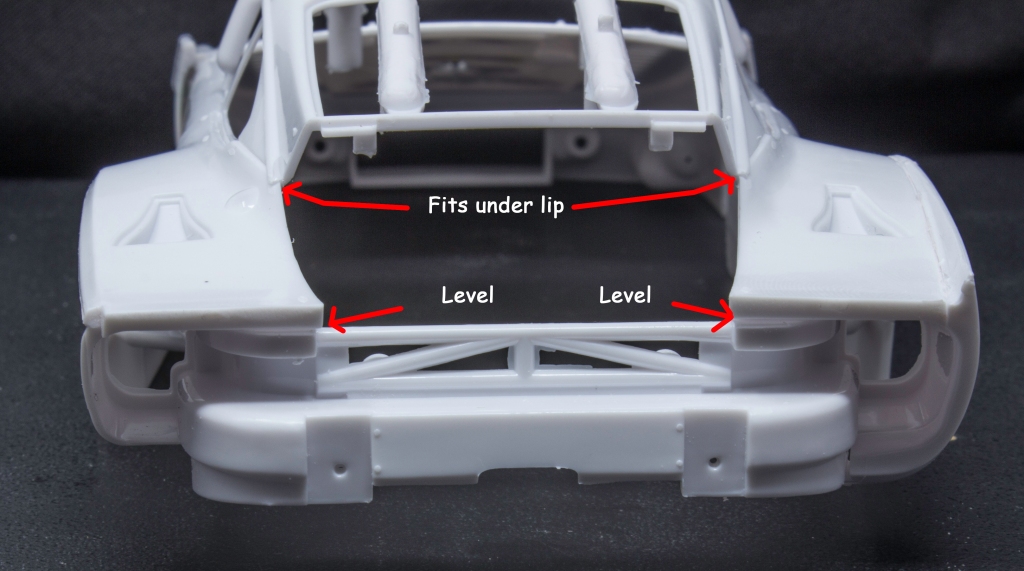
After adressing the holes for the top fenders, go ahead test fit with the engine cover on. If everyhting fits good and your top fender is snugly fitting up to the engine cover and slightsy under the lip under the rear side glass area, go ahead and glue the top fender into place.
With the top fender glued in place go ahead and test fit the side of the fenders. There is a difficult part under the bottom of the fender where the main body fits with a 90 degree edge that needs to be held down to make sure proper gluing adhesion
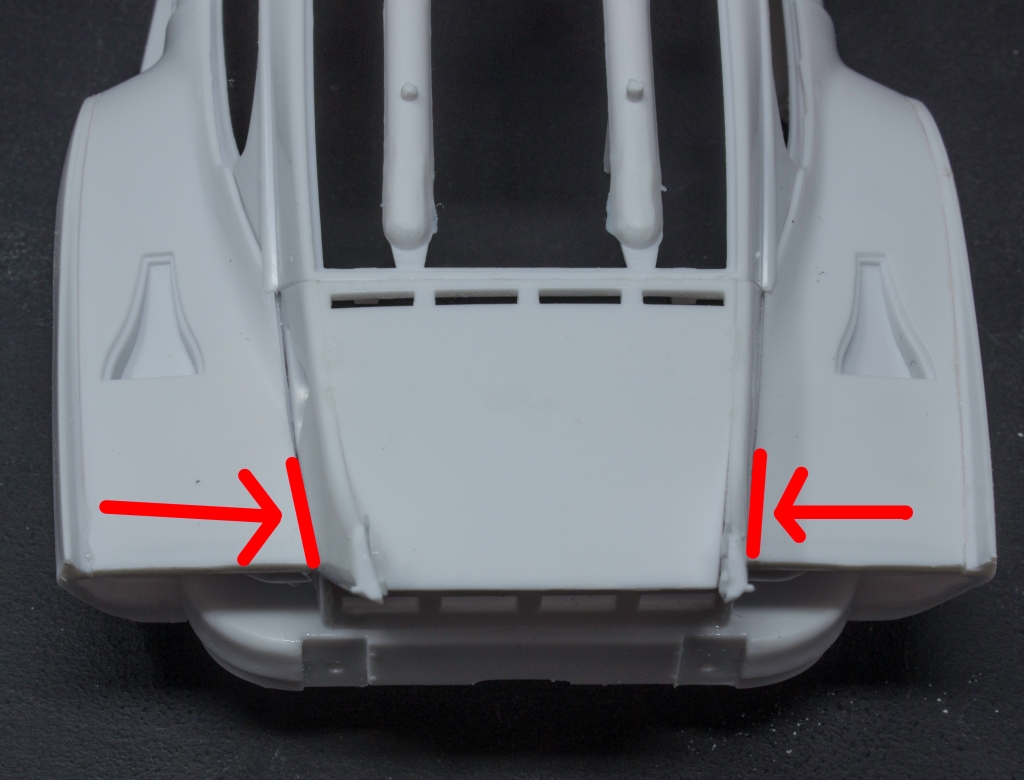
It might be necessary to sand a little bit off the edges of the top part of the rear fenders as shown in the picture above…
Other notes…
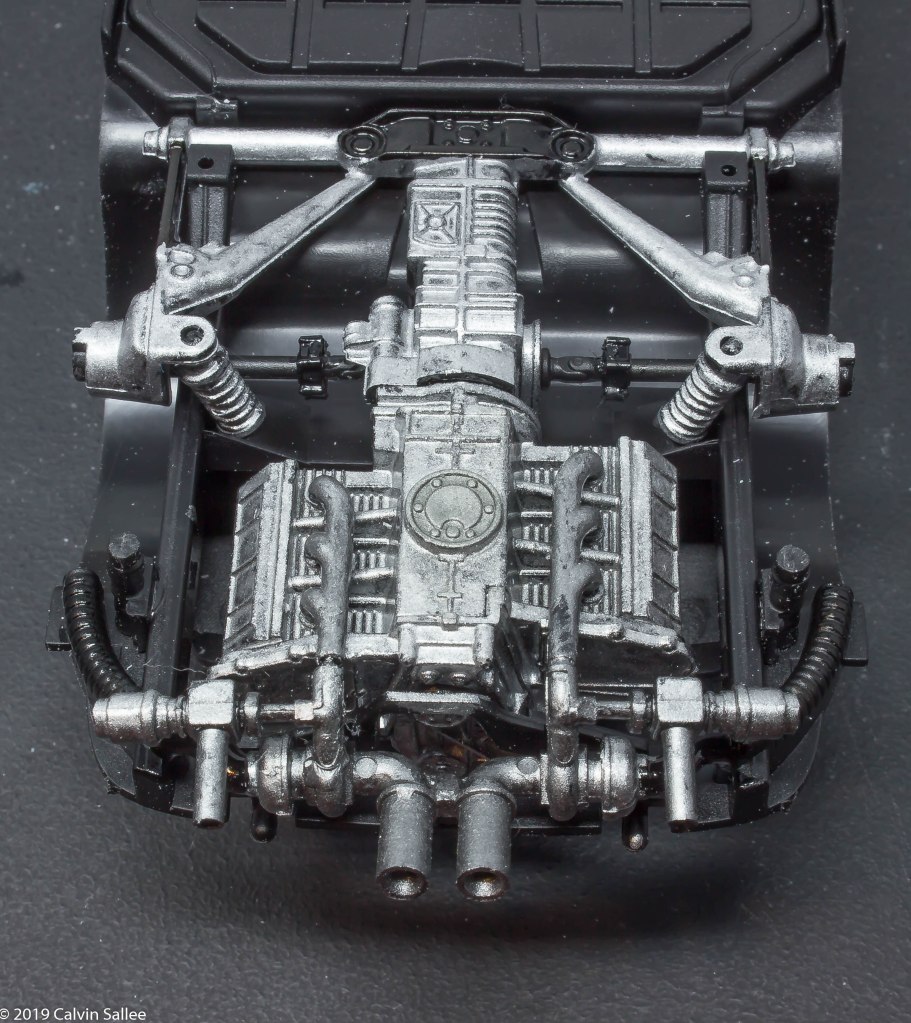
The K3 kit has a nice new twin turbo setup. The exhaust headers dont quite clear the engine block and I recommend test fitting them before gluing.
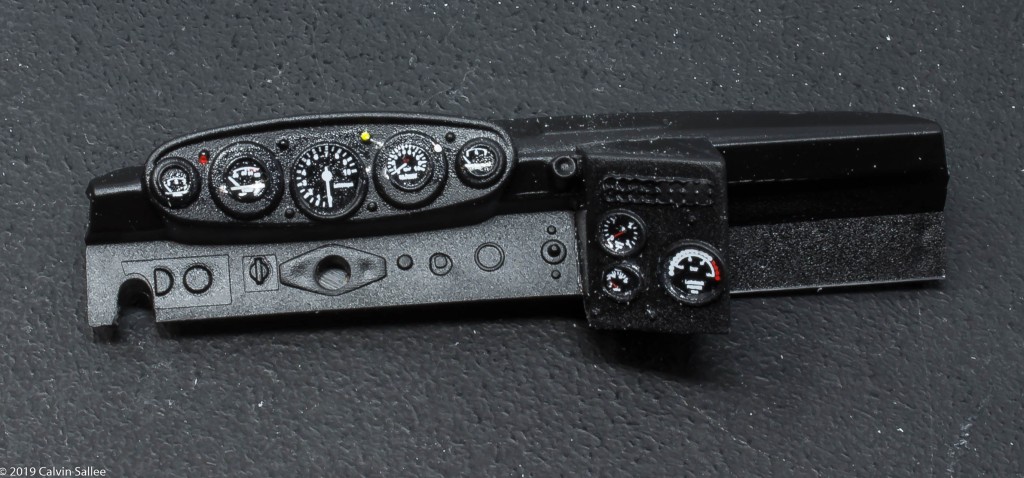
There is a new box attachment to the original K2 dash. With easy to use gauge decals.
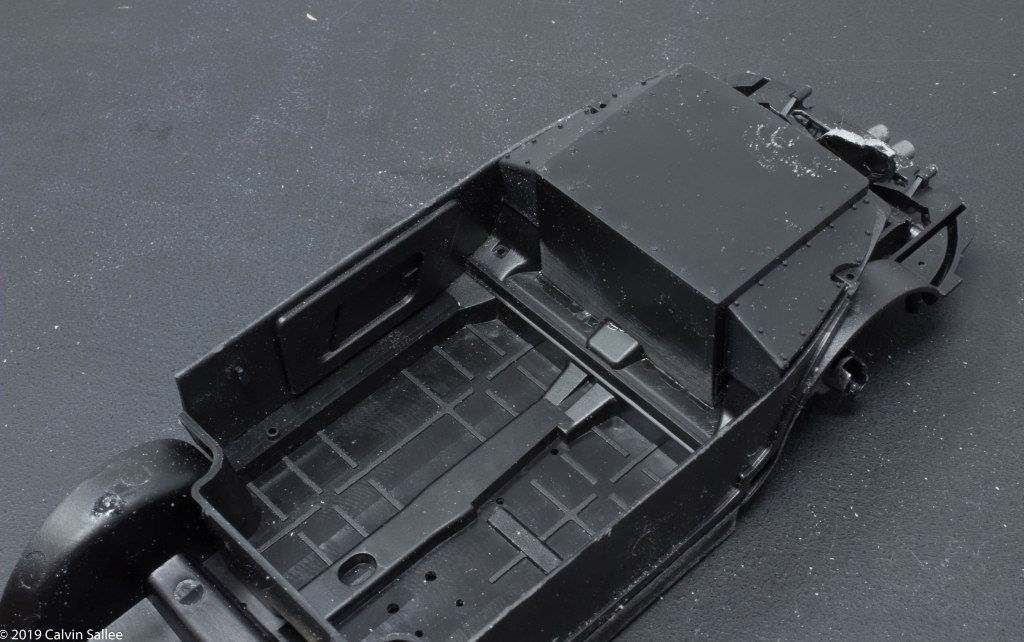
For the interior there is a new big box that fits in the back. But the whole chassis and roll bars, seat, and other details fit very well. Everything is designed very nicely on the chassis. Also when fitting the body on the chassis they did a great job designing it and the have a great pin and hole design that makes it easy for the builder.
Conclusion
I totally recommend this kit. I feel most people would not be disappointed. The detail is great. I think some people would prefer to have engine detail. Im not one that worries about if a kit is a curbside or not. Every kit on this earth is not 100% accurate, as model kits have to be built to handle human hands and plastic can only be cast so thin. I showed everything you need to look out for. If I find anything else I will update this blog post. I feel I covered most everything new and important. Also, once again if you haven’t already, I totally recommend getting this kit on ebay HERE. I also plan to offer a number of resin conversion kits for this kit and Indycals plans to offer many decal options for this kit as well…. Like my Facebook page and my website classicracingresins.com for all the new resin kit releases.